

Laboratory
Dental laboratory products take a dentist's impression through to a finished crown, bridge or denture — the gypsums and waxes that build the model, the ceramics and acrylics that form the tooth, the investment and casting materials, and the mills, furnaces and scanners that shape it all. Kalabhai, Prevest, Nexy and Labodent are among the bench names.
 Recommended
 Price- High to LowPrice- Low to High

 2
2
 5k
5k
.jpg?w=256)
.jpg?w=256) 1.1k
1.1k
 1k
1kThe Dental Laboratory — From Model to Finished Restoration
A restoration is designed in the mouth but made on the bench. The impression or scan a dentist sends becomes a working model, a wax or digital pattern, and finally a cast, pressed or milled crown, bridge, denture or appliance. This category holds what a technician needs across that path — the gypsums and waxes, the ceramics, acrylics and investments, and the machines that scan, mill, cast and fire — for both the traditional hand workflow and the digital one.
Building a restoration at the bench
Pouring the model and dies
Everything starts with an accurate cast. Poured into the impression, a dental gypsum sets into the working model and the individual dies the technician trims and shapes; a harder, low-expansion die stone holds fine margins where a crown will seat. The Kalabhai Ultra Blue Stone is a Class III stone used for that model and die work.
Waxing up the pattern
On the die, the technician rebuilds the missing tooth in wax — the crown's shape, contacts and cusps formed by hand before any metal or ceramic exists. Inlay and modelling waxes carve and add cleanly and burn out without residue, and sticky wax holds components steady on the model while the pattern is assembled.
Building the ceramic surface
The tooth's visible surface is ceramic, whether porcelain fired onto a coping in layers or a pressed and stained monolithic crown. Shade, translucency and glaze are built here, and small fractures in a finished restoration can be corrected chairside. The Prevest A.C.E Ceramic Repair Kit carries the bonding and veneering materials for those ceramic repairs.
The digital route: scan, design, mill
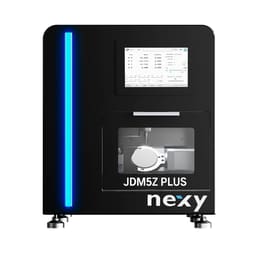
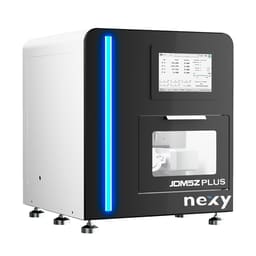
Increasingly the pattern is never waxed. The model or mouth is scanned, the restoration is designed on screen, and a milling machine cuts it from a solid blank of zirconia, PMMA or glass-ceramic. A five-axis mill reaches the undercuts and angles a crown or bridge needs; the Nexy 5-Axis Milling Machine is one such open-system unit.
Printing models and bases
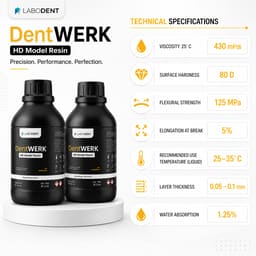
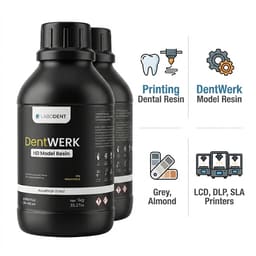
Digital labs increasingly print rather than pour. A resin 3D printer builds working models, dies, denture bases, surgical guides and splints straight from the scan file, often running overnight in batches. Our look at 3D printing in the dental lab covers where additive fabrication now sits alongside milling.
Analog blocks or digital blanks
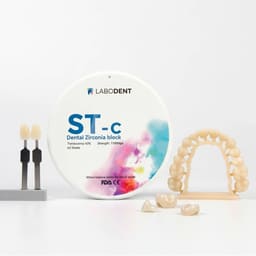
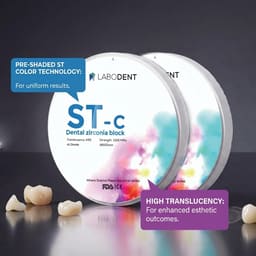
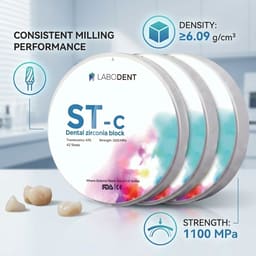
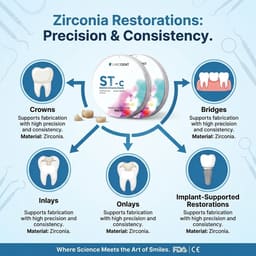
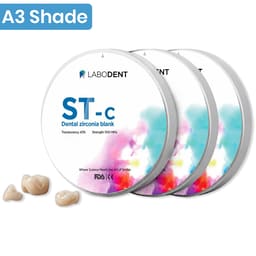
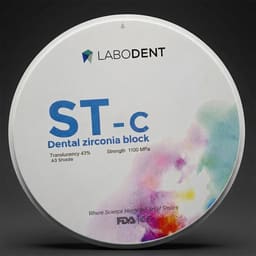
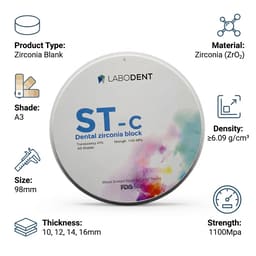
The material choice splits along the workflow. The hand route relies on gypsum, casting alloys, porcelain powders and denture acrylic; the digital route mills or presses pre-made blanks — zirconia discs, glass-ceramic blocks and PMMA pucks. The CAD-CAM range gathers those blanks, burs and milling consumables in one place.
Same-day or sent to the lab
The same crown can be milled chairside in an hour or fabricated over several days in a lab, and each route trades speed against control and case range. Our guide to chairside CAD/CAM workflows walks through where digital milling fits and how it compares with the laboratory path.
Fitting out the lab
Beyond materials, a working lab runs on machines — a micromotor and handpiece for trimming, a vibrator and model trimmer, a furnace or sintering oven, a casting unit, and a scanner and mill for digital work. The laboratory equipment range covers those bench machines for a new or expanding setup.
Typical jobs that cross the bench
- Pouring and trimming a working model and removable dies from an impression
- Waxing a crown or bridge pattern before casting or pressing
- Investing and casting a metal coping or full-cast crown
- Layering and firing porcelain, or pressing a glass-ceramic crown
- Scanning, designing and milling a zirconia restoration digitally
- Processing, packing and finishing a complete or partial denture
- Thermoforming a splint, aligner base or bleaching tray
What to weigh when equipping a lab
- Hand, digital or both — a mainly analog lab leans on gypsum, wax, alloys and a furnace; a digital lab centres on a scanner, mill and sintering oven, with far higher upfront cost.
- Gypsum to the job — Type II plaster for mounting, Type III model stone for dentures, Type IV die stone for crown-and-bridge margins.
- Material to the restoration — cast alloy or zirconia for strength at the back, layered porcelain or glass-ceramic for anterior esthetics.
- Open or closed systems — an open-system scanner and mill accept blanks and software from many brands; closed systems lock to one supplier.
- Throughput — match furnace and mill capacity to case volume so a busy week does not bottleneck at one machine.
Names on the bench
Gypsums and investments come from Kalabhai and MDM; waxes from Maarc and Prevest; porcelains, glass-ceramics and acrylics from Prevest and Dentitude; and the digital hardware — scanners, mills and burs — from Nexy, Medit and Labodent. Furnaces, micromotors, vibrators and trimmers round out the equipment side.
Why source your lab supplies from Dentalkart
A lab draws on a long list of consumables and a few big machines, and keeping both in one catalogue means the die stone, the wax, the zirconia blanks and the mill that cuts them are ordered from the same place, matched to the workflow being run. The everyday materials reorder in a click, bulk and clinic-setup pricing applies to the equipment, and a technician can build an analog or digital bench without splitting the order across a dozen suppliers.
Frequently Asked Questions (FAQs):
What does a dental laboratory actually make?
A dental laboratory fabricates the restorations and appliances a dentist designs but does not make chairside — crowns, bridges, full and partial dentures, orthodontic and thermoformed appliances, and implant prosthetics. Working from an impression or digital scan, the technician builds a model, forms the restoration in wax, metal, ceramic or acrylic, and finishes it to fit the patient's mouth.
Which gypsum is used for models versus dies?
Different gypsum types suit different jobs by hardness and expansion. Type II plaster is soft and used for mounting casts and flasking dentures; Type III model stone is harder, for denture and study models; Type IV die stone is the hardest with the lowest expansion, reserved for crown-and-bridge dies where a fraction of a millimetre at the margin matters.
How does CAD/CAM change the traditional lab workflow?
CAD/CAM replaces the wax-up and casting steps with scanning, on-screen design and milling. Instead of building a pattern by hand and investing it, the technician designs the restoration digitally and cuts it from a solid blank of zirconia, PMMA or glass-ceramic. It speeds production and improves consistency, though hand skills still matter for characterisation, finishing and complex cases.
Do I need a furnace as well as a milling machine?
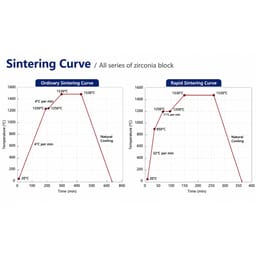
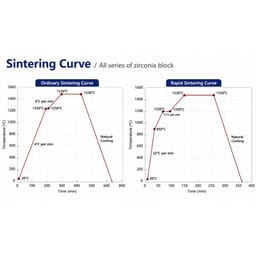
Usually yes, because milling and firing do different jobs. A mill cuts the restoration to shape, but zirconia must then be sintered in a high-temperature furnace to reach full density and strength, and pressed or layered ceramics need a porcelain furnace to fire and glaze. Only some fast-sinter chairside blocks compress those steps, so most labs run both.
Can a clinic run its own in-house lab?
Yes, many clinics run an in-house lab, and the scale depends on ambition. A basic setup — model trimmer, vibrator, micromotor and a small furnace — covers models, temporaries and simple repairs. Adding a scanner, mill and sintering oven brings same-day crowns in-house, at a higher equipment cost that a steady case volume has to justify.