

Dr.Yukti
Dental Content Contributor
Dental Imaging Wand Buying Guide
Key Features For Your Practice
This diagnostic tool is essential for modern patient education and case acceptance. It helps patients see what you see, building trust and improving treatment comprehension in your Indian dental practice.
Table of Contents
Image Quality: Resolution & Illumination
- Prioritise high-definition (HD) or full HD (1080p) resolution for sharpness.
- Look for autofocus capabilities to ensure clear images at various distances.
- Check for anti-fog lens features to maintain clarity during use.
- Evaluate the illumination source, with 6 to 8 LED lights being ideal.
- Assess the quality of the lens for minimal distortion and artifacts.
- Confirm true-to-life colour reproduction for accurate shade matching evaluations.
Connectivity & Software Integration
- Choose between direct USB connection for reliability or Wi-Fi for flexibility.
- Ensure the device comes with stable, easy-to-install drivers for Windows.
- Verify TWAIN compatibility for use with most dental imaging software.
- Confirm if it integrates directly with your existing practice management software.
- Check how images are stored, either locally or on a network server.
- Ask about the ease of exporting images for patient records or referrals.
Wired (USB)
- Reliable, lag-free connection
- Constant power source
- Generally, more affordable
- Cable can limit movement
Wireless (Wi-Fi)
- Excellent freedom of movement
- Ideal for multi-chair practices
- Requires battery charging
- Higher initial cost
Software Integration Checklist
Ensures compatibility with over 90% of third-party dental imaging software.
Check for specific plugins for popular software like Dexis or Carestream.
The included software should be intuitive for all staff members to use.
Ergonomics and Handpiece Design
- Select a lightweight handpiece, ideally under 80 grams, to minimize strain.
- Look for a non-slip, ergonomic grip for secure handling with gloves.
- Ensure capture buttons are intuitively placed for easy one-handed operation.
- Check the camera head angle; a 90-degree angle is often preferred.
- For wired models, confirm the cable is at least 2 meters long and flexible.
- Consider the ease of placing and removing disposable protective sheaths.
Making a Cost-Effective Choice
- Evaluate the manufacturer's warranty period, aiming for at least 12 months.
- Inquire about the availability and cost of technical support post-purchase.
- Assess the build quality and materials for long-term durability in a busy clinic.
- Check what accessories are included, like sleeves, holders, and software.
- Calculate the long-term return on investment through increased case acceptance.
- Consider models with user-replaceable parts to lower future maintenance costs.
Which Model Fits Your Practice?
Frequently Asked Questions
For most diagnostic and patient education purposes, a high-definition (HD) resolution of 720p (1280x720 pixels) is sufficient. However, for detailed caries detection or hairline fracture analysis, a full HD 1080p device provides superior clarity. Anything over 1080p offers diminishing returns for the additional cost in most general dentistry settings. A minimum of 720p is our strong recommendation.
TWAIN is a standard software protocol that allows imaging hardware to communicate with imaging software. If a device is TWAIN-compatible, it means it can work with virtually any dental imaging software that also supports the standard. This prevents you from being locked into one brand's proprietary software, giving you flexibility. Over 95% of modern dental software supports TWAIN, making it a critical feature.
Wireless models offer superior maneuverability and eliminate cable clutter, which is excellent for multi-chair practices. However, they require regular charging, with battery life typically lasting 2-3 hours of continuous use. Wired USB models are generally more affordable, reliable, and offer consistent power without lag. The choice depends on your practice's workflow, budget, and preference for convenience over plug-and-play simplicity.
Always use disposable plastic barrier sleeves for each patient to prevent cross-contamination. After use, remove and discard the sleeve. The handpiece itself should be wiped down with a non-alcoholic, hospital-grade disinfectant wipe—never submerge it in liquid or use an autoclave. The lens can be gently cleaned with a soft, lint-free cloth. Proper care can extend the device's lifespan by over 50%.
This tool boosts case acceptance by visually demonstrating the need for treatment. When patients see a cracked tooth, calculus buildup, or caries on a screen in real-time, they understand their condition far better than with a verbal explanation alone. This visual evidence builds trust and urgency, often leading to a 25-30% increase in patient agreement for recommended treatment plans within the first 6 months of use.
Written by
Dr.Yukti
Dental Content Contributor
Dr. Yukti Jain is a BDS-qualified dental professional and Product Specialist at Dentalkart with expertise in dental materials, equipment, and clinical innovations. Passionate about evidence-based dentistry, she creates insightful, research-driven content that simplifies complex topics and empowers dental professionals to make informed clinical and purchasing decisions.
Keep reading
Browse all →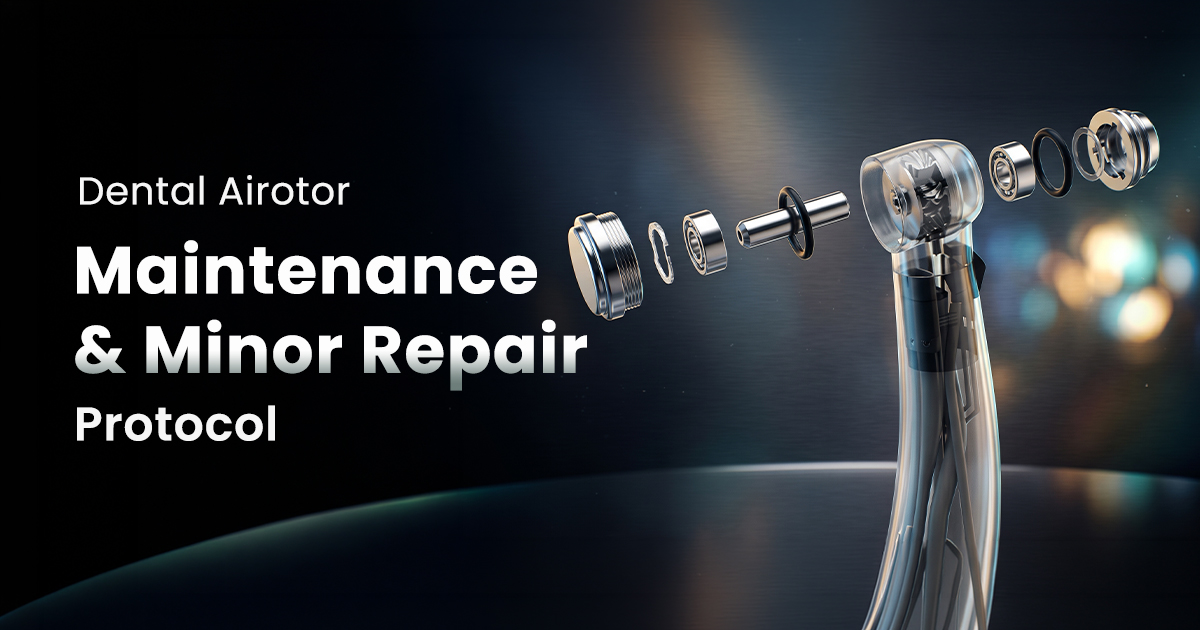
Dental Airotor Maintenance and Minor Repair Protocol
Dental Airotor Maintenance and Minor Repair ProtocolExtend Handpiece Life Proper airotor handpiece maintenance involves a strict daily protocol of cleaning, lub
Classifying Modern Dental Implant Systems — A Comprehensive Clinical Overview
Classifying Modern Dental Implant SystemsA Comprehensive Clinical Overview Modern dental implant systems are classified based on four key factors: material comp

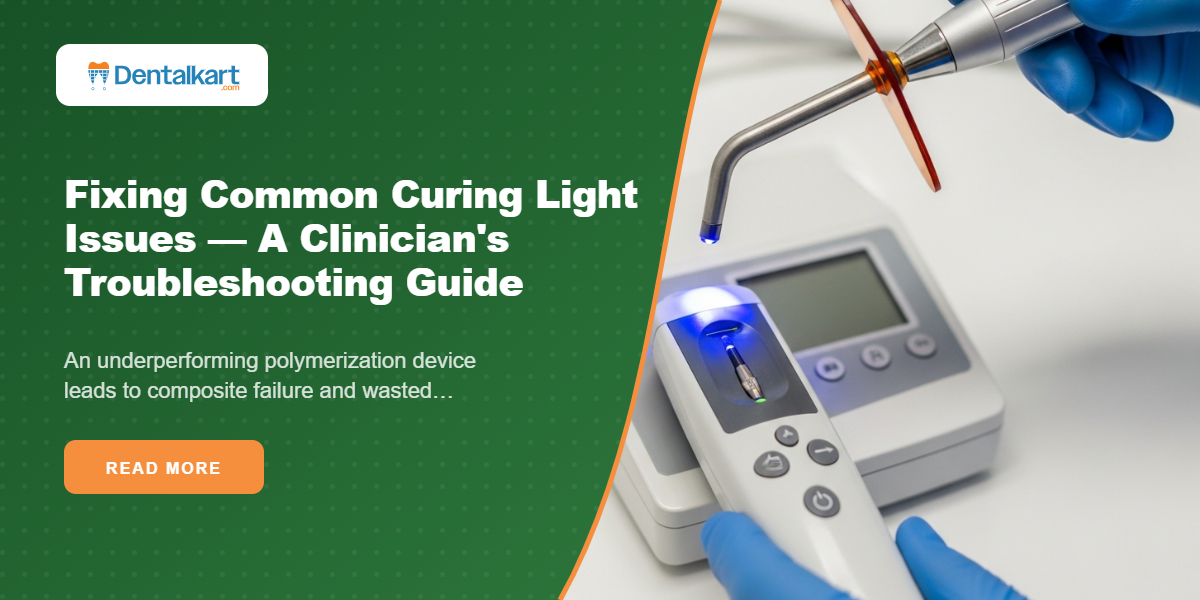
Fixing Common Curing Light Issues — A Clinician's Troubleshooting Guide
Fixing Common Curing Light IssuesA Clinician's Troubleshooting Guide An underperforming polymerization device leads to composite failure and wasted chair time.
