

Implantology
Implantology products are the fixtures, surgical kits and prosthetic parts a dentist uses to replace a missing tooth with a titanium root anchored in the jaw. The range runs the whole journey — drills and surgical kits to place the implant, bone grafts and membranes to build the site, and abutments, scan bodies and analogs to restore it. Apex Konnect, Impact, Xcem and Dentaltech supply it.
 Recommended
 Price- High to LowPrice- Low to High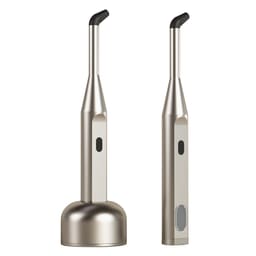
 1.1k
1.1k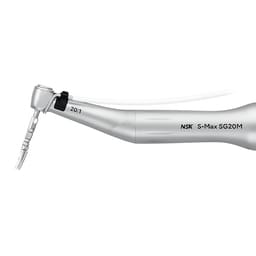
 300
300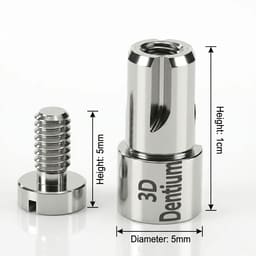
 25
25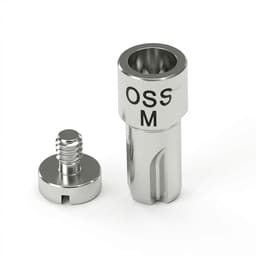
 25
25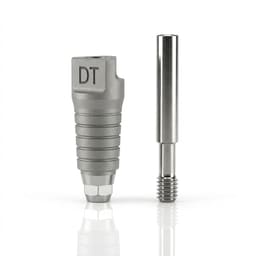
 40
40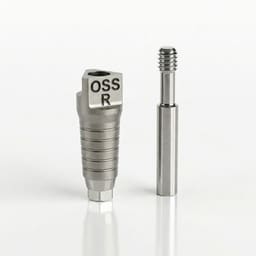
 40
40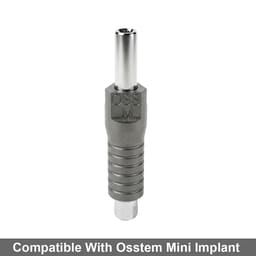
Only 2 Left
40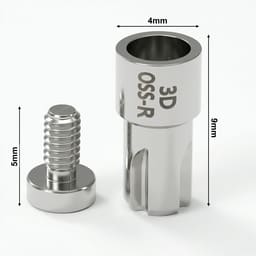
 25
25Implantology — Placing and Restoring Dental Implants
A dental implant replaces a lost tooth in two connected halves of work. First the surgery: a titanium screw is drilled into the jawbone to act as a root, often after the site has been grafted to give it enough bone to hold. Then, months later, the restoration: once the implant has fused to the bone, an abutment and a crown are built on top of it. This category carries the products for both halves and everything between — the planning tools, the drills and kits, the graft materials, the healing parts, and the prosthetic and digital components that turn a placed fixture into a working tooth.
The implant journey, end to end
Planning and checking stability
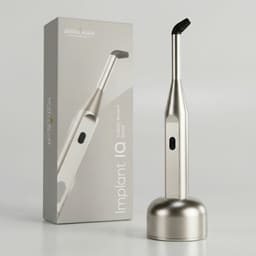
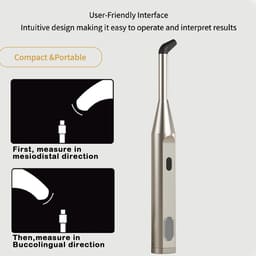
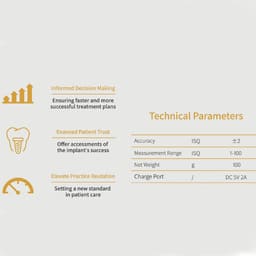
Success rests on the implant being solid in the bone before it is loaded. An implant stability meter reads that fusion objectively, giving an ISQ number rather than a guess about when the implant is ready to restore. The DentalPlant Implant Stability Tester uses that non-invasive measurement.
Surgery: drilling and placing the fixture
Placement follows a sequenced drill protocol — a pilot drill, then progressively wider ones that shape the osteotomy to the exact diameter and depth of the chosen implant, which is then torqued in. A system kit keeps that sequence, its stops and its drivers together; the Julldent Basal Implant Kit 2.0 is one such surgical set.
Building up the site
Many sites lack the bone to hold an implant, so it is built first. In the posterior upper jaw the floor of the sinus is lifted to make vertical room, and the created space is packed with material from the bone grafts and membranes range so the ridge can carry a fixture.
The graft that fills it
A graft gives new bone a scaffold to grow along, whether preserving a fresh socket or augmenting a thin ridge. Choosing between an allograft, a xenograft and a synthetic turns on how fast the site needs to turn over — a trade-off our guide to bone graft materials works through — and the chosen granules sit under a barrier membrane while they heal.
Healing and the second stage
After placement a submerged implant heals under the gum, out of sight, until the restorative stage. It is then uncovered and a healing abutment is fitted to shape the gum, opening the way to the dental implant components — scan bodies, analogs and abutment parts — that turn the fixture into a crown.
Restoring: the digital workflow
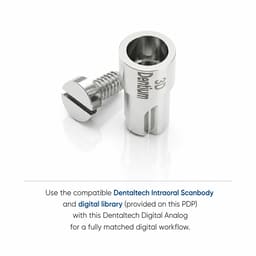
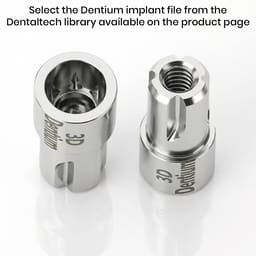
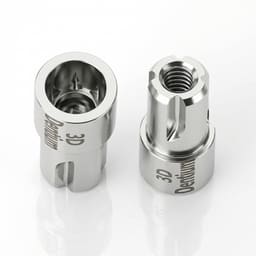
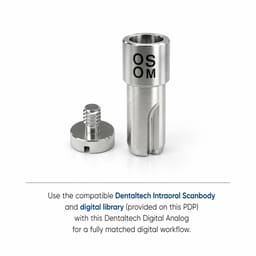
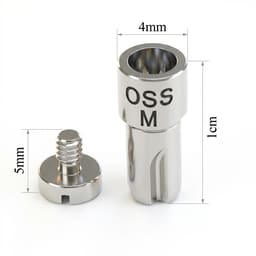
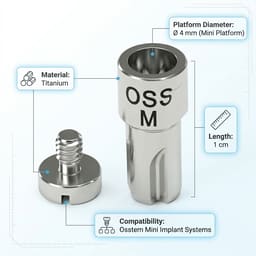
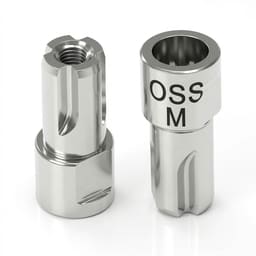
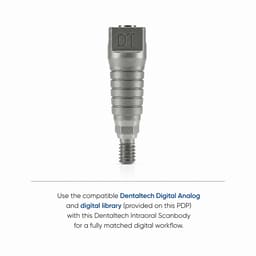
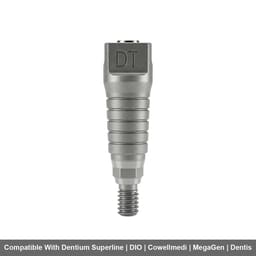
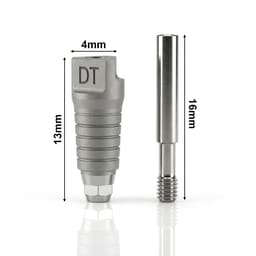
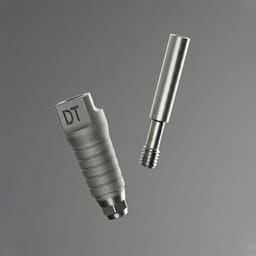
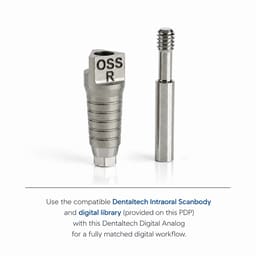
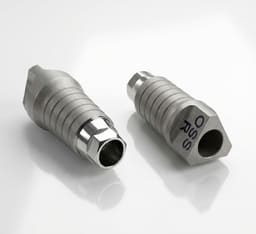
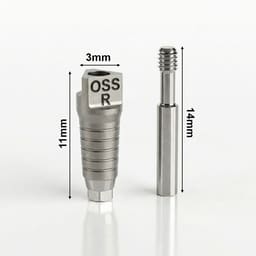
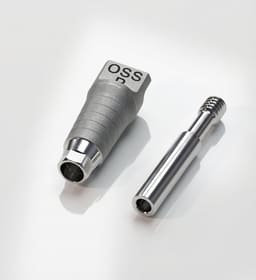
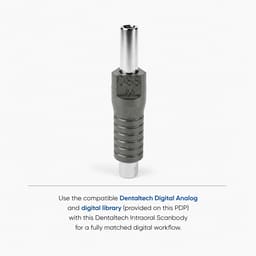
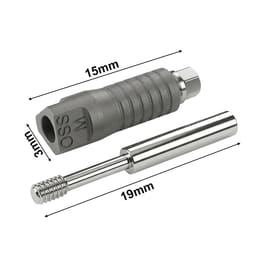
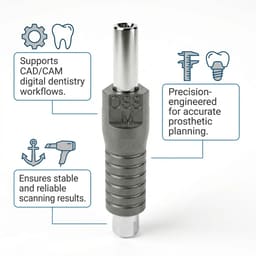
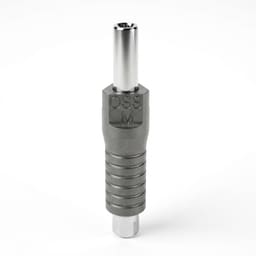
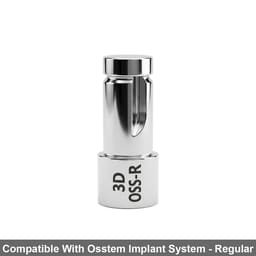
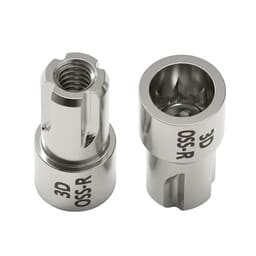
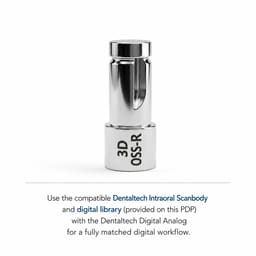
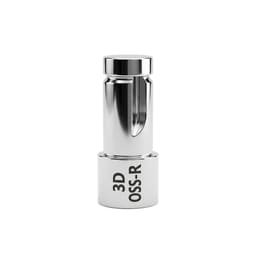
Modern restoration is largely digital. A scan body screws onto the implant so an intraoral scanner can record its exact position, and a matching analog reproduces that position in the printed or poured model the lab works on. The Dentaltech Osstem-Compatible Scan Body handles that step for Osstem systems.
Across the treatment timeline
- Grafting a fresh socket to preserve bone for an implant placed later
- Lifting the sinus floor before a posterior upper implant in a resorbed ridge
- Drilling the osteotomy and torquing the fixture to primary stability
- Measuring ISQ to confirm the implant has integrated before loading
- Connecting a healing abutment at second-stage surgery to shape the gum
- Scanning the implant position with a scan body for a digital impression
- Seating the abutment and cementing or screwing the final crown
- Maintaining the implant later with titanium-safe scaling instruments
Decisions that shape the case
- Connection type — a conical (Morse taper) join minimises the microgap and protects crestal bone on single aesthetic cases; an internal-hex platform gives predictable passive fit across multi-unit and full-arch work.
- Diameter to the site — narrow fixtures for thin anterior ridges, standard for most premolar and molar sites, wide for fresh sockets and soft posterior bone, all read off a CBCT of the ridge.
- Graft to the timeline — a slow-resorbing xenograft holds volume for a staged implant months later; a faster synthetic suits a shorter gap to placement.
- Kit matched to the system — drills, stops and torque wrenches must belong to the implant system being placed, or the prepared site will not fit the fixture's thread and taper.
- Retrievable or definitive — a temporary luting cement lets an implant crown be recovered for screw access and maintenance; a permanent cement is reserved for cases where retrieval is not needed.
Who supplies the range
The fixtures and surgical systems come from the implant houses — Apex Konnect, Impact, GS Implants and MS Implants — with Julldent adding basal kits and bone-harvesting instruments. Grafts and membranes sit with B-Ostin and Xcem.
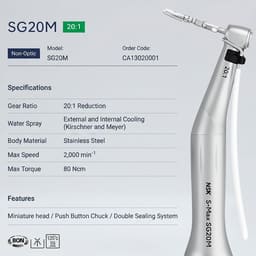
The prosthetic and digital side is led by Dentaltech, whose scan bodies, analogs, castable abutments and driver kits span dozens of implant systems, and by Mediden for the titanium abutment screws; measurement and location tools come from DentalPlant and Waldent, and NSK for the surgical motor.
One source for the whole implant journey
An implant case is a chain that runs for months across surgery and prosthetics, and each stage depends on parts that match the system and each other — the drill to the fixture, the scan body to the analog, the screw to the abutment. Keeping the surgical kits, the grafts, the healing and prosthetic components and the digital workflow parts in one catalogue lets an implantologist assemble a case around the system they place and reorder the exact compatible part at each stage, rather than tracking it across separate suppliers.
Frequently Asked Questions (FAQs):
How long does the whole implant process take?
Usually a few months, because the bone has to fuse to the implant before a tooth can be loaded onto it. After the fixture is placed it integrates over roughly three to six months, longer if the site was grafted first and needed to heal before surgery. Only once that fusion is confirmed does the restorative stage — abutment and crown — begin, which is why an implant is a staged treatment rather than a single visit.
Why does an implant site often need a bone graft first?
Because bone shrinks once a tooth is lost, and an implant needs enough surrounding bone to be stable. If the ridge is too thin or too short — common after a long-standing gap or in the posterior upper jaw near the sinus — a graft rebuilds the volume so the fixture can be fully surrounded by bone. Grafting may be done ahead of placement or at the same appointment, depending on how much bone is missing.
What is a scan body and an analog used for?
They carry the implant's position into the digital and lab workflow. A scan body screws onto the implant so an intraoral scanner can capture exactly where and at what angle it sits, replacing the old impression coping. An analog is a replica of the implant that goes into the printed or poured model, so the lab builds the crown on an accurate copy of the real implant's position in the mouth.
How is it confirmed that an implant has integrated before loading?
By measuring its stability rather than assuming it. An implant stability meter sends a small pulse to a peg on the implant and reports an ISQ value; a rising or high reading indicates the implant is firmly fused and ready to restore. This is more objective than tapping or feel, and it is especially useful for deciding when to load early or borderline cases safely.
Are implant components interchangeable between different brands?
Largely no, and it matters. Each implant system has its own connection geometry, thread and platform, so drills, abutments, screws, scan bodies and analogs are made to match a specific system. Compatible-brand components exist for many popular systems, but they must state the exact system they fit — using a mismatched part risks a poor fit, a loose connection, or an unstable restoration.