

Separator Placing Plier
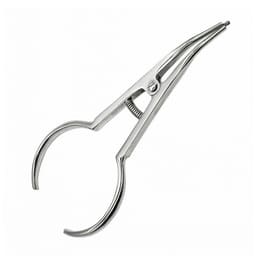
A separator placing plier is a hand instrument for fitting elastomeric separators — the small rubber rings left between molars to open space before banding. Its two prongs hold and stretch a separator thin, letting the operator walk it through a tight contact and set it in seconds. GDC, Koden, and OSL make the dedicated patterns stocked for it.
 Recommended
 Price- High to LowPrice- Low to High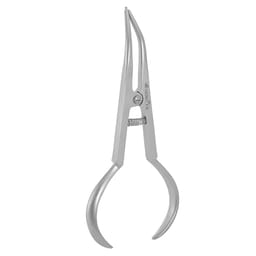

Only 5 Left
 31
31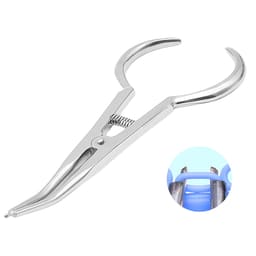
 40
40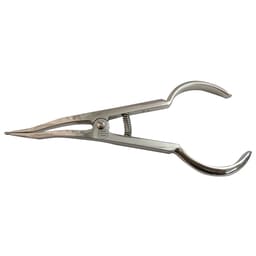 14
14Separator Placing Plier
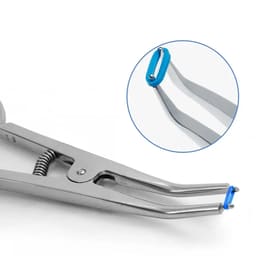
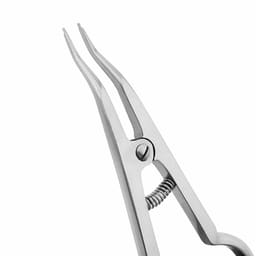
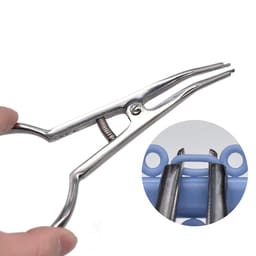
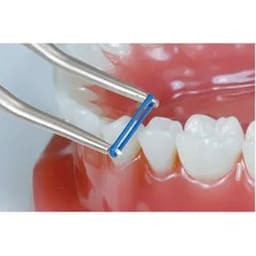
Before a molar band can be seated, a little space has to be opened between the molar and the tooth in front, and that space is made by leaving a small elastic ring in the contact for a few days. Getting that ring into a tight contact by hand is awkward, so a separator placing plier does it: the elastic separator is looped over two fine prongs at the tip, and squeezing the handles spreads the prongs and stretches the ring thin enough to walk through the contact point. Once through, the plier is eased away and the separator springs back to sit snugly between the teeth. It is the quick, clean way to place separators, and it belongs among the chairside orthodontic instruments used at the start of a banding case.
How the stretch-and-place works
Placing a separator with the plier is a short, controlled sequence:
- Load — hook the elastomeric separator over the two prongs at the plier tip.
- Stretch — squeeze the handles to spread the prongs, thinning the ring so it will pass the contact.
- Walk it through — work the stretched ring back and forth through the tight contact point until it is halfway in.
- Release — ease the prongs out and let the separator spring back into the contact.
The whole action takes a few seconds per contact once the feel is learned. The rings being placed are the elastic separators that open space ahead of banding.
Why use a plier
A separator can be placed with a length of floss, but doing it with the plier is faster and steadier:
- Speed — one squeeze stretches the ring, so a full set of separators goes in faster than the floss method.
- Control — the prongs hold the ring open in a predictable shape, so it seats cleanly at the contact.
- Less fiddling — no threading and tying of floss around each separator.
For a practice placing separators routinely, the time saved at the chair adds up quickly. The separators it seats create the space that molar banding needs a week or so later.
Build
For a plier used to stretch springy elastic repeatedly, the tip and joint decide how it feels:
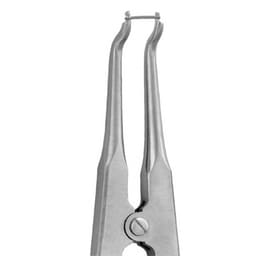
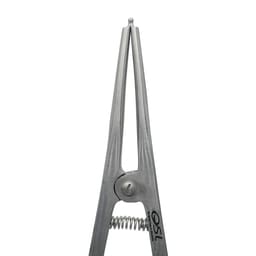
- Fine, tapered prongs — thin enough to hold the separator and pass the contact, strong enough not to splay.
- A smooth joint — a clean pivot so the prongs open evenly and the stretch is symmetrical.
- A comfortable handle — a grip that squeezes easily through a run of separators without tiring the hand.
A well-made separator plier holds the ring securely and opens smoothly; a worn one lets the separator slip off the prongs. Cleaned and sterilised between patients, it lasts for years of routine use.
Buy separator placing pliers at Dentalkart
The separator placing pliers here are the GDC, Koden, and OSL patterns — each a dedicated tool for stretching and seating elastic separators. An orthodontist placing separators before banding gets a faster, cleaner result than the floss method. All three are branded, genuine instruments, with the specifics and stock status shown per product.
Frequently Asked Questions (FAQs):
What is a separator placing plier used for?
It places elastomeric separators — small elastic rings — between the back teeth before molar bands are fitted. The separator is stretched over the plier's two prongs and walked through the tight contact, where it is released to open a little space over the next few days. Its only job is seating those elastic separators quickly and cleanly.
How does the plier place a separator?
The elastic ring is hooked over the two pointed prongs at the tip. Squeezing the handles spreads the prongs and stretches the ring thin, so it can be worked through the contact point between two teeth. Once it is halfway through, the prongs are eased out and the separator springs back to sit in the contact.
Can I place separators without the plier?
Yes — a length of dental floss looped through the separator can stretch and guide it into the contact. The plier is simply faster and more controlled, especially across a full set of separators, because one squeeze does the stretching without threading and tying floss each time. Plenty of clinics keep one on hand for exactly that.
Why are separators placed before banding?
A molar band has to slip over the tooth, which needs a slight gap where it meets the tooth next door. Leaving an elastic separator in that contact for several days gently opens the gap, so the band seats without forcing. The separator placing plier is what puts those separators in at the start of the process.
Does the separator plier need much maintenance?
Very little. Clean it after use and sterilise it with the rest of the instruments, and check that the prongs stay fine and aligned so the separator does not slip off. A worn or bent prong is the usual reason a separator will not hold, so a plier with intact tips keeps placing cleanly for years.