





Debonding
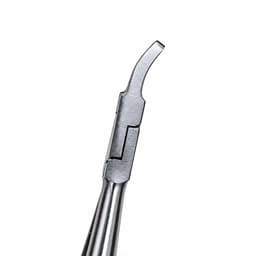
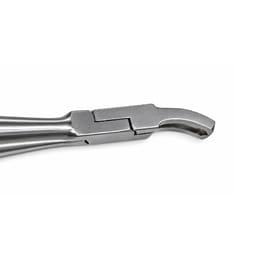
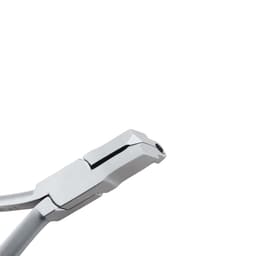
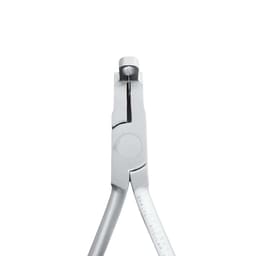
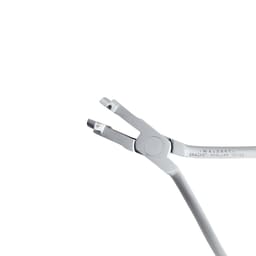
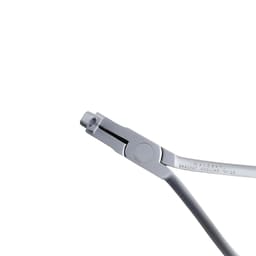
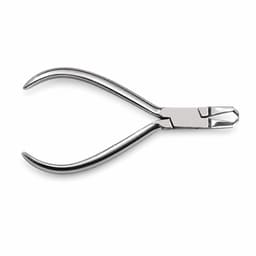
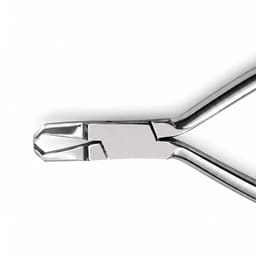
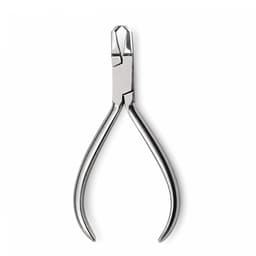
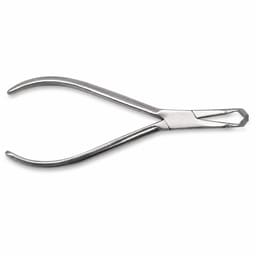
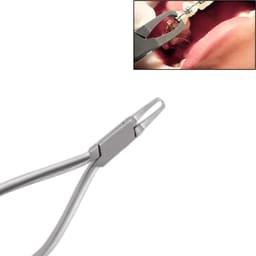
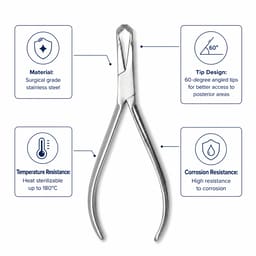
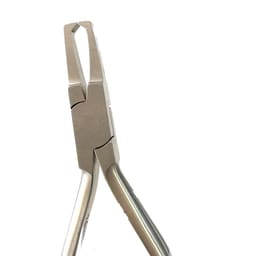
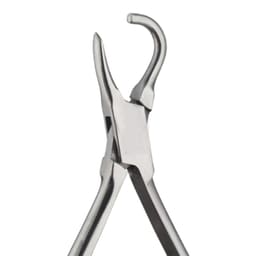
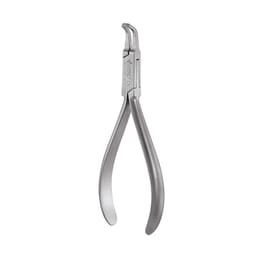
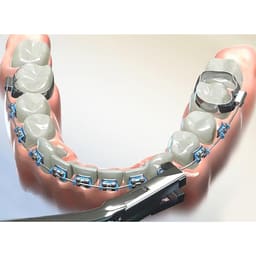
A debonding plier is an orthodontic bracket remover that takes bonded brackets off the teeth at the end of treatment. Its beaks grip the bracket at the wings or base and squeeze so the adhesive bond fractures, freeing it without prying at the enamel. Straight, curved, offset, and angular patterns are stocked, with tungsten-carbide (TC) tips from GDC, Waldent, and Koden.
 Recommended
 Price- High to LowPrice- Low to High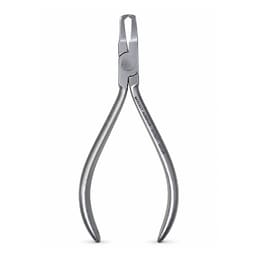



 40
40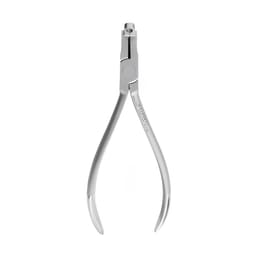
 70
70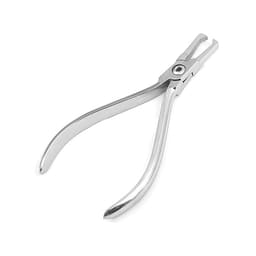
 9
9

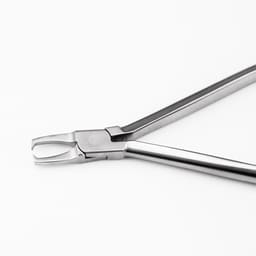
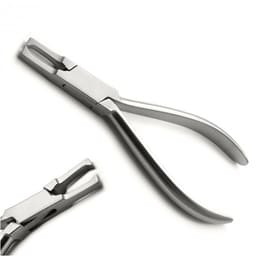
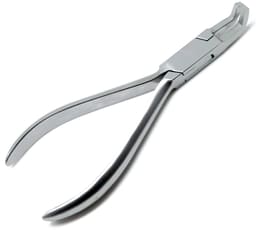
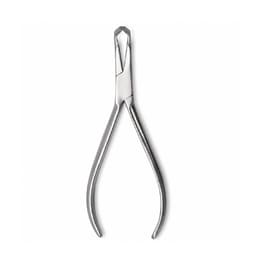
Only 4 Left
10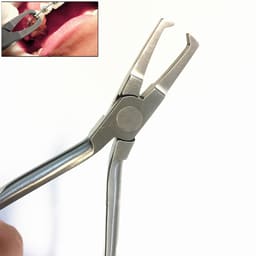

 45
45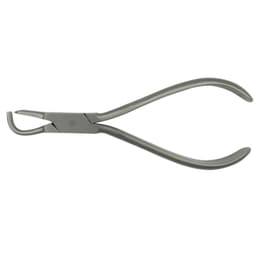
Only 1 Left
10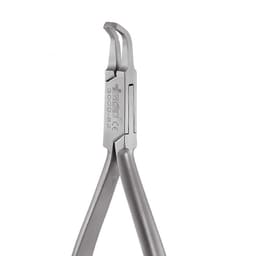
Only 3 Left
40Debonding
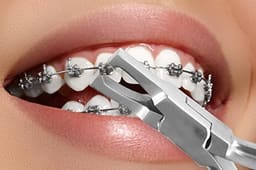
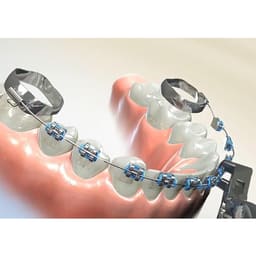
At the final visit, each bracket bonded to a tooth has to be released, and how it is done decides whether the enamel comes through unmarked. A debonding plier grips the bracket — usually at the wing-tie area or across the base — and applies a squeezing or twisting force that concentrates stress at the adhesive layer rather than the enamel. The bond gives way, the bracket peels off, and the tooth is left with only a film of set adhesive to clean up. This is the reverse of the placement done with a bracket tweezer at the start of treatment.
Breaking the bond, not the tooth
Every design detail aims the force where it belongs:
- Wing grip — the beaks catch the bracket's tie-wings and flex the bracket, cracking the adhesive from one edge inward.
- Base squeeze — some pliers compress the base so the bracket distorts and the bond peels rather than snaps.
- Controlled release — the aim is a clean fracture at the adhesive, so the bracket comes free without a sudden pull on the tooth.
Guiding that fracture through the glue rather than the enamel is the real skill of debonding, and the plier's geometry is shaped to make that the likely result.
Straight, curved, offset, and angular
Bracket removers vary by how the beaks meet the tooth:
- Straight — an in-line beak for accessible anterior brackets where the approach is direct.
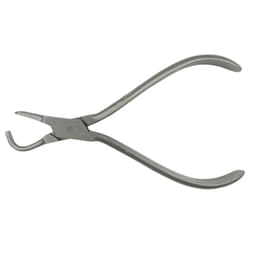
- Curved — a bowed beak whose handle sweeps clear of the view when reaching posterior teeth.
- Offset / angular — the working tip steps away from the handle to reach awkward positions and keep the grip square on the bracket.
- Anterior vs posterior — dedicated front and back removers match the reach and delicacy each region needs.
An anterior bracket on a visible tooth calls for a fine, controlled straight plier; a molar bracket at the back is easier with a curved or offset reach. These removers finish the job that the placing debanding pliers handle for the cemented bands.
After the bracket is off
Removal is only the first half of a debond:
- Lift clear — take the released bracket away without dragging the adhesive across the enamel.
- Assess the remnant — the adhesive left behind is graded by the Adhesive Remnant Index (ARI), which describes how much resin stays on the tooth after debonding.
- Remove residue — the set adhesive is taken back with a finishing bur or a hand instrument, working close to the enamel without cutting into it.
- Polish — the surface is polished to restore the enamel's natural texture and lustre.
A clean, polished finish is what the patient notices, so debonding is judged on the enamel afterwards as much as on the removal itself. Alongside the remover, the finishing appointment draws on the polishing and cleanup orthodontic instruments that restore the surface.
Buy debonding pliers at Dentalkart
The bracket removers listed here span GDC, Waldent, Koden, and OSL in straight, curved, offset, and angular forms, with TC-tipped choices for clinics that debond often and separate anterior and posterior pliers for the front and back of the mouth. Everything is genuine branded stock, and each listing states its pattern, tip material, and availability.
Frequently Asked Questions (FAQs):
How does a debonding plier remove a bracket?
The beaks catch the bracket at its wings or across its base and apply a squeeze or twist that loads the adhesive layer, not the tooth. The glue fractures, and the bracket comes away without a hard yank on the enamel. Steering that force into the adhesive is what keeps the removal clean and comfortable for the patient.
Which bracket remover suits front versus back teeth?
Anterior brackets on visible front teeth are removed with a fine straight plier for control and clear sight. Molar brackets at the back are reached more easily with a curved or offset plier that keeps the handle out of the way. Many clinics keep an anterior and a posterior remover so each region gets the right reach.
Why choose a tungsten-carbide-tipped remover?
Repeatedly gripping and flexing hard brackets wears a plain-steel tip, whereas a tungsten-carbide tip keeps its working surfaces effective through many more removals. A practice finishing orthodontic cases regularly earns back the extra cost in longevity. For occasional use, a plain-steel plier remains perfectly serviceable.
Does debonding damage the enamel?
Used correctly, a debonding plier fractures the adhesive bond, not the enamel, so the tooth surface is preserved. The care comes afterwards: the resin left behind — graded by the Adhesive Remnant Index — is cleared with a finishing bur or hand instrument, then the enamel is polished smooth. Most enamel wear at debond traces to careless residue removal, not the plier itself.
Debonding or debanding — are they the same thing?
No — debonding takes bonded brackets off the enamel by fracturing their adhesive, while debanding lifts cemented metal bands off the molars. The two use different pliers — a bracket remover flexes a small bracket, while a band remover levers a full ring off a cusp. A complete debond appointment usually needs both, one for brackets and one for bands.