
Dr.Yukti
Dental Content Contributor
Choosing the Right Dental Rubber Dam Clamp
An Isolation Selection Guide
Selecting the correct dental dam clamps involves matching jaw design, bow configuration, and features like wings or serrations to the specific tooth and clinical objective. This choice is pivotal, as a stable, well-sealed clamp is the bedrock of effective field isolation.
Table of Contents
Winged vs. Wingless Clamps: Which to Choose?
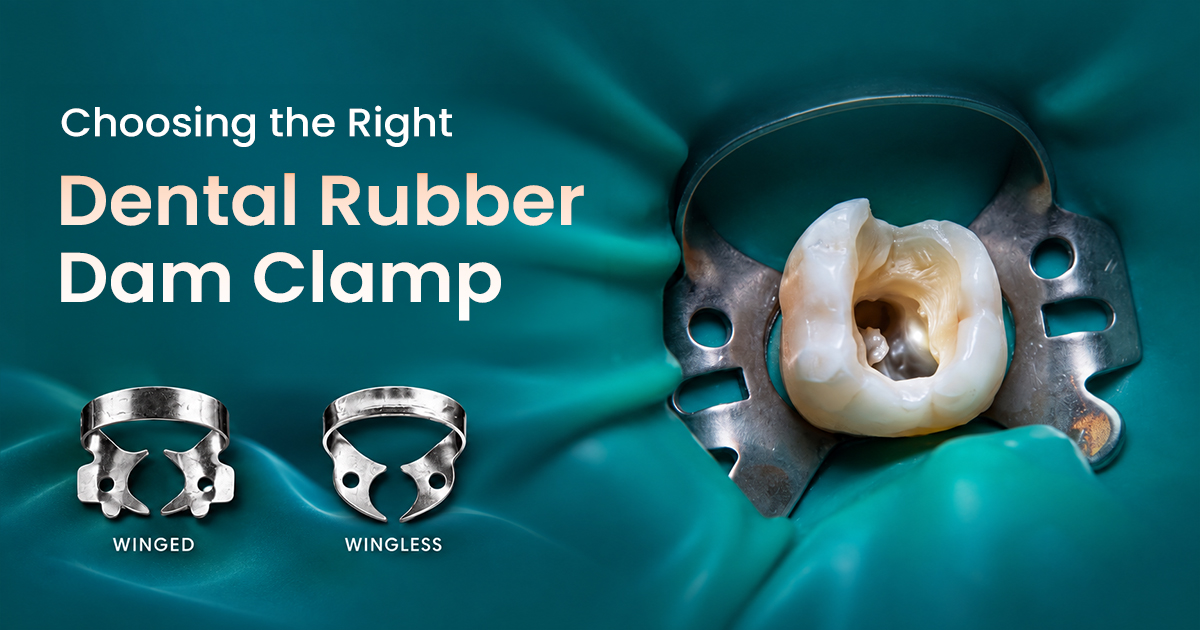
The primary difference between winged and wingless dental dam clamps is the application technique they facilitate. Winged clamps are designed for a one-step placement, where the clamp, dam, and frame are carried to the mouth as a single unit, which can be faster for experienced clinicians. Wingless clamps necessitate a two-step technique: the clamp is placed on the tooth first, followed by stretching the rubber dam over the clamp and bow.
While the one-step winged technique offers efficiency, it can obscure the view of the anchor tooth during seating, slightly increasing the risk of improper placement or gingival trauma. The two-step wingless method provides a completely unobstructed view for precise clamp positioning, making it ideal for cases with limited access or when teaching students. Ultimately, the choice often comes down to operator preference and the specific demands of the clinical situation.
- Speed: Winged clamps allow for a faster, single-motion placement, ideal for high-volume practices.
- Visibility: Wingless clamps guarantee a clear line of sight when seating the clamp, reducing the chance of misplacement on teeth with unusual contours.
- Learning Curve: The two-step wingless technique is often easier for beginners to master as it breaks the process down.
- Versatility: Most clinicians keep both types in their rubber dam kits to adapt to different quadrant needs.
Winged Clamps
- Faster one-step application (clamp, dam, and frame together).
- Reduces the number of instruments passed.
- Can obstruct view of the anchor tooth during seating.
- Wings can sometimes interfere with matrix band placement.
Wingless Clamps
- Unobstructed view for precise placement on the tooth.
- Easier to seat in areas with limited buccal or lingual space.
- Slower two-step application process.
- Requires more dexterity to stretch the dam over the seated clamp.
Select a Clamp for Subgingival Fractures
Managing a subgingivally fractured tooth requires a clamp specifically designed for apical retraction of soft tissue. These clamps, often called 'gingival retractors' or 'deep-reaching' clamps, feature jaws that are angled apically to gently displace the gingiva and expose the subgingival margin without causing excessive trauma or bleeding.
Standard clamps have flat jaws that engage the tooth at or above the cementoenamel junction (CEJ) and will fail to secure a tooth fractured below this level. A clamp like the Brinker B4 or Hygenic #212 has offset jaws that can reach 1-2 mm below the gingival margin, providing both retention and retraction. For enhanced stability, these clamps can be supported with green stick compound in the embrasure areas to prevent rocking during the procedure.
- Jaw Design: Look for jaws that are narrow and angled apically, not flat.
- Indication: Essential for exposing deep Class V lesions, fractures, or subgingival finish lines for crown preparations.
- Stabilization: Always stabilize deep-reaching clamps with modeling compound to prevent them from dislodging and injuring tissue.
- Sizing: Ensure the clamp contacts the tooth at four points without blanching the gingiva excessively.
Subgingival Clamp Selection Matrix
When Are Serrated Clamps Indicated?
Serrated dental dam clamps, often called 'tiger' clamps, are indicated for clinical situations where conventional smooth-jawed clamps fail to achieve stable retention. Their primary use is on teeth with minimal coronal structure or those with highly tapered, conical shapes that offer little to no undercut for a clamp to engage.
The fine serrations on the inner surface of the jaws lightly grip the tooth surface (enamel, dentin, or cementum) to prevent slippage. This is particularly valuable when isolating partially erupted third molars, primary teeth in pediatric dentistry, or any tooth that has been severely worn down. While effective, their use should be judicious, as the serrations can potentially mar composite restorations or freshly prepared crown margins if placed improperly.
- Primary Indication: Conically-shaped or partially erupted teeth lacking a distinct cervical constriction.
- Pediatric Use: Excellent for securing a rubber dam sheet on primary molars which often have poor retentive contours.
- A-Traumatic Clamps: For most routine cases, smooth, 'atraumatic' clamps are preferred to avoid any surface alteration.
- Placement Tip: Ensure the clamp is fully seated and stable before releasing the forceps to prevent snapping and potential iatrogenic damage.
Risk of Iatrogenic Damage
Use serrated clamps only when necessary. The sharp points can scratch or gouge tooth structure, especially cementum and dentin. Never place them directly on existing composite or ceramic restoration margins, as they can cause chipping or microfractures.
Ideal Clamp Design for Anterior Isolation
The ideal clamp design for isolating anterior teeth is the double-bowed 'butterfly' clamp, typified by the Hygenic #212, #9, and #00. This design features two bows, one on the labial and one on the lingual/palatal side, which effectively retract the dam away from the working field, providing superior access and visibility.
This retraction is crucial for procedures like Class V restorations, veneers, and crown preparations, where clear visualization of the cervical margin is non-negotiable. The #212 clamp, with its offset and deep-reaching jaws, is particularly well-suited for isolating deep cervical lesions. For isolating multiple anterior teeth, a 'slit-dam' or 'split-dam' technique is often preferred, where a single clamp is placed on a premolar and the dam is stretched over the remaining teeth without individual clamps.
- #212 (Ferrier clamp): The go-to for retracting gingiva for a Class V restoration on any anterior tooth.
- #9: A universal double-bowed clamp for general use on anterior teeth when deep retraction is not the primary goal.
- #00: A smaller version suitable for mandibular incisors or primary anterior teeth.
- Technique Note: When isolating a single anterior, you can often achieve stability by ligating adjacent teeth with floss instead of using additional clamps.
Double-Bow Design
The two bows keep the dam material pushed away from the tooth, creating an unobstructed field for instruments and direct vision.
Jaw Configuration
The small, often offset jaws are designed to seat securely at the cervical line, providing gentle apical pressure to retract the gingiva.
Versatility
Ideal for Class V restorations, bleaching, veneers, and any procedure on the facial surface of anterior teeth.
Conclusion: Clamp Selection is Non-Negotiable
The success of rubber dam isolation hinges on selecting a clamp that is perfectly adapted to the tooth's anatomy and the procedure's demands. Moving beyond a 'one-size-fits-all' approach and building a versatile inventory of winged, wingless, serrated, and retracting clamps is a direct investment in predictable clinical outcomes. Mastering clamp selection transforms isolation from a chore into a powerful tool for clinical excellence.
- Technique: Use winged clamps for rapid one-step placement in posterior quadrants; opt for wingless for superior visibility during seating.
- Subgingival Margins: Select clamps with apically-directed jaws (e.g., #212, B4) to manage fractures or caries 1-2 mm below the gingival crest.
- Poor Retention: Reserve serrated clamps for partially erupted or conically-shaped teeth where standard clamps would slip.
- Anterior Access: Employ double-bowed 'butterfly' clamps like the #212 or #9 for anterior teeth to retract tissue and improve access for Class V work.
Frequently Asked Questions
The bow of a dental dam clamp is the arched component that connects the two jaws. Its primary function is to provide the spring force that holds the jaws firmly onto the tooth. It also serves as the point of application for the rubber dam forceps during placement and removal of the clamp.
A retentive clamp is designed primarily to anchor the rubber dam to the most posterior tooth, featuring jaws that grip the tooth securely at or above the CEJ. A retracting clamp, like a #212, has specially designed jaws that actively displace the gingival tissues apically to expose subgingival tooth structure, providing both retention and retraction.
Clamp slippage is most often caused by a mismatch between the clamp's jaw curvature and the tooth's cervical contour, or from selecting a clamp that is too large. It can also occur on teeth with minimal clinical crown or a tapered shape. For these cases, using a serrated (tiger) clamp can provide the necessary extra grip to prevent dislodgement.
Partially erupted or primary molars often lack the defined cervical undercut needed for standard clamps, making them prone to slippage. A serrated clamp (e.g., #8A or #14A with serrations) is frequently the best choice as it provides enhanced retention. Ensure the size is appropriate for the smaller primary tooth to avoid tissue trauma.
Yes, but with caution. A standard, smooth-jawed clamp should be used to avoid scratching the crown's porcelain or metal surface. Ensure the clamp jaws are fully seated on tooth structure apical to the crown margin if possible. If the margin is subgingival, seat the clamp gently on the crown itself, confirming it is stable before proceeding.
Written by
Dr.Yukti
Dental Content Contributor
Dr. Yukti Jain is a BDS-qualified dental professional and Product Specialist at Dentalkart with expertise in dental materials, equipment, and clinical innovations. Passionate about evidence-based dentistry, she creates insightful, research-driven content that simplifies complex topics and empowers dental professionals to make informed clinical and purchasing decisions.
Keep reading
Browse all →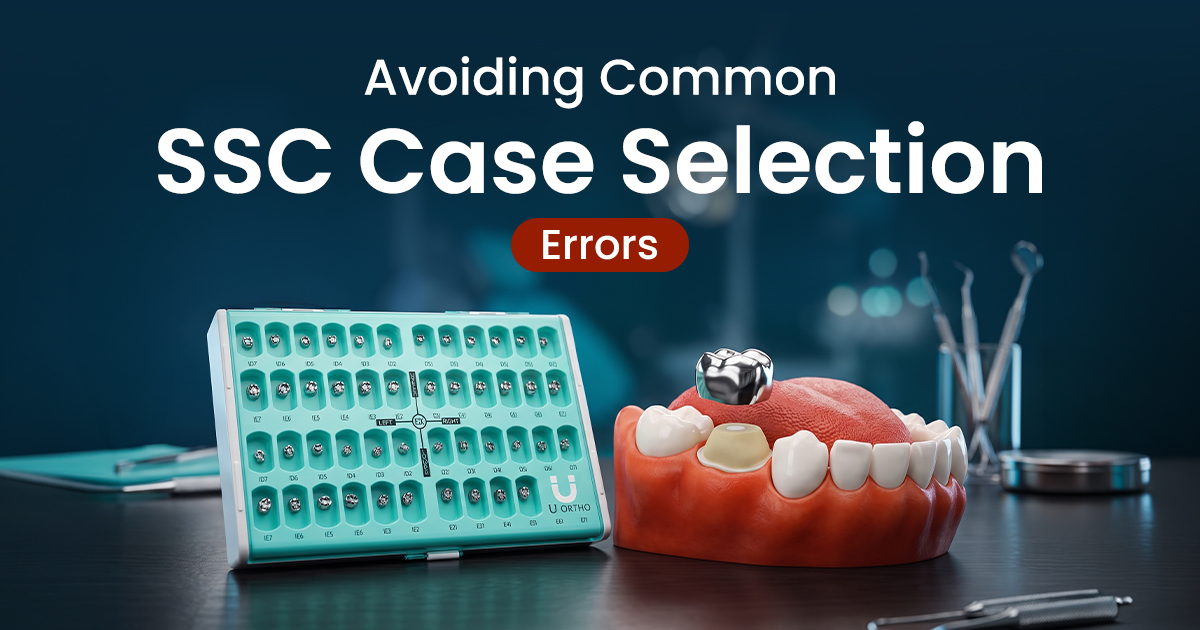
Avoiding Common SSC Case Selection Errors
Avoiding Common SSC Case Selection ErrorsA Pediatric Clinical Guide SSCs are indicated for multi-surface carious primary molars, post-pulpotomy teeth, and high-

Bis-acryl vs. PMMA Temporary Materials
Bis-acryl vs. PMMA Temporary MaterialsA Case Selection Guide The choice between bis-acryl and PMMA provisional crown materials depends on the clinical case: bis
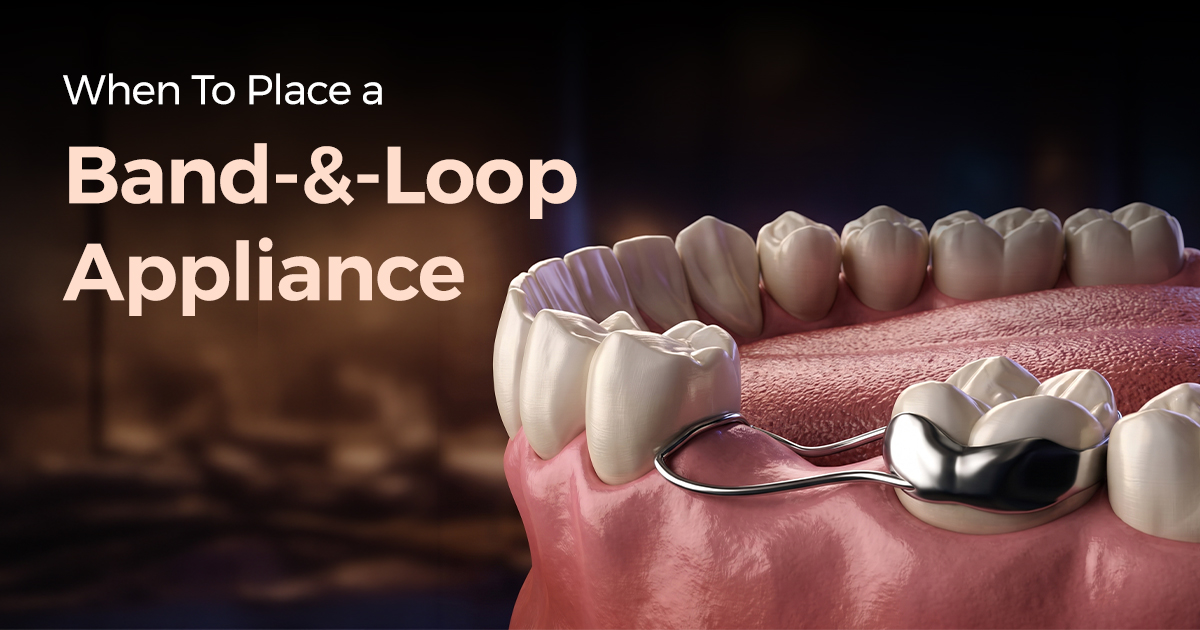
When To Place a Band-and-Loop Appliance
When To Place a Band-and-Loop ApplianceAn Evidence-Based Selection Protocol A band-and-loop is a unilateral, fixed appliance preserving mesiodistal dimension af
