
Dr.Yukti
Dental Content Contributor
Dental Airotor Maintenance and Minor Repair Protocol
Extend Handpiece Life
Proper airotor handpiece maintenance involves a strict daily protocol of cleaning, lubrication, and sterilization to ensure longevity and optimal performance. This routine prevents premature bearing wear and water line blockages, which are common causes of procedural delays and costly in-clinic repairs.
Table of Contents
Correct Daily Airotor Lubrication Protocol
The correct daily airotor lubrication protocol involves purging old oil and debris, applying new lubricant for 2-3 seconds until it runs clear from the head, and then running the handpiece to expel any excess.
Airotor turbines spin at speeds up to 450,000 RPM, generating significant frictional heat that requires constant lubrication for dissipation. Failure to lubricate properly is the primary cause of premature bearing failure. This protocol should be performed after every patient use and before sterilization, as the autoclaving process can break down and wash away protective oils, leaving bearings vulnerable. Consistent lubrication ensures smooth operation and protects your investment in quality dental handpieces.
- Purge First: Before lubricating, spray a cleaner or air through the drive air tube to expel debris and old, contaminated lubricant.
- Correct Nozzle: Use the specific lubrication nozzle designed for your handpiece's connection type (e.g., 2/4-hole or quick-coupling) to ensure a proper seal and effective oil delivery.
- Check for Clarity: Spray lubricant into the drive air inlet for 2-3 seconds. Hold a tissue over the handpiece head; continue spraying until the expelled oil is perfectly clear.
- Expel Excess: Connect the handpiece to your unit and run it for 20-30 seconds over a sink or into a gauze to purge all excess oil. Oil that remains can coagulate during autoclaving, impeding the turbine.
Step 1: Purge & Clean
Use a can of compressed air or a designated cleaner to spray into the drive air tube for 5 seconds to clear out any debris and old lubricant.
Step 2: Lubricate Correctly
Attach the correct nozzle and spray lubricant into the drive air tube for 2-3 seconds, or until clean oil visibly exits the handpiece head.
Step 3: Expel Excess Oil
Run the handpiece for 20-30 seconds to spin out excess lubricant, preventing it from 'cooking' and solidifying inside the turbine during sterilization.
How to Clean and Sterilize Handpieces
To properly clean and sterilize a handpiece, first manually scrub the exterior and flush internal lines, then package it and process it in a Class B steam autoclave at 134°C. This ensures sterility without damaging sensitive internal components.
The intricate internal lumens of a handpiece make it a hollow instrument, requiring an autoclave with pre- and post-vacuum cycles (Class B) for effective steam penetration and drying. Simply wiping the exterior is insufficient and poses a significant cross-contamination risk. A thorough cleaning before autoclaving is essential to remove bioburden, as sterilization cannot be guaranteed if debris is present and subsequently 'baked' onto the components.
- External Cleaning: After removing the bur, use a soft brush and a neutral pH disinfectant to scrub the exterior of the handpiece under running water. Avoid abrasive materials.
- Internal Flushing: Use your dental unit's flush function or a dedicated cleaning station to run water through the system for 20-30 seconds to clear internal lumens.
- Packaging: Dry the handpiece completely and place it in a sterilization pouch. This maintains sterility after the cycle is complete.
- Autoclaving: Use a Class B autoclave. Ensure the handpiece undergoes a full cycle, including the crucial drying phase, as residual moisture will cause rapid corrosion of bearings and O-rings.
Avoid These Sterilization Errors
Never immerse a handpiece in chemical disinfectants ('cold sterilization'), as this will corrode the turbine bearings and void the warranty. Additionally, never lubricate a handpiece after autoclaving; lubricant must be applied before the heat cycle to protect the components.
How to Unblock a Clogged Water Line
To unblock a clogged airotor water line, use the fine-gauge stylet or cleaning wire provided by the manufacturer, inserting it gently into the spray ports on the handpiece head to mechanically dislodge mineral deposits or debris.
Water line blockages are common in areas with hard water, leading to calcite buildup, or can occur when debris is retracted into the lines. An obstructed spray compromises cooling of the bur and tooth, which can increase frictional heat and risk iatrogenic pulp damage. Regular flushing of the lines is the best preventative measure, especially at the end of the clinical day.
- Isolate the Problem: First, confirm the blockage is within the handpiece itself and not the tubing or dental unit by testing a different handpiece on the same line.
- Use the Correct Tool: Gently insert the cleaning wire into each water port on the head. Rotate it carefully to break up any internal blockage. Never force the wire.
- Flush Out Debris: After using the wire, connect the handpiece to the unit and activate the water spray (without a bur) for 30 seconds to flush out any dislodged particles.
- Chemical Cleaners: If a mechanical blockage persists, use a dedicated, non-corrosive handpiece cleaning solution designed to dissolve mineral buildup, following the manufacturer's specific instructions.
Water Line Troubleshooting Checklist
Ensure the master water switch is on and the flow control for the specific handpiece line is open.
Check the O-rings on the handpiece coupling for damage or debris that could obstruct the water port.
Carefully probe each spray orifice on the handpiece head with the supplied stylet to clear physical blockages.
Run the water spray function for at least 30 seconds to expel any loosened debris after cleaning.
Diagnose and Replace a Worn Airotor Turbine
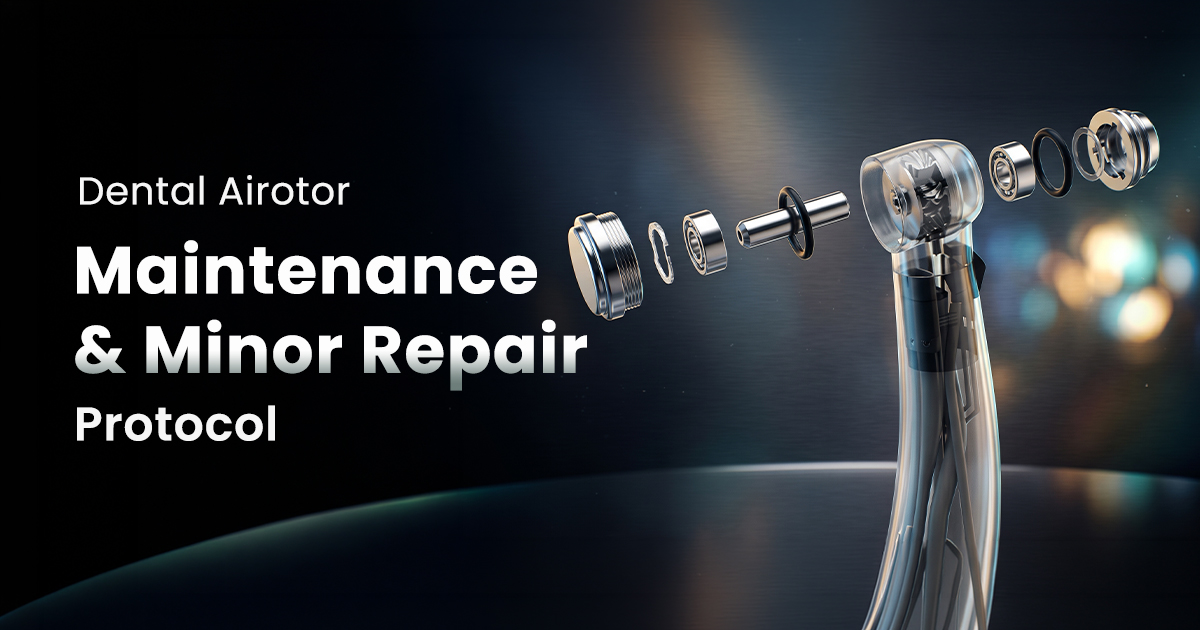
A worn airotor turbine is diagnosed by symptoms like reduced cutting power, increased vibration, or a high-pitched 'screaming' noise; replacement involves using a back cap wrench to open the head, removing the old cartridge, and seating a new one.
Turbine bearings wear out over time, a process accelerated by poor lubrication, excessive air pressure (above 35 psi), or using bent burs which create imbalance. A failing turbine reduces cutting efficiency, increases chair time, and can be a safety risk if the bur becomes loose. Many modern airotor handpieces are designed with user-replaceable turbine cartridges, making this a simple in-clinic repair.
- Symptoms of Failure: Noticeable loss of torque (handpiece stalls under light pressure), excessive noise/vibration, or visible bur wobble (poor concentricity) are clear signs.
- Removal: Use the specific back cap wrench for your model to turn the cap counter-clockwise. Once loosened, the cap and the old turbine cartridge can be removed.
- Installation: Clean the inside of the handpiece head with a cotton swab and isopropyl alcohol. Carefully place the new turbine, ensuring its O-rings are properly seated.
- Securing the Cap: Screw the back cap on finger-tight, then use the wrench for a final quarter-turn. Overtightening can damage the head or the cap threads.
Turbine: Repair or Replace In-Clinic?
Frequently Asked Questions
A dental airotor must be lubricated after every single patient use, prior to sterilization. This frequent lubrication is critical because the high speeds, up to 450,000 RPM, generate intense heat, and the subsequent autoclave process can strip away protective oils. Performing this aspect of airotor handpiece maintenance consistently ensures bearings are protected from friction and premature failure.
The most common and damaging mistake is improper lubrication—either skipping it entirely or not expelling the excess oil before autoclaving. When excess lubricant is heated during sterilization, it can coagulate and 'gum up' the turbine bearings. This restricts movement and leads to rapid failure, turning a simple maintenance step into a costly repair.
A push-button chuck allows for tool-free bur changes with one press, maximizing chairside efficiency. A wrench-type chuck, conversely, requires a specific tool to tighten and loosen the bur. While push-button systems are more convenient, their complex spring-loaded mechanisms demand diligent cleaning and lubrication to prevent debris buildup and failure, whereas wrench systems are simpler and more robust.
An airotor losing cutting power is most often caused by a worn-out turbine cartridge; its bearings have degraded and can no longer sustain high-speed rotation under load. Other potential causes include low air pressure from the dental unit (should be 28-35 psi), a kinked or clogged air line, or internal debris. The first and most common fix is to replace the turbine cartridge.
High-speed airotor handpieces demand the most frequent and diligent maintenance, requiring cleaning and lubrication after every patient. In contrast, low-speed handpieces are more forgiving due to their lower rotational speeds (around 20,000 RPM). However, speed-increasing contra-angle handpieces also require a strict maintenance protocol similar to airotors because of their complex internal gearing systems.
Written by
Dr.Yukti
Dental Content Contributor
Dr. Yukti Jain is a BDS-qualified dental professional and Product Specialist at Dentalkart with expertise in dental materials, equipment, and clinical innovations. Passionate about evidence-based dentistry, she creates insightful, research-driven content that simplifies complex topics and empowers dental professionals to make informed clinical and purchasing decisions.
Keep reading
Browse all →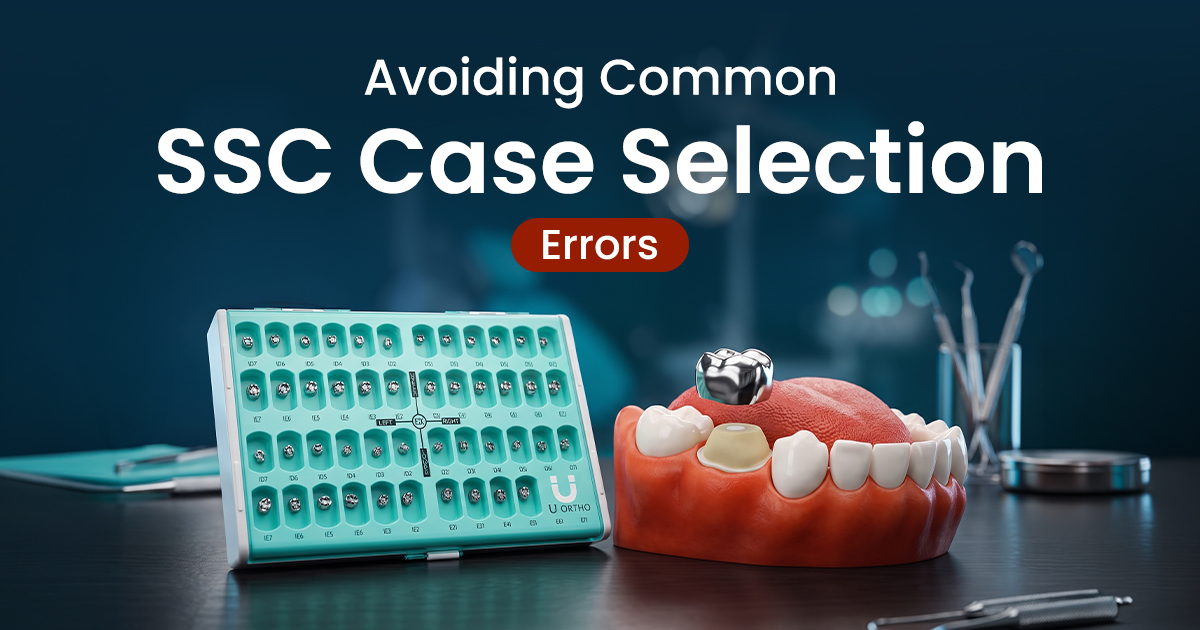
Avoiding Common SSC Case Selection Errors
Avoiding Common SSC Case Selection ErrorsA Pediatric Clinical Guide SSCs are indicated for multi-surface carious primary molars, post-pulpotomy teeth, and high-

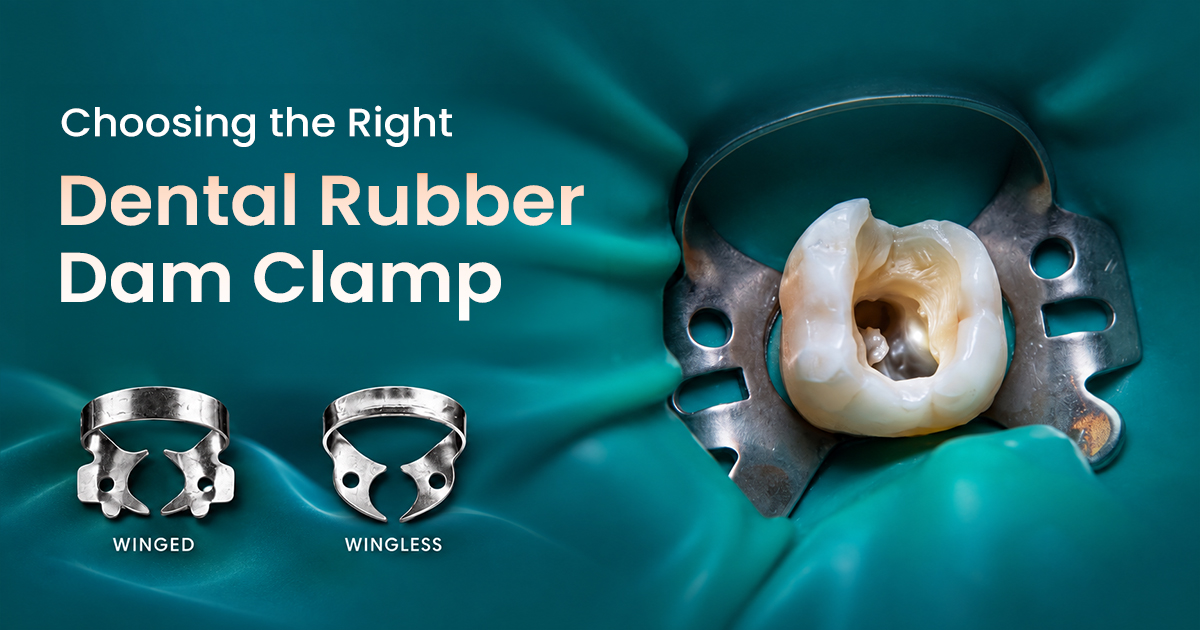
Choosing the Right Dental Rubber Dam Clamp
Choosing the Right Dental Rubber Dam ClampAn Isolation Selection Guide Selecting the correct dental dam clamps involves matching jaw design, bow configuration,
Bis-acryl vs. PMMA Temporary Materials
Bis-acryl vs. PMMA Temporary MaterialsA Case Selection Guide The choice between bis-acryl and PMMA provisional crown materials depends on the clinical case: bis