
Dr.Bhavishya
Dental Content Contributor
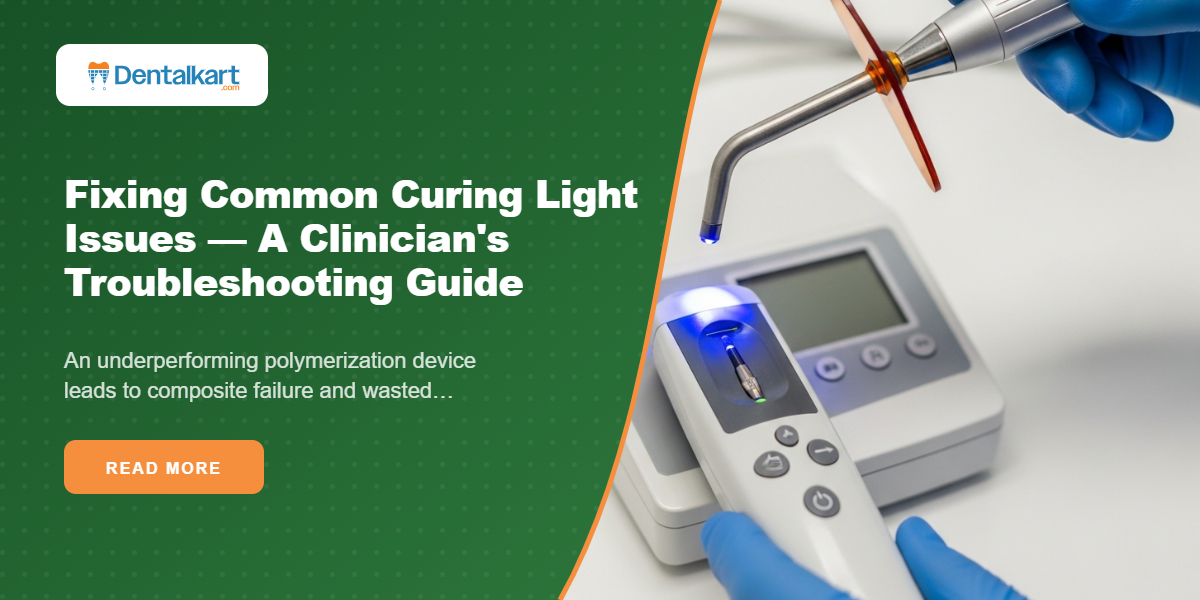
Fixing Common Curing Light Issues
A Clinician's Troubleshooting Guide
An underperforming polymerization device leads to composite failure and wasted chair time. Before calling for service, learn to diagnose and resolve frequent issues yourself for consistent clinical results and improved patient outcomes.
Table of Contents
Diagnosing Inconsistent Power Output
- Use a dental radiometer for a quantitative power output measurement weekly.
- Check for any debris or cured residue on the emitting diode lens.
- Listen for unusual fan noises that might indicate internal overheating.
- Observe the beam for any flickering or dimming during the cycle.
- Compare its performance with another unit in your clinic if possible.
- Ensure the selected curing mode matches the composite material's requirements.
KEY INDICATORS OF REDUCED CURING POWER
The top layer of the composite feels soft or sticky after a full cycle.
Restorations show a noticeable color shift or yellowing over a short period.
Increased incidence of debonding, fractures, or marginal staining in restorations.
The device consistently measures below the manufacturer's recommended mW/cm² output.
Solving Battery and Charging Issues
- Clean charging contacts on the handpiece and base regularly.
- Verify you are using the correct power adapter provided by the manufacturer.
- Allow the unit to complete a full charging cycle without any interruption.
- Avoid leaving the device on the charger continuously for over 24 hours.
- Check the battery indicator light for error signals or blinking patterns.
- Consider battery replacement if it no longer holds a sufficient charge.
Monthly Battery Health Checklist
Check for any debris or oxidation on the metal contacts of the base and handpiece.
Ensure the device can charge from empty to full, as indicated by its display light.
Feel the handpiece during charging; excessive heat can signal a failing battery.
Note if the battery depletes significantly faster than it did when it was new.
Maintaining the Light Guide Tip
- Visually inspect the tip for chips, cracks, or any surface damage.
- Remove cured composite residue from the tip end after each patient.
- Ensure the light guide is fully seated and secure in the handpiece.
- Use disposable barrier sleeves to prevent debris buildup and scratches.
- Autoclave the light guide according to manufacturer’s specific instructions.
- Avoid dropping the handpiece to protect the fragile fiber optic components.
Hidden Power Loss
Even a small, hairline crack or chip in the light guide tip can reduce the power output by over 50%. This significant loss can lead to incomplete polymerization and restoration failure, even if the device seems to be working.
Effective Cleaning
Use a soft cloth dampened with isopropyl alcohol to wipe the light guide tip. Avoid using sharp instruments to scrape off cured composite, as this can easily scratch the surface and permanently impair light transmission.
Simple Calibration Checks
- Use a standardized composite testing block to check cure depth visually.
- Perform a test on the same specific composite shade and brand weekly.
- Document the test results in a log to track performance over time.
- Establish a weekly or monthly checkup routine for all your units.
- Consult the manufacturer's guide for any recommended calibration procedures.
- Compare results between different operators to ensure consistent technique.
THE 3-STEP WEEKLY PERFORMANCE CHECK
Wipe the lens and light guide, checking for any debris or damage.
Ensure the device is fully charged before starting your clinical day.
Cure a 2mm increment of composite on a pad and check for hardness.
Frequently Asked Questions
A soft or tacky composite surface is a classic sign of under-polymerization. This can be caused by low power output, an incorrect curing time for the material's shade or depth, or an increased distance between the light tip and the restoration. First, check your device's power with a radiometer. Ensure the tip is less than 2mm from the composite surface during the entire cycle.
For optimal clinical results, it is recommended to test the power output of your polymerization device at least once per week using a dental radiometer. This quick check takes less than 30 seconds and can prevent countless restoration failures. If you notice any significant drop in output (e.g., more than 20% from baseline), investigate the cause immediately before clinical use.
No, you should never mix and match charging components from different manufacturers. Each device is designed with specific voltage and amperage requirements. Using an incompatible charging base or power adapter can permanently damage the battery and internal electronics, voiding your warranty. Always use the original charging equipment that came with your specific unit.
The impact is significant. Even minor, hard-to-see cracks, chips, or bonded debris on the light guide tip can scatter the light beam and reduce the power delivered to the composite by over 50%. This drastic reduction in energy leads directly to incomplete curing. Regularly inspect the tip under magnification and replace it immediately if you find any damage.
Written by
Dr.Bhavishya
Dental Content Contributor
A contributing clinician at Dentalkart Blogs, Dr. Bhavishya is a compassionate, detail-driven dentist known for thoughtful patient care, clear communication, and a calm chair-side manner that puts patients at ease. Beyond the clinic, she leads product content and category initiatives at Dentalkart India's largest dental marketplace where she bridges clinical understanding with commercial insight to help dentists make better-informed product choices.
Keep reading
Browse all →
Avoiding Common SSC Case Selection Errors
Avoiding Common SSC Case Selection ErrorsA Pediatric Clinical Guide SSCs are indicated for multi-surface carious primary molars, post-pulpotomy teeth, and high-

Choosing the Right Dental Rubber Dam Clamp
Choosing the Right Dental Rubber Dam ClampAn Isolation Selection Guide Selecting the correct dental dam clamps involves matching jaw design, bow configuration,

Bis-acryl vs. PMMA Temporary Materials
Bis-acryl vs. PMMA Temporary MaterialsA Case Selection Guide The choice between bis-acryl and PMMA provisional crown materials depends on the clinical case: bis