
Dr. Yashasvi Sharma
Contributing Dental Clinician
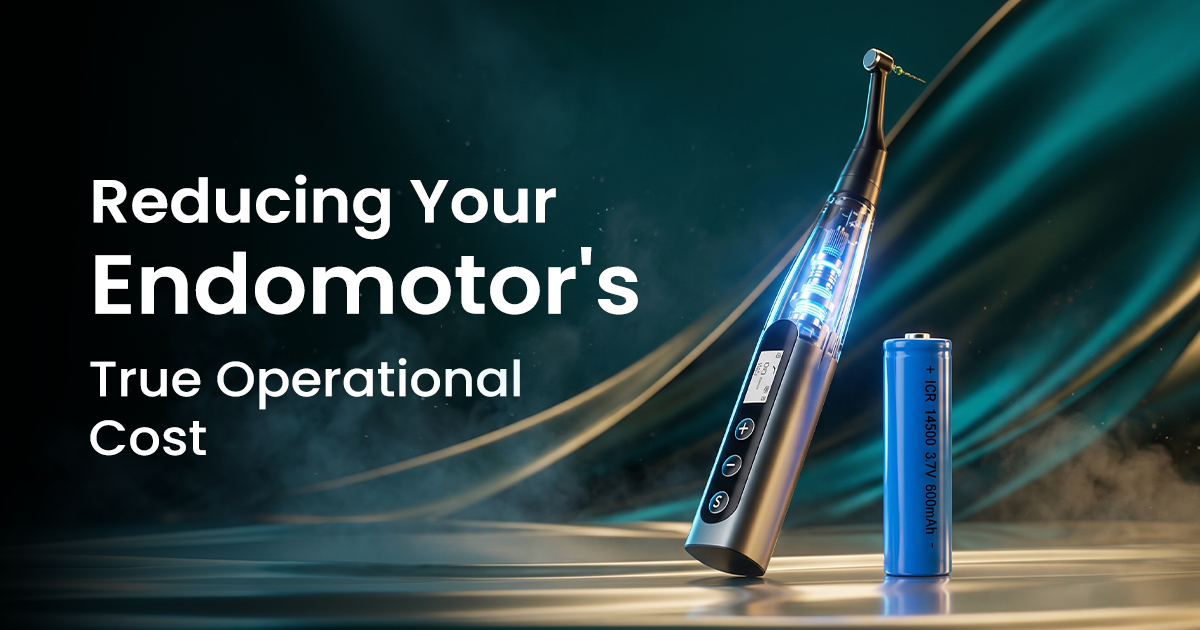
Reducing Your Endomotor's True Operational Cost
A Clinical Troubleshooting Guide
Proper endo motor maintenance is the key to controlling its true lifetime cost, which stems from preventable failures in the battery, calibration, and handpiece. Proactively addressing these issues is the most effective way to reduce unexpected expenses and enhance procedural efficiency.
Table of Contents
Endo Motor Battery Life: How Mismanagement Inflates Long-Term Costs
Improper charging cycles and high temperatures are primary drivers of premature battery failure, forcing costly replacements every 12-18 months. Lithium-ion (Li-ion) batteries, standard in cordless endomotors, degrade faster when drained to 0% or left on the charger at 100%. This reduces charge capacity, leading to decreased clinical uptime and more frequent, disruptive charging during busy OPDs.
For optimal battery longevity, maintain a 20-80% charge. This extends service life, delaying replacement costs. Erratic power supply, common in many Indian localities, can damage charging circuits. A surge protector for your charging base is a small investment that protects endomotors from electrical damage.
- Partial Charging: Avoid deep discharges; recharge unit at 20-30% for ideal Li-ion chemistry.
- Temperature Control: Never leave endomotor in hot, sunlit areas or near active autoclaves; heat accelerates battery degradation.
- OEM Chargers Only: Non-original chargers provide incorrect voltage, permanently damaging battery cells and internal electronics.
- Storage Protocol: For extended storage, leave device at ~50% charge, not fully charged or empty.
Chairside Charging Tip
To maximize clinical efficiency and battery health, charge the endomotor 30-45 minutes between patients instead of a full 3-hour overnight charge. This keeps the battery in its optimal 20-80% range, ensuring readiness for the next case.
Which Cleaning Errors Lead to Expensive Repairs?
Failure to properly clean and lubricate the contra-angle handpiece after each use leads to premature gear and bearing failure. Debris, sodium hypochlorite, and chelating agents are highly corrosive; if left inside the handpiece head, they degrade internal components. Autoclaving without prior cleaning exacerbates this, as heat bakes debris onto moving parts, causing friction and seizure.
A strict cleaning protocol is non-negotiable for cost control. Disconnect the handpiece, scrub externally with a soft brush and neutral pH detergent, then lubricate per manufacturer specifications before every autoclave cycle (typically Class B at 134°C). This prevents expensive repairs, often involving replacing the entire head assembly—a significant portion of the device's total cost. This is essential for all endodontic products requiring sterilization.
- Skipping Lubrication: Dry-running gears post-autoclave causes rapid wear.
- Using Incorrect Lubricants: Only use manufacturer-approved dental handpiece oil; industrial lubricants damage O-rings and seals.
- Submerging the Handpiece: Never immerse the handpiece in disinfectant solution; this forces fluid into motor housing and electronics.
- Improper Autoclave Bagging: Ensure the bag is not sealed too tightly, allowing effective steam penetration without trapping corrosive moisture during drying.
3-STEP HANDPIECE MAINTENANCE CYCLE
Scrub with soft brush and neutral detergent to remove all visible bioburden and chemical residue.
Apply 2-3 drops of manufacturer-approved oil into the drive air tube; run for 20 seconds.
Bag the handpiece; process in a Class B autoclave, ensuring a complete drying cycle.
When to Repair vs. Replace Your Endomotor
Deciding whether to repair or replace a malfunctioning endomotor hinges on the '50% rule' and device age. If repair cost exceeds 50% of a new comparable unit's price, replacement is almost always more cost-effective. A major repair (e.g., motherboard or motor replacement) doesn't reset the age of other wearing components like battery or handpiece gears, leaving you vulnerable to subsequent failures.
For newer devices (under 2 years old) with minor issues (e.g., faulty switch, single battery replacement), repair is logical. However, for devices over 3-4 years old facing a significant repair bill, investing in a new model with a full warranty and potentially superior technology (e.g., precise torque control, better ergonomics) is better. A new device also resets the maintenance clock, offering greater reliability and predictable performance, critical for managing complex procedures like retreatment or shaping severely curved canals before using obturation systems.
- Warranty Status: Always check warranty; it makes repair the default, low-cost option.
- Technology Obsolescence: Consider if newer models offer features (e.g., integrated apex locator, reciprocating modes) that could improve workflow.
- Repair Turnaround Time: Factor in clinical downtime. If a repair takes weeks, lost revenue might justify immediate replacement.
- History of Failures: A device with recurring problems is a poor candidate for further repair investment.
Repair or Replace Decision Guide
Frequently Asked Questions
An endomotor should be professionally calibrated at least once yearly, or immediately if performance is inconsistent. For busy practices, a six-month interval is ideal. Weekly chairside verification of the auto-reverse function prevents file separation, a major hidden endodontic cost.
Proper endo motor maintenance involves three core areas: keeping the battery charged within a 20–80% range, verifying torque and speed calibration regularly, and cleaning and lubricating the contra-angle handpiece after every use. Staying consistent with all three prevents the most common and expensive endomotor failures.
Rapid battery drain in a cordless endo motor is typically caused by battery age and degradation from improper charging cycles. Li-ion batteries have a finite lifespan (300-500 full charge cycles). Consistently draining to zero or extended charging accelerates decline. If the unit is over two years old, a replacement battery is likely needed.
Yes, you can generally use NiTi files from different brands if compatible with the handpiece latch mechanism. However, use the specific speed and torque settings recommended by the file manufacturer, not the motor's. Programming these custom settings into your motor prevents file fracture and optimizes performance.
The auto-reverse function automatically reverses the file's rotation when torque load exceeds a preset limit. This critical safety feature prevents the NiTi file from binding in the canal and fracturing under torsional stress. By preventing file separation, it saves new file costs, avoids lost chair time, and prevents procedural complications.
Written by
Dr. Yashasvi Sharma
Contributing Dental Clinician
Dr. Yashasvi Sharma is a contributing Dental professional at Dentalkart Blogs, where she distills chair-side clinical experience into evidence-based, practice-ready guides for Indian dentists. Her work bridges the gap between academic dentistry and everyday practice, translating global research into actionable insights tailored to the realities of Indian clinical settings.
Keep reading
Browse all →Navigating Gates-Glidden Drill Sizes
Navigating Gates-Glidden Drill SizesA Clinical Selection Guide Gates-Glidden (GG) drills are latch-type, side-cutting rotary instruments for shaping the coronal

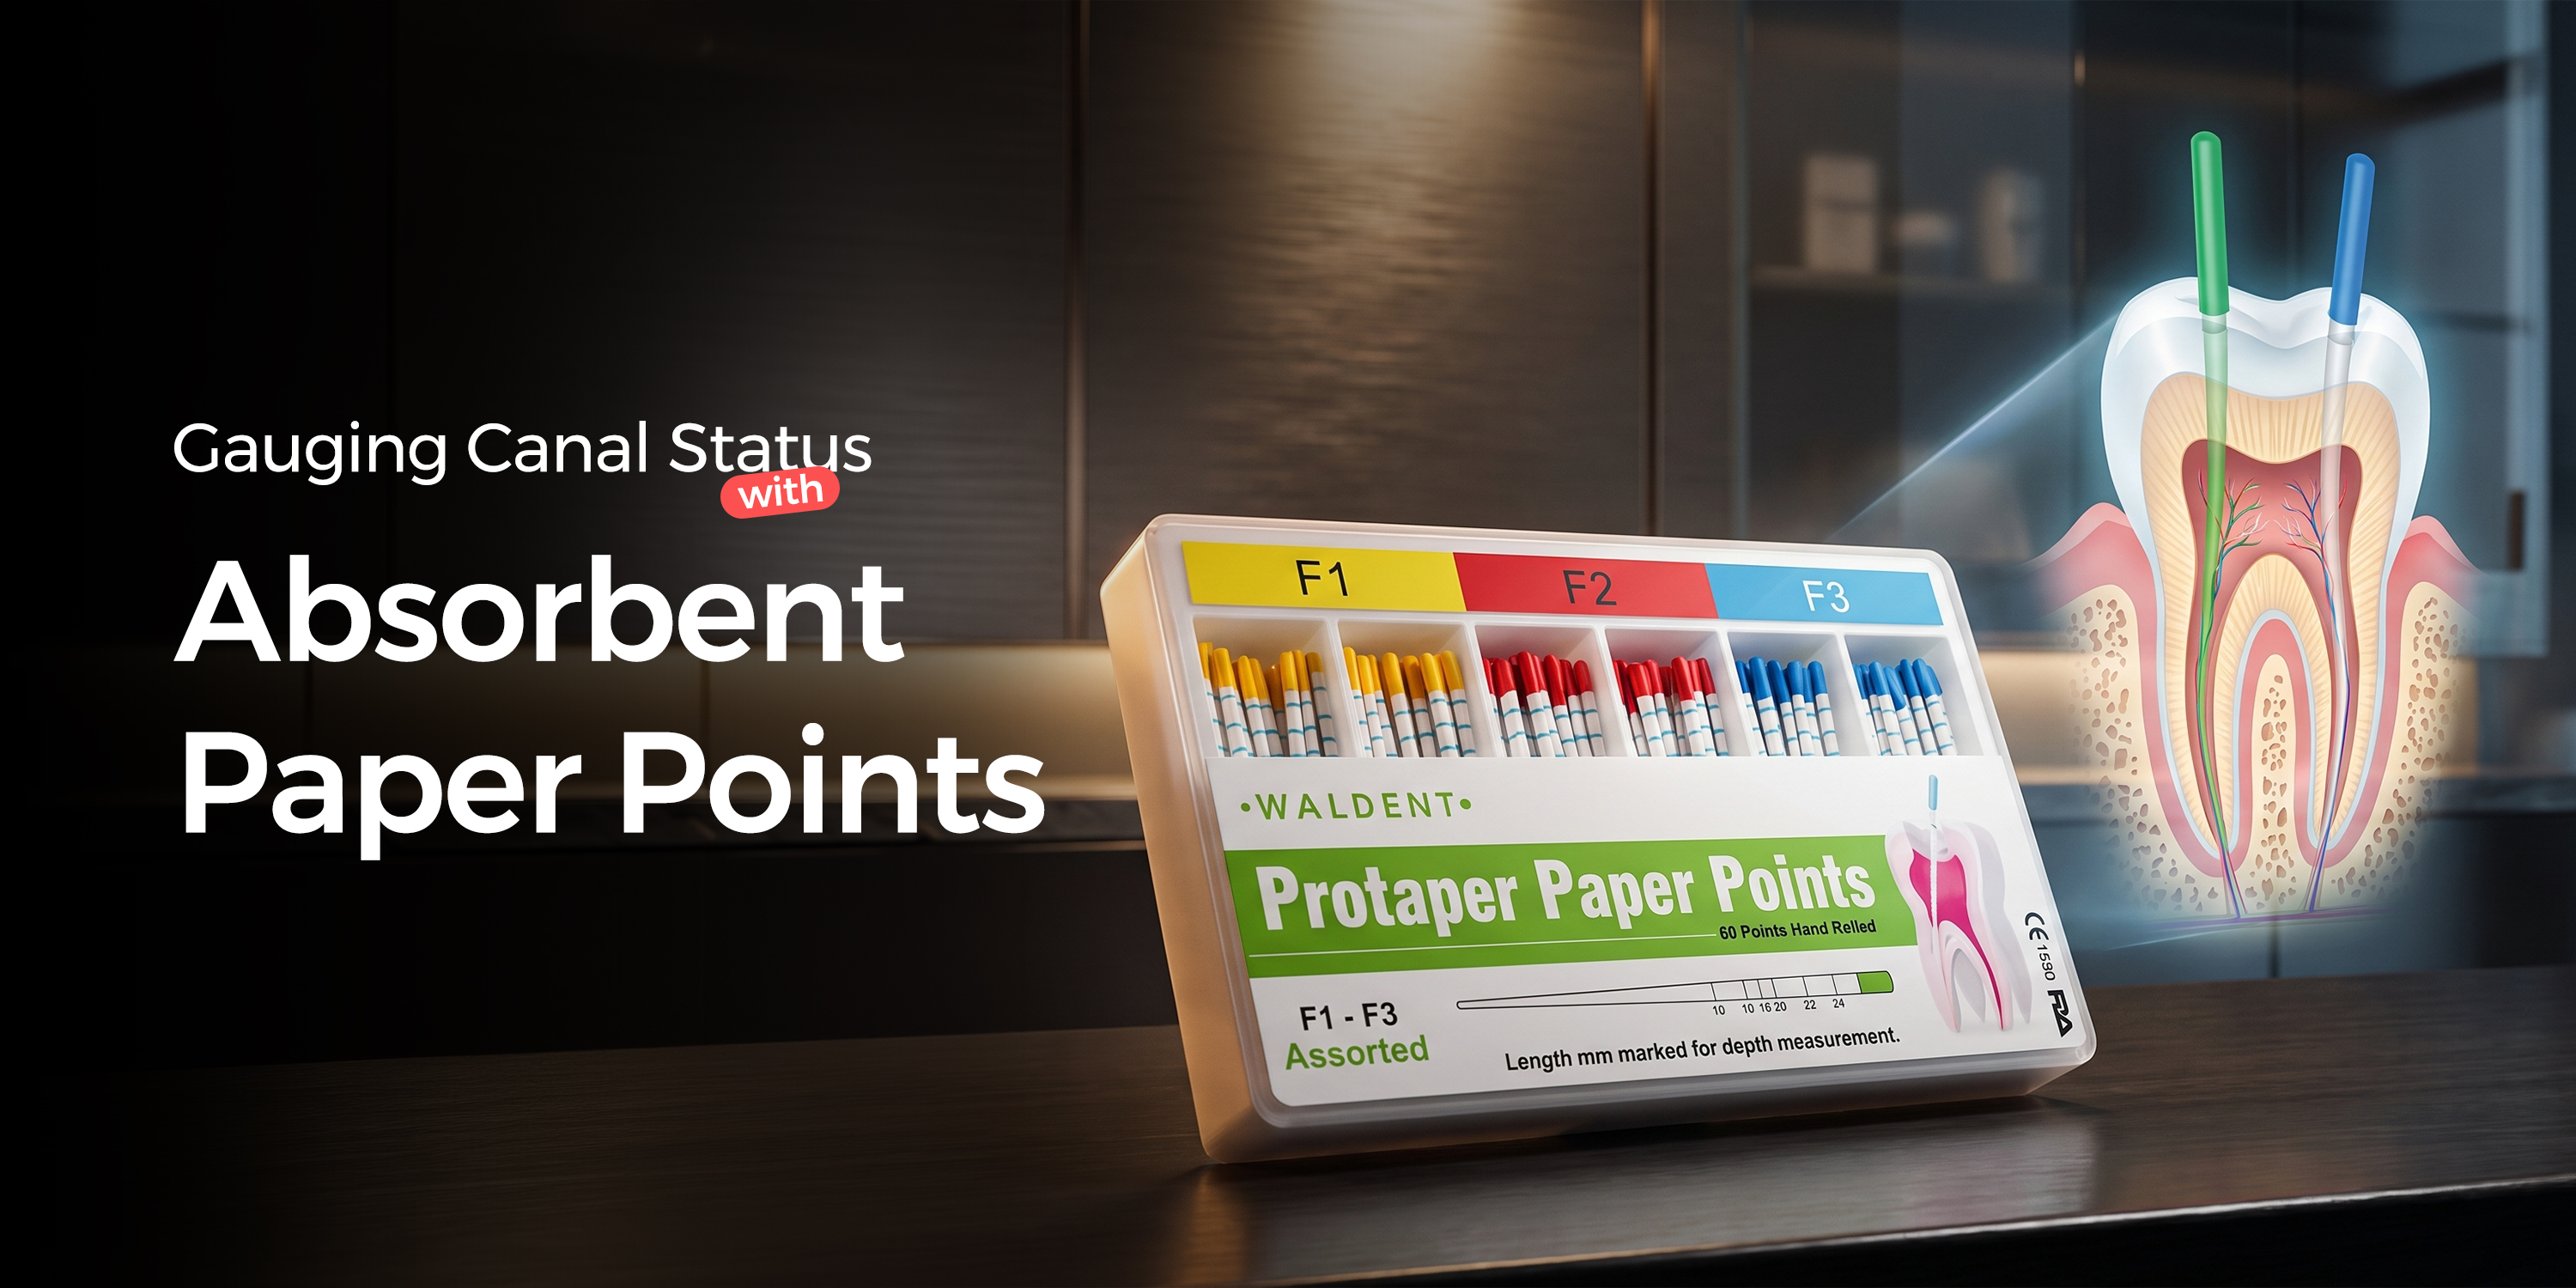
Gauging Canal Status with Absorbent Paper Points
Gauging Canal Status with Absorbent Paper PointsA Clinical Selection Guide Using absorbent paper points for diagnosis provides critical, real-time feedback on c
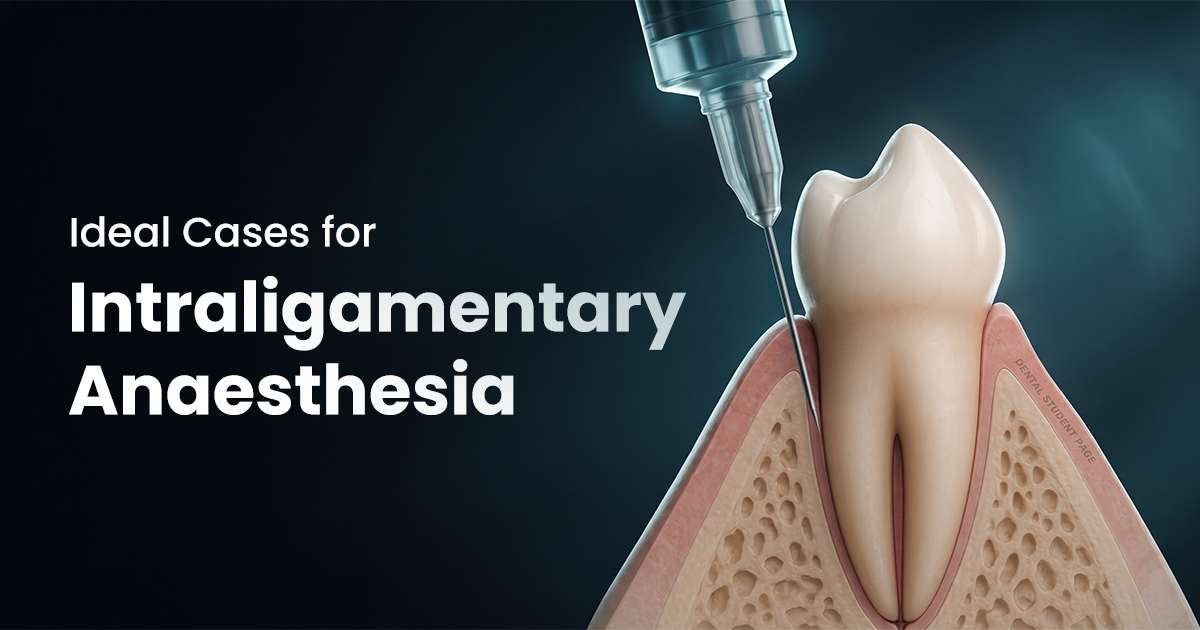
Ideal Cases for Intraligamentary Anaesthesia
Ideal Cases for Intraligamentary AnaesthesiaAn Evidence-Based Guide Intraligamentary anaesthesia is a supplemental injection technique that forces a local anaes
