
Dr. Yashasvi Sharma
Contributing Dental Clinician
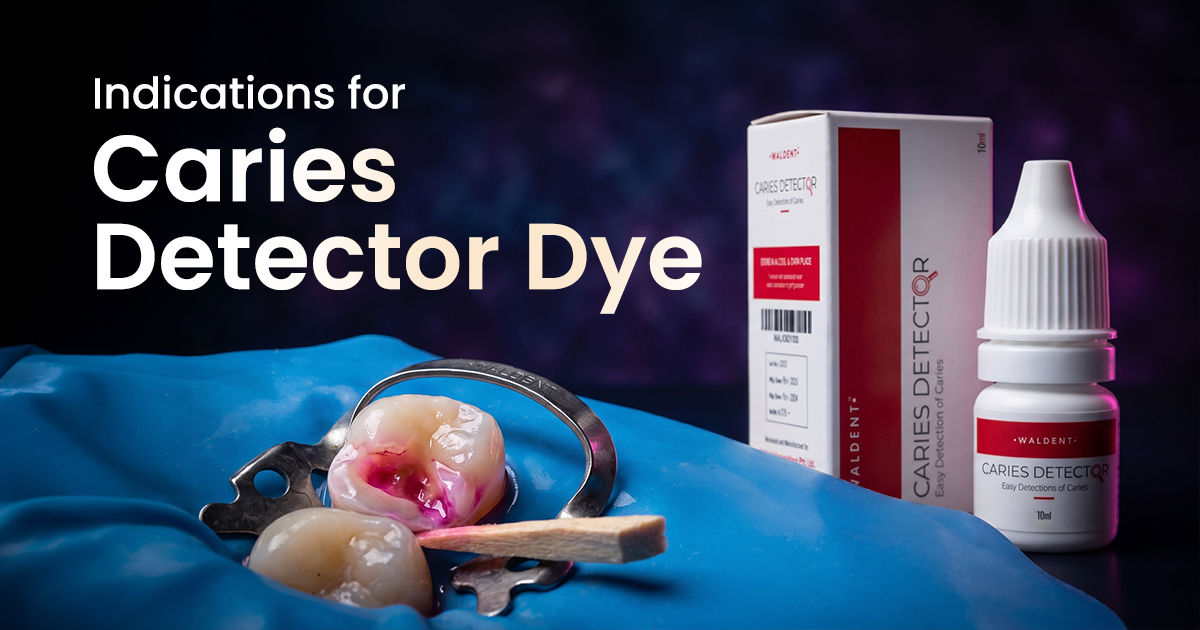
Indications for Caries Detector Dye
A Case-Based Clinical Guide
Caries detector dye aids excavation by staining denatured collagen in carious dentin, but its non-specificity risks over-preparation. Judicious use is critical for preserving tooth structure, especially in deep lesions where pulp vitality is at risk.
Table of Contents
Deep Molar Lesions: A Necessity for Dye?
For deep carious lesions approaching the pulp, use caries detector dye sparingly, only on lateral cavity walls, not the pulpal floor. The goal is a peripheral seal, not removing all stained dentin directly over the pulp.
Dyes stain porous, denatured collagen of infected dentin. However, they can also lightly stain less-demineralized, reparable affected dentin, risking pulp exposure if used aggressively on the pulpal floor. Iatrogenic exposure risk outweighs benefits of removing all stainable tissue in deep Class III/IV lesions (ICDAS 5/6). Focus on achieving a hard, leathery texture on the pulpal floor with a spoon excavator.
- Peripheral Seal Focus: Apply dye only to DEJ and lateral walls to confirm infected dentin removal for restoration seal.
- Pulpal Floor Management: Avoid direct dye on the final 1 mm of dentin over pulp. Rely on tactile feedback (hardness) and moisture changes (wet vs. dry) instead.
- Application Time: Limit dye to 10 seconds, followed by thorough water rinse to prevent non-specific staining of healthy dentin.
- Selective Removal: Remove soft, mushy, wet dentin. Leave firm, discolored dentin on the pulpal floor to promote tertiary dentin.
Dye Use in Deep Molar Lesions
False Positives: Stained but Hard Dentin
Caries detector dyes produce false positives on sound but stained dentin (e.g., sclerotic, reactionary dentin) because their propylene glycol base penetrates any porous organic matrix, not just infected tissue.
Sclerotic dentin, found under old amalgams or in slow caries, is hypermineralized but retains dye due to its porous organic matrix. This non-infectious tissue protects the pulp. Removing it based solely on stain unnecessarily removes sound tooth structure, weakening the tooth and increasing pulpal stress.
- Sclerotic Dentin: Dark, glassy, hard surface resistant to a sharp explorer. Often stains positive but should not be removed.
- Circumpulpal Dentin: Less mineralized (4-5% less than mantle dentin) with wider tubules, making it more susceptible to false-positive staining.
- Caries "Inactive" Lesions: Arrested caries appear as dark, hard dentin. Though it may stain, its hard texture indicates remineralized, non-infectious tissue.
- Restorative Junctions: The interface between dentin and some restorative materials can absorb dye, leading to misinterpretation.
Over-Excavation Risk
Relying solely on color risks removing reparable affected dentin and sound sclerotic dentin. Always confirm positive stain with tactile feedback from a sharp explorer. If stained dentin is hard and resistant to scraping, preserve it.
Pediatric Considerations: Modifying Dye Application
In primary teeth, caries detector dye use must be more conservative due to larger pulp chambers, thinner enamel/dentin (1-2 mm), and more porous dentin, increasing iatrogenic pulp exposure and false-positive staining risks.
Primary dentin tubules are wider and more numerous, allowing deeper dye penetration and staining of sound dentin. This, with pulp horn proximity (especially mesial molar horns), makes aggressive removal of all stained tissue highly likely to cause pulp exposure. The goal is selective caries removal to sound peripheral dentin for a good seal, preserving pulpal health.
- Pulp Proximity: Be mindful of high pulp horns in primary molars. Reduce dye reliance near these areas.
- Application Time: Reduce dye contact to 5-7 seconds (less than 10 for permanent teeth) to minimize non-specific staining.
- Indirect Pulp Capping: For deep lesions, leaving a layer of firm, affected (potentially stained) dentin over the pulp is standard for vital pulp therapy.
- Tool Selection: Use slow-speed large round burs or spoon excavators. High-speed burs with dye guidance can rapidly cause pulp exposure.
| Parameter | Primary Teeth | Permanent Teeth |
|---|---|---|
| Dentin Thickness | Thinner (1-2 mm) | Thicker |
| Pulp Chamber Size | Relatively larger | Relatively smaller |
| Dye Application Time | 5-7 seconds value | 10 seconds |
| Risk of False Positive | Higher due to porosity | Moderate |
| Primary Goal | Pulp preservation best | Complete caries removal |
Trusting Tactile Feedback Over Dye Staining
The definitive endpoint for caries excavation is achieving hard, resistant dentin, confirmed by tactile feedback with a sharp dental explorer or spoon excavator, rather than complete absence of dye staining.
This clinical-haptic method differentiates two layers. Infected dentin is soft, mushy, and easily removed ('cottage cheese' texture). Affected dentin is leathery or firm, drier, and resistant to hand excavation. Though affected dentin may stain, it is capable of remineralization and should be preserved, especially in deep cavities. Auditory feedback like 'cri dentinaire'—a crisp sound when an explorer scrapes healthy dentin—is another reliable indicator.
- Visual Cues: Look for color and texture changes. Carious dentin is often opaque and wet; healthy/affected dentin shows translucency and is drier.
- Tactile Sensation: Use a #17 or #23 explorer. Infected dentin feels soft/sticky; sound dentin feels hard/glassy. The transition is usually palpable.
- Excavator Feedback: A spoon excavator easily scoops soft infected dentin but requires more pressure to shave or burnish firm affected dentin.
- Laser Fluorescence: Devices like DIAGNOdent provide quantitative measurement of bacterial byproducts (porphyrins), an objective adjunct to tactile methods.
Checklist for Caries Removal Endpoint (Without Dye)
Confirm entire cavity floor and walls are firm to a sharp explorer.
Surface should feel smooth or leathery, not soft, sticky, or mushy.
Listen for a sharp, scraping sound, indicating sound dentin.
Dentin appears relatively dry and may show some translucency, even if discolored.
Conclusion: Dye as a Guide, Not a Mandate
The critical clinical judgment is recognizing that caries detector dye identifies denatured collagen, not bacteria itself. Its use should be restricted to confirming removal of soft, necrotic dentin, primarily at the cavity periphery. For deep lesions and pediatric cases, tactile feedback from a sharp explorer remains the gold standard for excavation endpoint to preserve pulp vitality and tooth structure.
- Deep Lesions: Avoid dye on pulpal floor; limit to 10 seconds on lateral walls for peripheral seal confirmation.
- False Positives: Do not excavate hard, glassy, or leathery dentin (e.g., sclerotic dentin), even if it stains positive.
- Primary Teeth: Reduce dye contact to 5-7 seconds; prioritize tactile feedback due to higher pulp exposure risk.
- Definitive Endpoint: Caries removal is confirmed by firm, resistant dentin, not the complete absence of color.
Frequently Asked Questions
Most caries detector dyes use compounds like acid red 52 in a propylene glycol solvent. They don't stain bacteria but penetrate the porous organic matrix of denatured collagen in irreversibly damaged, infected dentin. Healthy, mineralized dentin is less porous and doesn't retain the stain after rinsing.
Infected dentin is the outer, bacteria-laden layer with irreversibly denatured collagen; it's soft, wet, and must be removed. Affected dentin is the deeper layer, minimally invaded, with reversibly denatured collagen capable of remineralization; it's leathery/firm and should be preserved to protect the pulp.
Yes, if pulp exposure occurs, dye can directly stain pulp tissue, causing significant inflammation and potentially compromising vital pulp therapy. This is why dye should be avoided on deep pulpal floors where exposure is possible.
A large, round carbide bur (#4, #6, or #8) in a slow-speed handpiece (500-1,000 RPM) is ideal. Its large size prevents ditching and pulp exposure, while slow speed provides excellent tactile control, allowing selective removal of soft, stained dentin without over-preparing harder tissue.
Apply dye only once or twice during excavation. A common protocol involves one initial application after bulk caries removal. After excavating stained areas, re-evaluate with tactile feedback. A second dye application should only be used if doubt remains at the DEJ.
Written by
Dr. Yashasvi Sharma
Contributing Dental Clinician
Dr. Yashasvi Sharma is a contributing Dental professional at Dentalkart Blogs, where she distills chair-side clinical experience into evidence-based, practice-ready guides for Indian dentists. Her work bridges the gap between academic dentistry and everyday practice, translating global research into actionable insights tailored to the realities of Indian clinical settings.
Keep reading
Browse all →
Avoiding Common SSC Case Selection Errors
Avoiding Common SSC Case Selection ErrorsA Pediatric Clinical Guide SSCs are indicated for multi-surface carious primary molars, post-pulpotomy teeth, and high-
Choosing the Right Dental Rubber Dam Clamp
Choosing the Right Dental Rubber Dam ClampAn Isolation Selection Guide Selecting the correct dental dam clamps involves matching jaw design, bow configuration,

Bis-acryl vs. PMMA Temporary Materials
Bis-acryl vs. PMMA Temporary MaterialsA Case Selection Guide The choice between bis-acryl and PMMA provisional crown materials depends on the clinical case: bis