
Dr. Yashasvi Sharma
Contributing Dental Clinician
Indications for Dental Finishing Strips
A Clinical Selection Guide
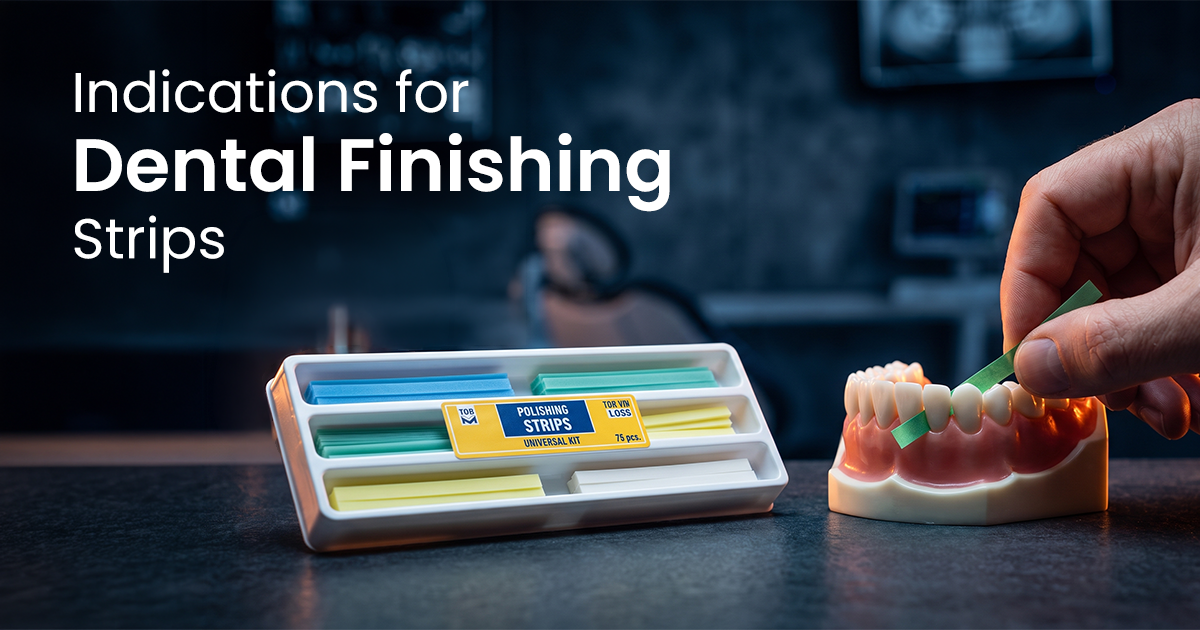
Dental finishing strips are thin, flexible abrasive instruments used for final contouring and polishing of interproximal restoration surfaces where burs cannot safely access. Mastering their case selection is critical for creating smooth, plaque-resistant margins and achieving ideal contact points.
Table of Contents
When Are Strips Indicated Over Burs?
Finishing strips are clinically indicated over rotary burs for interproximal finishing primarily to prevent iatrogenic damage to adjacent tooth structure and to create anatomically correct contact points. The manual control and tactile feedback offered by a strip is superior to a high-speed bur in the tight confines of the interproximal space, minimizing the risk of inadvertently ditching the neighbouring tooth or flattening the contact area.
While a fine-grit flame-shaped finishing bur running at low RPM (under 10,000 RPM) can be used to remove gross overhangs, the final contouring should be delegated to a strip. This ensures the restoration's proximal surface is convex and smoothly transitions into the tooth's natural contour, which is essential for gingival health and patient hygiene. Complete finishing and polishing kits often include both burs and strips for a comprehensive workflow.
- Proximal Overhang Removal: For small to moderate composite overhangs that are inaccessible to burs without damaging the adjacent tooth.
- Contact Point Refinement: To adjust the tightness and position of a Class II composite contact point after curing.
- Recontouring Axial Surfaces: For creating proper embrasures and ensuring the restoration's emergence profile is physiologic.
- Final Polishing: To achieve a high-lustre, stain-resistant surface on the interproximal aspect of composite, glass ionomer, or compomer restorations.
Finishing Strips
- Unparalleled tactile feedback and control.
- Preserves adjacent tooth structure.
- Ideal for creating convex anatomical contours.
- Time-consuming for removing large overhangs.
Finishing Burs
- Efficient for rapid removal of gross excess.
- Effective for shaping occlusal and facial/lingual surfaces.
- High risk of iatrogenic damage to adjacent teeth.
- Lacks precision for fine contouring of contact areas.
Choosing Strip Material: Metal vs. Plastic
The choice between metal (stainless steel) and plastic (polyester) finishing strips hinges on the clinical task: metal strips are for initial contouring and gross reduction, while plastic strips are for final smoothing and polishing. Metal strips are more rigid and aggressive, making them effective for breaking through a tight contact or removing a definite overhang. However, their stiffness can make them difficult to adapt to curved surfaces.
Conversely, polyester strips are highly flexible, allowing them to wrap around the tooth and adapt closely to the restoration's contours. They are available in a wider range of fine and extra-fine grits, making them the standard choice for the final polishing stages. A typical clinical sequence involves using a medium-grit metal strip to establish the contour, followed by a series of fine and superfine plastic strips to achieve a high-gloss finish.
- Metal (Stainless Steel): Best for initial recontouring, breaking fused contacts, and removing noticeable overhangs. Generally available in medium to coarse grits.
- Plastic (Polyester/Mylar): The standard for smoothing and polishing. Their flexibility allows for superior adaptation to tooth anatomy.
- Gapped vs. Ungapped: Strips with a non-abrasive central gap allow for safe initial placement through the contact point before the abrasive sections are engaged.
| Attribute | Metal Strips | Plastic Strips |
|---|---|---|
| Primary Use | Contouring, overhang removal | Polishing, smoothing best |
| Rigidity | High | Low (Flexible) |
| Grit Range | Coarse to Medium | Medium to Superfine |
| Adaptability | Poor on curved surfaces | Excellent |
| Risk of Damage | Higher risk to adjacent tooth | Lower risk |
A Protocol for Selecting Grit and Width
Selecting the correct grit and width for dental finishing strips requires a sequential, systematic approach. Always progress from coarse to fine grit to incrementally remove scratches and achieve a smooth surface. Starting with a fine grit on a rough surface is ineffective and time-consuming. Most systems use a color code: darker colors like blue or green indicate coarse grits for contouring, while lighter colors like yellow or white indicate superfine grits for polishing.
The strip's width should correspond to the gingivo-occlusal height of the contact area. A narrow strip (e.g., 2.5 mm) is ideal for anterior teeth or small posterior restorations, preventing damage to soft tissues. A wider strip (e.g., 4 mm) provides better purchase and control for larger Class II restorations. After the final strip, using high-shine polishing pastes with a cup or disc can further enhance the lustre of the accessible facial and lingual embrasures.
- Start Coarse: Begin with a medium/coarse grit to remove overhangs and establish the primary contour.
- Progress Sequentially: Move to a fine grit to smooth the surface and remove scratches left by the previous strip.
- Finish Superfine: Use an extra-fine or superfine grit to achieve the final high-gloss polish.
- Match Width to Contact: Use narrow strips for anterior teeth and wider strips for broad posterior contacts.
Grit & Width Selection Matrix
Key Contraindications: When to Avoid Strips
Finishing strips are precision tools, not universal solutions, and should be avoided in specific clinical scenarios where they can cause more harm than good. Their primary contraindication is for removing large, bulky overhangs where a bur is more efficient and effective. Attempting to reduce significant excess material with a strip is time-consuming and can lead to shredding of the strip and operator fatigue.
Furthermore, they are contraindicated for restorations with deep subgingival margins, as the strip can lacerate the gingival attachment and sulcular epithelium, causing bleeding and post-operative discomfort. They are also not the tool of choice for closing an open contact; their abrasive action will remove more tooth structure, potentially worsening the gap. Proper matrix selection and wedging is the correct approach to establish a tight contact initially.
- Large Overhangs: Require initial reduction with a finishing bur or scaler for efficiency.
- Deep Subgingival Margins: High risk of traumatizing the periodontal attachment.
- Open Contacts: Strips will remove tooth structure, further opening the contact.
- Porcelain Restorations: Specialized diamond strips and polishing systems are required for ceramics to avoid causing micro-fractures.
Clinical Risks of Improper Use
Aggressive or improper use of finishing strips can lead to several complications. Over-reduction can create an open contact, leading to food impaction and periodontal issues. Using a strip subgingivally can damage the junctional epithelium, while failing to use a sequential grit protocol will leave a rough, plaque-retentive surface, predisposing the restoration to secondary caries and staining.
Conclusion: A Tool for Refinement
The most critical judgment is recognizing dental finishing strips as tools for final refinement, not for initial bulk reduction. Their value lies in the tactile control they provide for achieving ideal interproximal contours and a smooth finish where rotary instruments are too aggressive. Mastering the selection of material, grit, and width based on the specific clinical task transforms a good restoration into an excellent one, ensuring its longevity and the health of surrounding tissues.
- Material Choice: Use rigid metal strips for initial contouring and breaking contacts; use flexible plastic strips for all final polishing.
- Grit Protocol: Always progress sequentially from a coarser grit (e.g., 75 μm) to a superfine grit (e.g., 15 μm) to ensure a smooth, plaque-resistant surface.
- Contact Point: Use a gentle see-saw motion with minimal pressure (less than 5 N) to adjust a contact, avoiding excessive force that can create an open contact.
- Key Contraindication: Avoid using strips on deep subgingival margins to prevent iatrogenic damage to the gingival attachment.
Frequently Asked Questions
The central non-abrasive gap, or 'safe-center,' is designed to allow the strip to be passed through a tight interproximal contact without abrading either the restoration or the adjacent tooth. Once the strip is in position below the contact point, it can then be moved buccolingually to engage the abrasive portions against the restorative material.
No, dental finishing strips are considered single-use disposable items. Autoclaving can degrade the abrasive particles and the adhesive that bonds them to the strip, severely reducing their clinical effectiveness. Using a fresh strip for each procedure ensures optimal cutting efficiency and prevents cross-contamination between patients.
To prevent an open contact, use the strip with minimal pressure in a gentle, shoe-shining motion. Limit the number of strokes to 8-10 per grit. Check the contact frequently with dental floss. If a contact is already ideal or slightly light, only use superfine polishing strips, as coarser grits will remove too much material.
While often used interchangeably, 'finishing strips' typically refer to coarser grit strips (medium to coarse) used for contouring and removing excess material. 'Polishing strips' refer to the finer grit strips (fine to superfine) used in the final steps to create a smooth, high-lustre surface. It's a progression from finishing to polishing.
For anterior composites, a narrow (2.5 mm), flexible plastic (polyester) strip is ideal. Its thinness and flexibility allow it to adapt perfectly to the curved labial and lingual embrasures without damaging the delicate interdental papilla. A superfine grit is usually sufficient for polishing these highly visible surfaces.
Written by
Dr. Yashasvi Sharma
Contributing Dental Clinician
Dr. Yashasvi Sharma is a contributing Dental professional at Dentalkart Blogs, where she distills chair-side clinical experience into evidence-based, practice-ready guides for Indian dentists. Her work bridges the gap between academic dentistry and everyday practice, translating global research into actionable insights tailored to the realities of Indian clinical settings.
Keep reading
Browse all →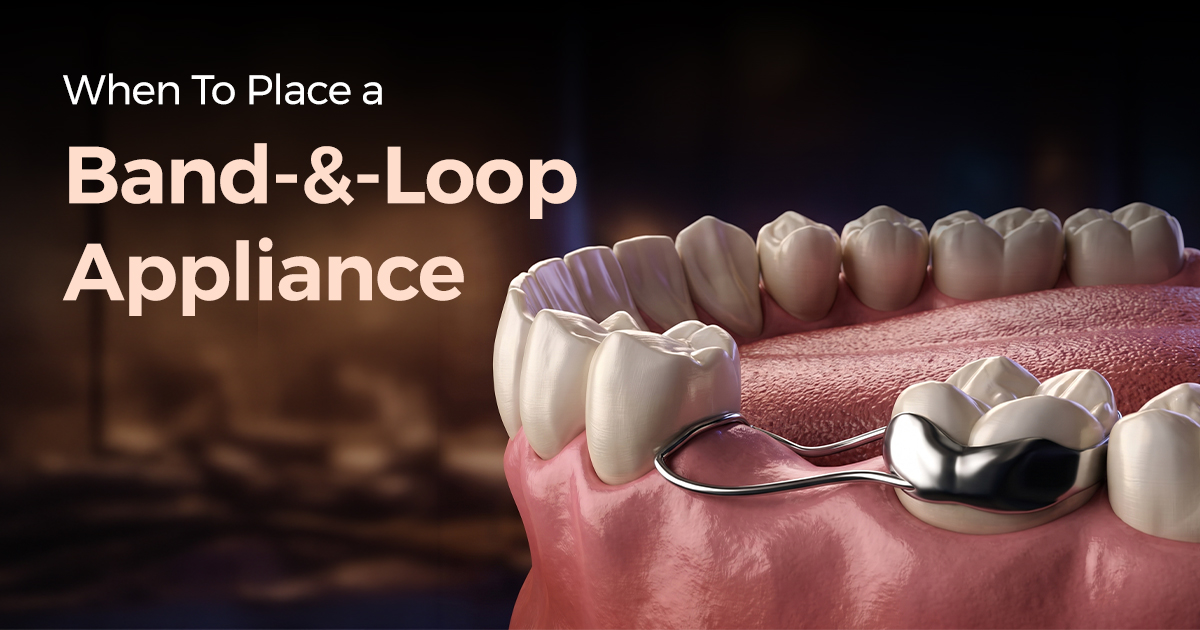
When To Place a Band-and-Loop Appliance
When To Place a Band-and-Loop ApplianceAn Evidence-Based Selection Protocol A band-and-loop is a unilateral, fixed appliance preserving mesiodistal dimension af

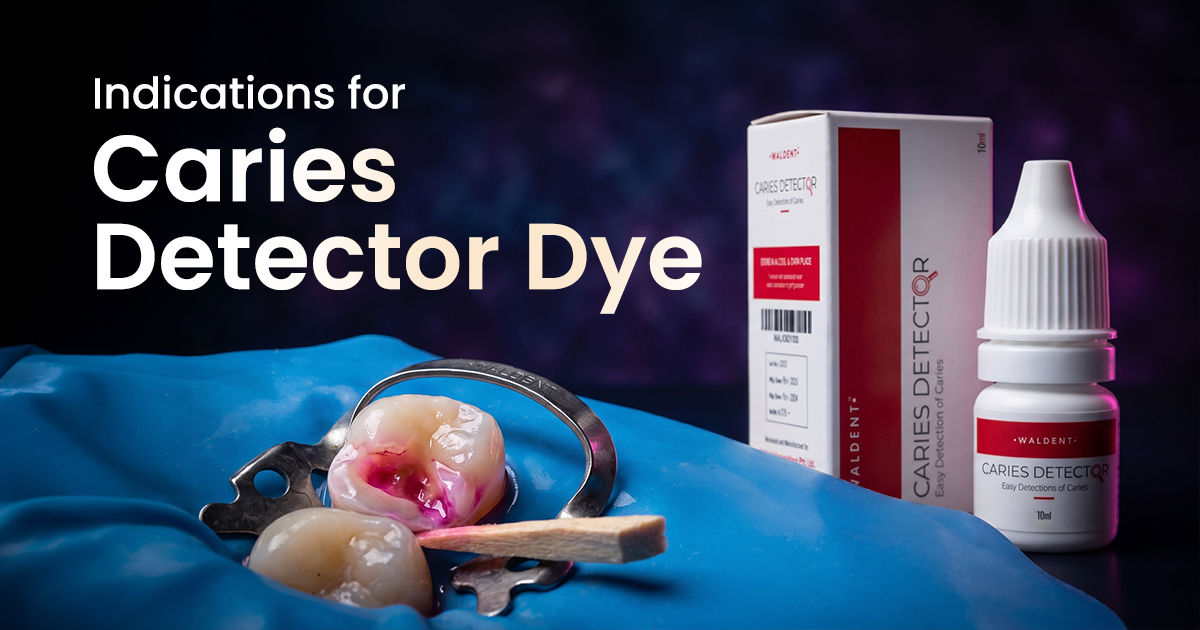
Indications for Caries Detector Dye
Indications for Caries Detector Dye A Case-Based Clinical Guide Caries detector dye aids excavation by staining denatured collagen in carious dentin, but i
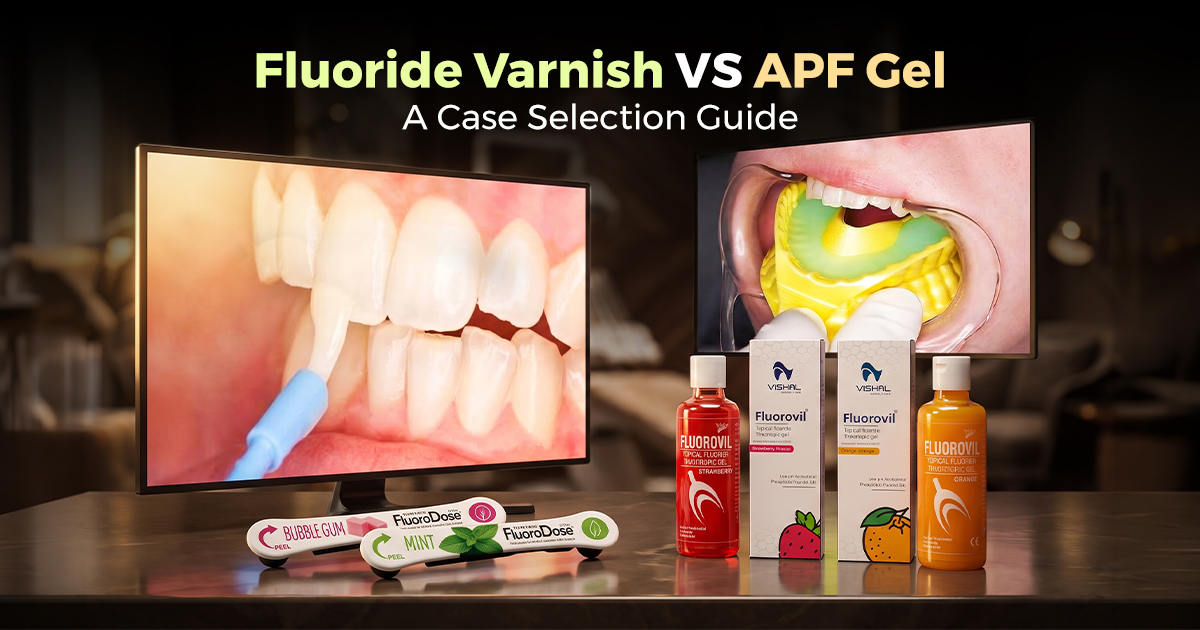
Fluoride Varnish vs. APF Gel: A Case Selection Guide
Fluoride Varnish vs. APF Gel: A Case Selection GuideChoosing the Right Topical Fluoride Fluoride varnish is the preferred agent for most patients, especially ch