
Dr. Yashasvi Sharma
Contributing Dental Clinician
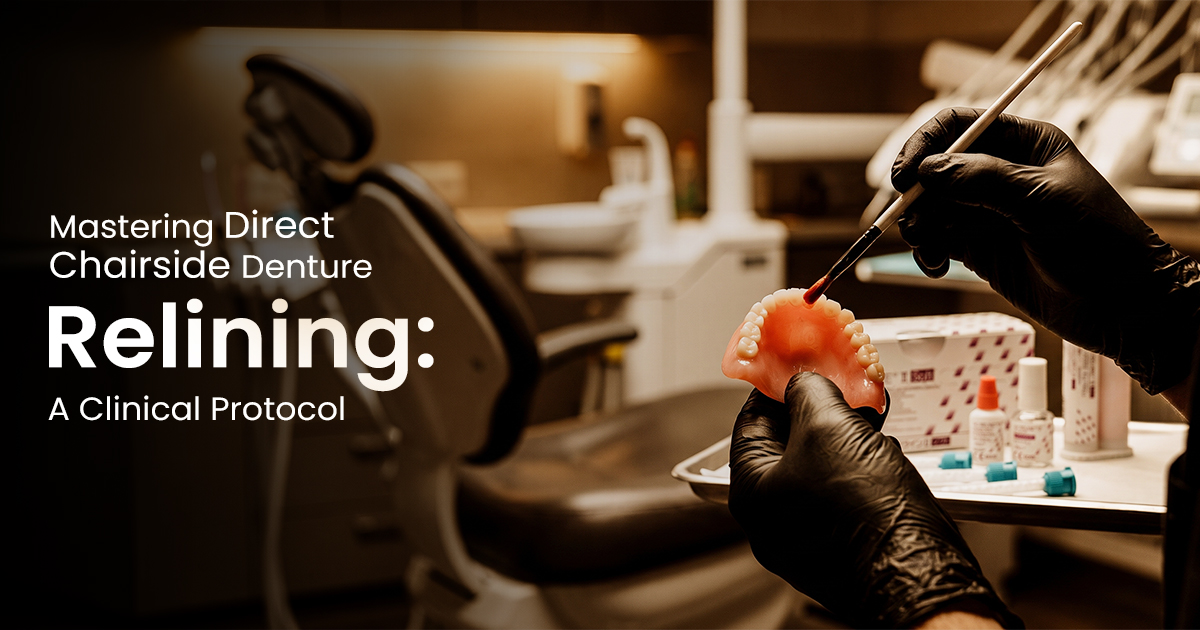
Mastering Direct Chairside Denture Relining: A Clinical Protocol
Improve Fit, Function, and Comfort
Direct chairside relining readapts a denture's intaglio surface to underlying tissues using self-curing material. Choosing the right denture relining material for the case is the deciding factor in how comfortable and long-lasting the result will be. This immediate, affordable solution improves fit, function, and patient satisfaction in one appointment.
Table of Contents
Hard vs. Soft Reline Material Selection
- Hard Reline: For healed, healthy ridges; long-term (2+ years) solution.
- Soft Reline (Silicone): For chronic soreness, severe undercuts; longer-term soft (up to 2 years).
- Soft Reline (Acrylic): Short-term tissue conditioner (1-4 weeks) or temporary immediate denture reline.
- Patient Factors: Age, cleaning dexterity, mucosal sensitivity.
- Commonly used options include Tokuyama Rebase II, GC Reline (Coe Soft), and Perma Soft, depending on whether a hard or soft reline is indicated.
Hard Reline Materials
- Durable, stable long-term.
- High stain/odor resistance.
- Easy to clean.
- Poor shock absorption; may irritate sensitive tissues.
- Can be brittle, may fracture.
Soft Reline Materials
- Superior comfort, shock absorption.
- Engages undercuts without trauma.
- Ideal for post-surgical/immediate denture cases.
- Shorter lifespan (6-24 months).
- Porous; prone to bacterial/fungal growth.
Denture Preparation Protocol Before Relining
- Surface Cleaning: Brush/pumice to remove biofilm/deposits.
- Intaglio Reduction: Uniformly remove 1.5-2.0 mm acrylic from tissue-bearing surface.
- Border Management: Reduce flanges by 2-3 mm, prventing over-extension.
- Roughening: Create coarse, textured surface with acrylic bur for mechanical retention.
- Primer Application: Apply manufacturer-recommended bonding agent; dry.
Pre-Relining Checklist
Check existing VDO to ensure it is not altered.
Remove debris and disinfect prosthesis before intraoral procedures.
Create at least 1.5 mm space for new material with an acrylic bur.
Coat prepared surface with appropriate primer for strong chemical bond.
Applying and Curing Reline Material
- Mixing: Follow powder-to-liquid ratio to avoid granular/runny mix.
- Application: Spread consistent layer over intaglio/flanges.
- Seating: Guide patient to centric relation; avoid heavy occlusal forces.
- Border Molding: Actively mold borders during doughy stage.
- Curing: Remove after initial set (5-8 min); complete polymerization extraorally for safety/integrity.
Managing the Exothermic Reaction
Acrylic reline polymerization is highly exothermic; can cause tissue burns. If significant heat, immediately remove denture, immerse in cool water (10-15 seconds), then re-seat. Never leave patient unattended during setting.
Post-Reline Finishing and Polishing Steps
- Flash Removal: Use scalpel/acrylic knife to trim large excess material.
- Trimming and Shaping: Employ acrylic bur to smoothly blend reline material with existing denture base.
- Pumicing: Use wet pumice slurry on lathe (low speed) to remove trimming scratches.
- Final Polish: Achieve high-gloss finish with dedicated polishing compound (prevents plaque).
- Final Check: Re-insert denture; check for pressure spots with pressure-indicating paste.
Step 1: Trim Excess Flash
Use sharp blade or acrylic bur at low speed (<10,000 RPM) to remove excess without damaging new border.
Step 2: Create a Smooth Junction
Blend new material into old denture base, creating a seamless, undetectable transition line.
Step 3: Polish with Pumice
Using wet rag wheel and pumice, polish all adjusted surfaces until uniformly smooth and scratch-free.
Step 4: High-Shine Finish
Use final polishing agent on clean buff to create glass-like surface resisting staining and biofilm.
Frequently Asked Questions
A direct chairside reline uses self-curing material applied in-mouth, single appointment. An indirect lab reline requires an impression for lab processing with heat-cured acrylic. Lab relines are generally more durable/less porous, but chairside offers speed/cost advantages.
Burning sensation during direct reline is from exothermic heat (acrylic polymerization) and chemical irritation (unreacted monomer). To manage: ensure ventilation, periodically remove denture to cool in water (10-15 seconds) after initial set, ensure full cure before delivery.
Soft reline lifespan varies by material/patient habits. Acrylic-based soft reliners (tissue conditioners) are temporary, replaced every 1-4 weeks. Silicone-based reliners last 6 months to 2 years before hardening, discoloring, or supporting microbial growth, necessitating replacement.
No, relining flexible partial dentures (e.g., Valplast) with conventional chairside acrylic is not recommended due to extremely poor bond. Flexible partials require specialized lab equipment and materials for relining/rebasing.
Primary sign a denture needs relining is lost retention/stability. Patients complain of looseness, dentures falling out during speech/eating, and increased adhesive use. This indicates underlying bone/soft tissue resorption, creating a gap between denture base and ridge.
Written by
Dr. Yashasvi Sharma
Contributing Dental Clinician
Dr. Yashasvi Sharma is a contributing Dental professional at Dentalkart Blogs, where she distills chair-side clinical experience into evidence-based, practice-ready guides for Indian dentists. Her work bridges the gap between academic dentistry and everyday practice, translating global research into actionable insights tailored to the realities of Indian clinical settings.
Keep reading
Browse all →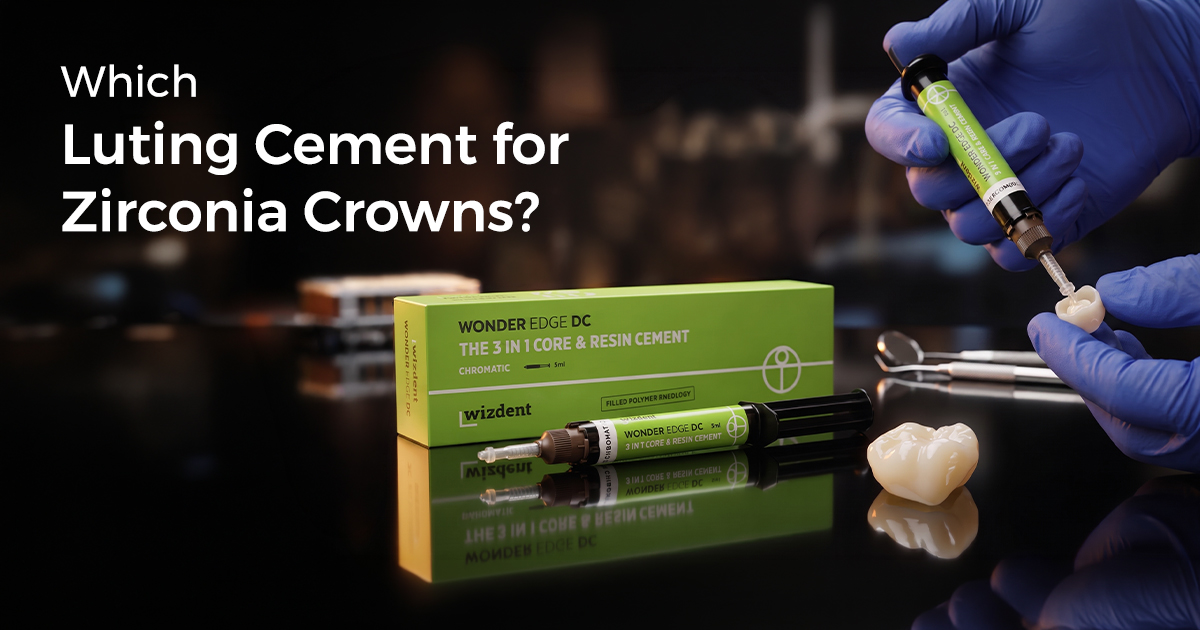
Which Luting Cement for Zirconia Crowns?
Which Luting Cement for Zirconia Crowns?A Clinical Decision Guide The ideal luting cement for zirconia crowns is typically a self-adhesive resin cement, prized

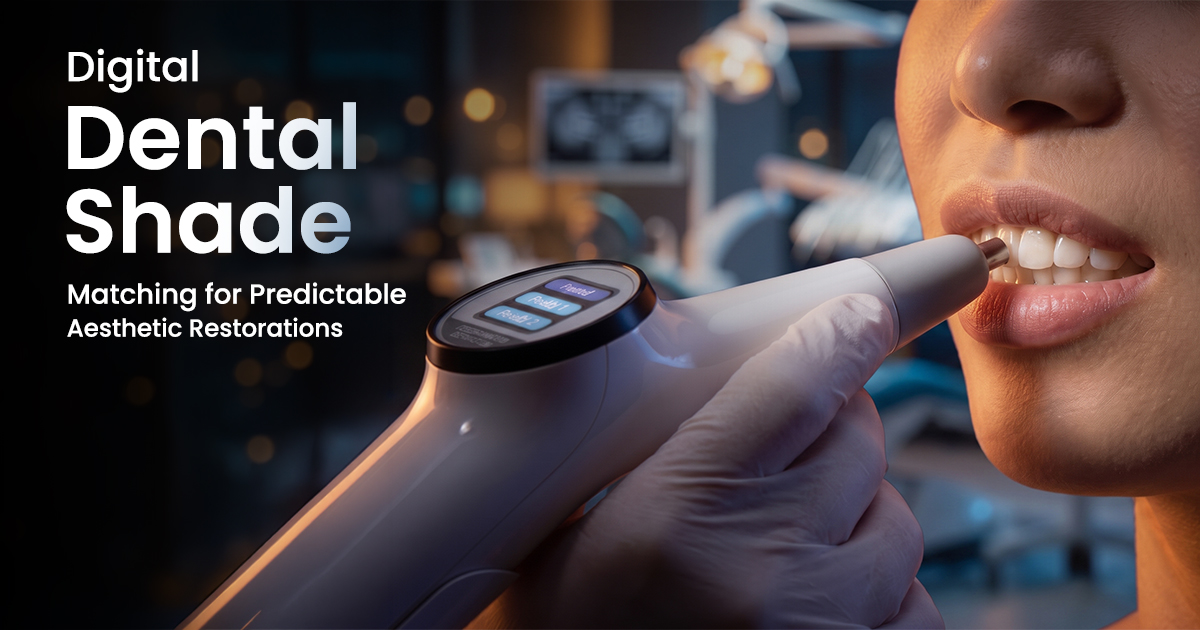
Digital Dental Shade Matching for Predictable Aesthetic
Digital Dental Shade Matching for Predictable Aesthetic RestorationsPrecision Beyond the Eye A dental spectrophotometer is a device that objectively measures to
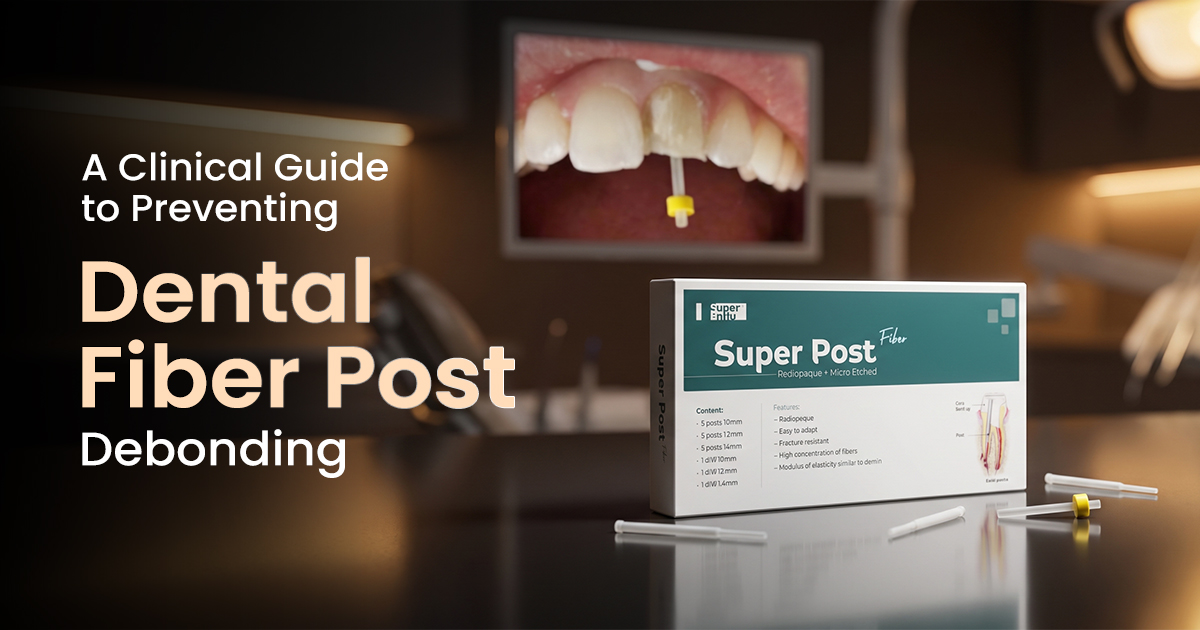
A Clinical Guide to Preventing Dental Fiber Post Debonding
A Clinical Guide to Preventing Dental Fiber Post DebondingTroubleshooting Clinical Failures Fiber post debonding is the most common failure in post and core res
