Dr.Yashasvi
Dental Content Contributor
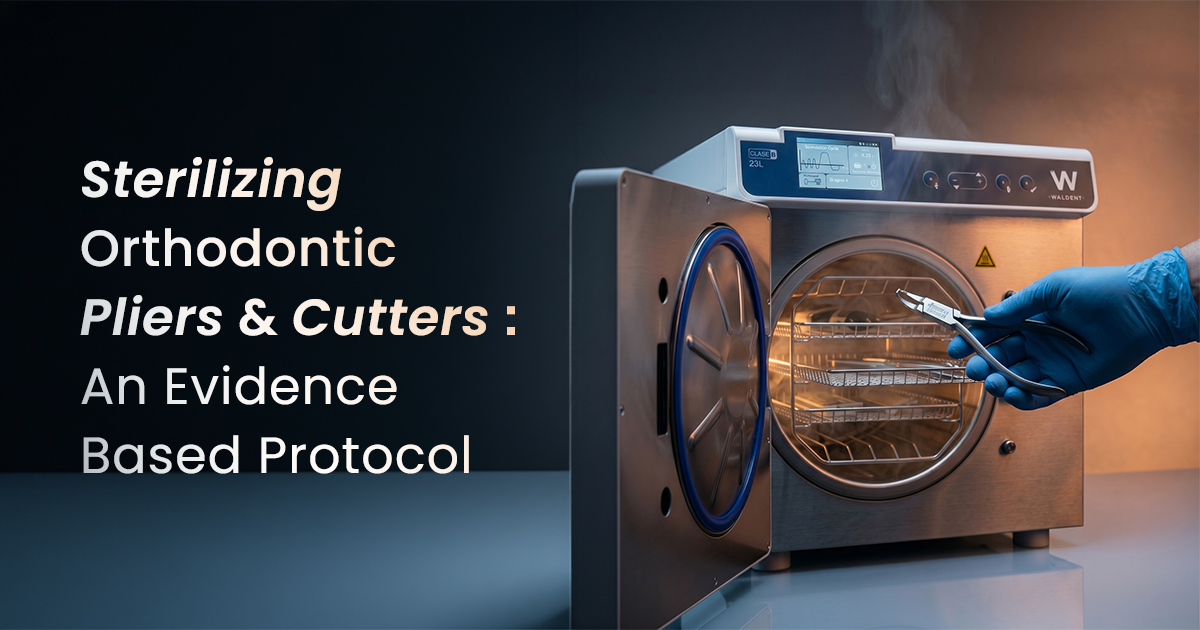
Sterilizing Orthodontic Pliers and Cutters: An Evidence-Based Protocol
Protecting Your Investment
Effective orthodontic instrument sterilization requires a multi-step protocol of meticulous cleaning, lubrication, and heat sterilization to prevent corrosion and maintain functionality. This protocol protects your significant investment in quality pliers and ensures the highest patient safety standards in your Indian orthodontic practice.
Table of Contents
What Causes Corrosion and Damage During Sterilization?
Corrosion in orthodontic pliers during sterilization is caused by tap water minerals, residual bioburden, and incompatible chemical disinfectants before autoclaving. These factors compromise stainless steel's passive layer, causing rust, pitting, and joint stiffness.
Autoclaving chloride ions from tap water or saline aggressively attacks the protective chromium oxide layer. Dried blood or debris creates oxygen-depleted zones, initiating crevice corrosion. Inadequate cleaning damages even high-quality instruments in few cycles, drastically shortening their clinical lifespan.
- Hard Water Minerals: Tap water instead of distilled or deionized water in autoclaves leaves calcium and magnesium deposits that bake onto instruments at high temperatures, causing discoloration and rust.
- Chemical Residue: Phenols, iodophors, or high-chloride disinfectants, if not rinsed, cause chemical etching and staining during heat cycles.
- Improper Drying: Wet instruments in sealed sterilization pouches trap moisture, promoting oxidation and rust, especially in the complex hinge mechanism.
- Galvanic Corrosion: Placing dissimilar metals (e.g., carbon steel, stainless steel) in the same ultrasonic bath or autoclave creates an electrochemical cell accelerating corrosion of the less noble metal.
Avoid These Common Corrosion Triggers
Never use household bleach, abrasive powders, or steel wool for cleaning. These agents immediately destroy the instrument's protective passive layer. Always use pH-neutral enzymatic cleaners and soft-bristled brushes for manual cleaning.
Which Sterilization Method Is Best for Pliers?
The best sterilization method for orthodontic pliers is steam autoclaving using distilled water. This method effectively kills all microorganisms, including spores, using saturated steam under pressure without compromising instrument material properties.
Dry heat sterilizers achieve sterility, but require higher temperatures (160–170°C) and longer cycles. This prolonged heat anneals tungsten carbide cutting edges, causing premature dulling. Class B steam autoclaves with vacuum cycles ensure complete steam penetration into hinges and crevices at 121°C or 134°C, preserving instrument sharpness and integrity.
- Steam Autoclave (Moist Heat): The gold standard. Typical cycles: 134°C for 3-5 minutes or 121°C for 15-20 minutes; fast and effective.
- Dry Heat Sterilizer: Effective, but high temperatures (160°C for 2 hours) can damage cutting edge temper over time.
- Unsaturated Chemical Vapor: Uses a chemical solution, reducing rust. Requires special ventilation and may not be compatible with all instrument materials.
- Cold Sterilization: Glutaraldehyde is a high-level disinfectant, not a sterilant. Not recommended for critical instruments like pliers due to inability to monitor sterility with biological indicators.
| Parameter | Steam Autoclave (Class B) | Dry Heat Sterilizer |
|---|---|---|
| Temperature | 121-134°C | 160-170°C |
| Instrument Impact | Minimal effect on temper best | Can dull cutting edges |
| Cycle Time | Shorter (3-20 minutes) | Longer (60-120 minutes) |
| Corrosion Risk | Low (with distilled water) | Very Low |
What Is the Correct Pre-Sterilization Protocol?
The correct pre-sterilization cleaning protocol is a mandatory multi-step process to remove all visible and non-visible bioburden. Sterilization requires clean instruments; remaining debris shields microorganisms from the sterilant.
Begin this process immediately after use to prevent blood and saliva from drying. An enzymatic cleaner is crucial; it specifically breaks down bioburden proteins and lipids that soap and water cannot effectively remove. Ultrasonic cleaning is highly recommended over manual scrubbing for hinged instruments, as its cavitation process effectively cleans hard-to-reach areas like box joints and serrations. Thorough rinsing and complete drying are non-negotiable for successful sterilization products usage.
- Remove Gross Debris: Immediately after use, wipe the instrument with damp gauze to remove visible blood, cement, or composite.
- Soak in Enzymatic Cleaner: Immerse fully opened instruments in a pH-neutral enzymatic solution for the recommended time (typically 5-15 minutes).
- Perform Mechanical Cleaning: Place opened instruments in an ultrasonic cleaner for 5-10 minutes. If cleaning manually, use a long-handled soft-bristled brush, focusing on joints and tips.
- Rinse Thoroughly: Rinse instruments with distilled or deionized water for at least 30 seconds to remove all cleaning solution.
- Dry Completely: Dry instruments with a lint-free cloth or filtered compressed air. Ensure hinges are perfectly dry before packaging.
Step 1: Chairside Wipe
Immediately remove all visible debris with gauze to prevent bioburden from drying on instrument surfaces.
Step 2: Enzymatic Soak
Immerse opened pliers in a pH-neutral enzymatic bath for min. 10 minutes to break down proteins and organic matter.
Step 3: Ultrasonic Cleaning
Place pliers in an ultrasonic cleaner for 5-10 minutes to dislodge debris from hinges and serrations.
Step 4: Rinse and Dry
Rinse thoroughly with distilled water and dry completely with lint-free cloth or compressed air before packaging for sterilization.
How to Lubricate and Store Sterilized Pliers
Sterilized pliers should be lubricated immediately after autoclaving, while still warm, using a steam-permeable, medical-grade instrument lubricant. This post-sterilization step is critical for maintaining smooth joint function and preventing corrosion.
Lubricating warm instruments allows better hinge penetration, preventing fretting corrosion (metal-on-metal wear) and stiffness. Store lubricated instruments to maintain sterility until next use. Proper storage in a clean, dry, covered environment is as crucial as sterilization for your essential orthodontic products.
- Lubricate While Warm: Best time for lubrication is right after autoclave removal, as heat helps the lubricant flow deep into the joint.
- Use the Right Product: Only use autoclavable, non-silicone instrument milk or spray. Never use non-biocompatible industrial oils (like WD-40) that interfere with future sterilization.
- Apply Sparingly: A single drop or short spray into the hinge is sufficient. Work handles back and forth several times to distribute lubricant evenly.
- Store Properly: Store lubricated pliers in their sterilization pouches in a clean, dry, low-humidity cabinet or drawer, away from potential contaminants.
Chairside Lubrication Check
Before every use, open and close pliers. If you feel grittiness or stiffness, it indicates thorough cleaning and re-lubrication is needed. This 2-second check can prevent joint failure.
Frequently Asked Questions
This is typically surface staining, not true corrosion, common on new instruments due to residual polishing compounds or incomplete passivation. To prevent this, thoroughly scrub new instruments with pH-neutral detergent and rinse well before first sterilization. Following a correct orthodontic instrument sterilization protocol from the very first use is crucial for establishing a stable, protective chromium oxide layer.
Orthodontic pliers should be lubricated after every sterilization cycle, or weekly for instruments in heavy clinical rotation. Consistent hinge lubrication prevents stiffness, reduces friction wear, and protects against fretting corrosion. This simple step extends lifespan, protecting your investment.
Sterilization protocol is identical for both, but materials differ. Tungsten carbide (TC) inserts are harder, retain sharper edges longer, but are more brittle. Handle and clean with care to avoid chipping TC inserts. Both require meticulous pre-cleaning and steam autoclaving to prevent corrosion, especially at the brazed joint where the TC tip meets the stainless steel body.
A chemiclave (unsaturated chemical vapor sterilizer) is effective and reduces rust risk, but is not the preferred first choice for orthodontic pliers. It requires expensive proprietary chemical solutions and special ventilation for hazardous fumes. For most dental clinics, a Class B steam autoclave with distilled water is the safest, most reliable, and cost-effective method for orthodontic instrument sterilization.
Yes, ultrasonic cleaning is safe and highly recommended for orthodontic pliers before sterilization. The cavitation process effectively removes bioburden from intricate areas (hinges, serrations, springs) impossible to clean by hand. Always ensure pliers are in the open position within the ultrasonic basket for maximum cleaning efficiency of all surfaces.
Written by
Dr.Yashasvi
Dental Content Contributor
Dr.Yashasvi writes for Dentalkart Blogs on dental equipment, clinical workflows, and the everyday questions practitioners and patients face — translating evidence into practical guidance.
Keep reading
Browse all →Solving Orthodontic Mini-Screw Failures: A Clinical Troubleshooting Guide — Preventing TAD Mobility and Loss
Solving Orthodontic Mini-Screw Failures: A Clinical Troubleshooting GuidePreventing TAD Mobility and Loss Orthodontic mini-screw failure is the loss of primary
Digital Cephalometric Software Explained — A Modern Orthodontic Overview
Digital Cephalometric Software ExplainedA Modern Orthodontic Overview Transitioning from manual tracing to digital analysis fundamentally enhances orthodontic d

Safe Orthodontic Bracket Debonding
Safe Orthodontic Bracket DebondingMinimising Iatrogenic Enamel Damage The final appointment is a critical moment in orthodontic care. Safely removing brackets w