
Dr. Prerna Sahrawat
Contributing Dental Clinician
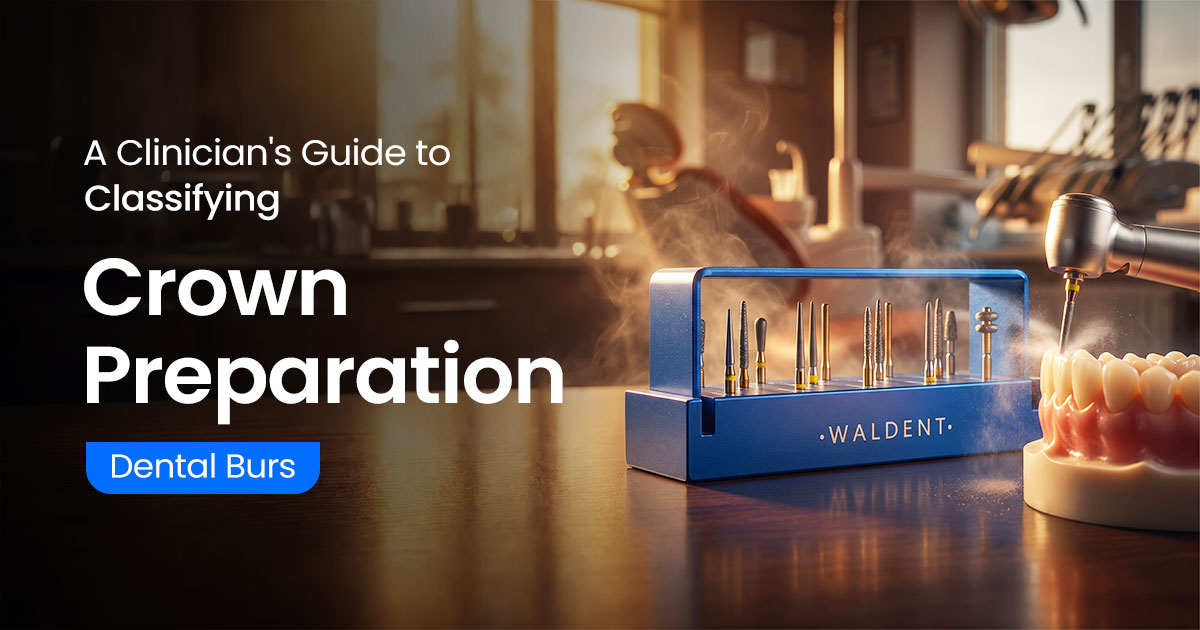
A Clinician's Guide to Classifying Crown Preparation Dental Burs
Material, Shape, and Grit Selection
Selecting correct crown preparation burs involves choosing between diamond or carbide materials, appropriate grit sizes, and specific shapes for each reduction stage. This choice directly impacts preparation precision, efficiency, and final restoration fit.
Table of Contents
Diamond vs. Tungsten Carbide Burs?
The primary difference is their cutting action: diamond burs abrade tooth structure with bonded particles, while tungsten carbide burs cut it with milled blades. Diamond burs are highly efficient for reducing hard enamel; carbide burs excel at smoothly cutting softer dentin and adjusting metal restorations.
Diamond burs operate optimally at high speeds (up to 450,000 RPM) for gross enamel reduction, grinding with their abrasive surface. Tungsten carbide burs have sharp flutes that shear tooth structure with less friction and heat, ideal for refining preparation walls, creating sharp internal line angles, and removing old amalgam. Using the right bur prevents unnecessary heat and ensures precise preparation.
- Enamel Reduction: Diamond burs are superior for abrasive efficiency on enamel.
- Dentin Cutting: Carbide burs cut dentin smoothly with less clogging and heat.
- Surface Finish: Carbide burs leave smoother surfaces; diamond preps require finer grit finishing.
- Debris Removal: Carbide flutes clear debris; diamond burs can clog, reducing efficiency.
Diamond Burs
- Unmatched cutting efficiency on enamel.
- Ideal for bulk material removal at high speeds.
- Generate more frictional heat.
- Can clog easily with tooth debris.
Tungsten Carbide Burs
- Superior for smooth, precise cutting of dentin.
- Produces less heat, enhancing patient safety.
- Excellent for finishing margins and removing old metal restorations.
- Less effective and wears faster on enamel.
How to Select the Correct Bur Grit Size
Bur grit size is selected based on the specific task, following the standardized ISO color-coding system. Coarse grits are for bulk reduction, medium for universal shaping, and fine or extra-fine for finishing margins and smoothing surfaces.
Starting a preparation with a coarse-grit (e.g., 125-150 µm particles, green band) bur allows rapid tooth structure removal but leaves a rough surface. Progressing to a medium grit (blue band) for shaping, then a fine-grit (e.g., 30 µm, red band) for finishing, creates a smooth cavosurface margin. This systematic reduction is crucial for accurate impressions and an excellent marginal seal. This systematic approach is simplified by using pre-arranged crown preparation kits.
- Black/Green (Super Coarse/Coarse): For rapid bulk reduction or cutting old PFM crowns.
- Blue (Medium): Standard workhorse grit for most tooth preparation and contouring.
- Red (Fine): Essential for pre-finishing axial walls and refining occlusal anatomy.
- Yellow/White (Extra-Fine/Ultra-Fine): For glass-smooth margins before impression-taking and polishing composites.
BUR GRIT SELECTION BY PREPARATION STAGE
For initial bulk reduction and efficient old crown removal.
Standard for universal preparation and axial wall shaping.
Critical for finishing margins and creating smooth prep surfaces for impressions.
Essential Bur Shapes for a Crown Prep
A standard crown preparation workflow requires a specific sequence of bur shapes to achieve proper reduction, taper, and margin design. Essential shapes include a round-end tapered bur for axial walls, a flat-end tapered bur for shoulder margins, and a football or flame bur for occlusal and lingual surfaces.
The process begins with occlusal reduction using a football diamond to create anatomical clearance of 1.5-2.0 mm. Next, a round-end tapered diamond is used for axial reduction, establishing a 6-8 degree total occlusal convergence for retention. If a 90-degree shoulder margin is required for an all-ceramic crown, a flat-end tapered bur is used. Finally, all sharp line angles are rounded and the entire preparation smoothed with a fine-grit finishing bur to reduce stress concentration. A comprehensive set of dental burs ensures you have the right shape for every step.
- Round-End Tapered: Primary bur for axial reduction and creating a definitive chamfer margin.
- Flat-End Tapered: For creating a 90° shoulder margin, essential for brittle ceramics.
- Football or Wheel: Shaped to follow occlusal anatomy and anterior lingual concavity during reduction.
- Fine Needle: Carefully breaks interproximal contacts without damaging adjacent teeth.
Step 1: Occlusal Reduction
Use a football or round diamond bur to place 1.5-2.0 mm depth grooves, then reduce occlusal surface following cuspal anatomy.
Step 2: Axial Reduction
Employ a tapered diamond bur to reduce buccal, lingual, and proximal surfaces, establishing a 6-8 degree taper path of insertion.
Step 3: Margin Preparation
Select correct bur tip—flat-end for shoulder or round-end for chamfer—and trace margin to create a smooth, continuous finish line.
Step 4: Finishing
Switch to a fine-grit (red band) bur of the same shape to smooth all prepared surfaces and round sharp line angles, preventing stress points.
Recommended Burs for Cutting Zirconia
Adjusting or cutting sintered zirconia restorations requires specially designed, fine-grit diamond burs used with copious water irrigation at lower handpiece speeds. Standard burs are ineffective and can induce micro-fractures, leading to premature failure.
Zirconia's extreme hardness and low thermal conductivity mean grinding generates immense localized heat. This heat can trigger a tetragonal-to-monoclinic phase transformation, an undesirable change that expands the crystal structure by 3-5%, creating micro-cracks. To prevent this, use dedicated zirconia-cutting burs at reduced speeds (around 150,000 RPM) with maximum water spray. The goal is to abrade the material gently. After any adjustment, the surface must be re-polished with zirconia-specific polishers to erase microscopic scratches and restore material strength. Many modern prosthodontic products include such specialized burs.
- Bur Selection: Use only fine (red band) or extra-fine (yellow band) diamond burs specifically for zirconia.
- Technique: Apply light, intermittent, sweeping strokes; avoid holding the bur in one place.
- Cooling: Continuous, high-volume water jet is non-negotiable to dissipate heat.
- Speed Control: Reduce turbine speed below 160,000 RPM to minimize heat and vibration.
- Final Polish: Always follow adjustments with a multi-step polishing system for high-strength ceramics.
Avoid Catastrophic Zirconia Failure
Never dry-cut a zirconia crown. Intense localized heat (exceeding 1000°C) causes phase transformation and invisible micro-cracks. This damage can lead to catastrophic fracture of the restoration weeks or months later.
Frequently Asked Questions
The primary difference is the bur's tip shape, dictating margin geometry. A shoulder bur features a flat end to create a 90-degree internal angle, ideal for providing bulk support for all-ceramic crowns. A chamfer bur has a rounded or torpedo-shaped tip, creating a curved, concave margin better suited for PFM and full metal crowns.
As a general rule, discard a diamond bur after 5-7 crown preparations, or immediately if cutting efficiency declines. Using a dull bur increases preparation time, generates excessive heat (harming pulp), and results in a rougher surface. A fresh, sharp bur is a cost-effective way to improve crown and bridge work quality.
A coarse-grit, parallel-sided diamond bur is ideal for sectioning the porcelain layer of a PFM crown. Once the metal substructure is exposed, switch to a tungsten carbide bur, like a transmetal bur, designed to efficiently cut metal alloy without rapid dulling. This two-bur technique is faster and more efficient.
The ideal total occlusal convergence (taper) for a full crown preparation is between 6 and 12 degrees. This angle balances retention and resistance form, allowing the restoration to seat fully without binding. Tapers less than 6 degrees create undercuts, while tapers greater than 12 degrees compromise retention.
Using a two-grit technique significantly improves both efficiency and final preparation quality. A coarse-grit bur is used first for rapid, bulk removal. Afterwards, a fine-grit bur of the same shape smooths axial walls and margins. This ensures roughness from the coarse bur isn't transferred to the impression, leading to a more accurate, better-fitting final crown.
No, single-use sterile crown preparation burs should never be reused. Re-sterilizing cannot guarantee removal of all biological debris from microscopic crevices, posing a cross-contamination risk. Furthermore, their cutting efficiency diminishes significantly after one use, leading to suboptimal preparations and potential thermal damage on subsequent uses.
Written by
Dr. Prerna Sahrawat
Contributing Dental Clinician
Dr. Prerna Sahrawat is a dentist with over 4 years of experience in clinical dentistry and dental content writing. She is passionate about simplifying complex dental concepts into practical, evidence-based content that helps dentists make informed clinical and purchasing decisions while staying updated with the latest advancements in dentistry.
Keep reading
Browse all →Optimizing Your Dental Lab Vibrator Technique
Optimizing Your Dental Lab Vibrator TechniqueA Guide to Bubble-Free Casts A dental vibrator machine uses controlled vibrations to remove trapped air from gypsum

When Should You Use a Dental Vacuum Former?
When Should You Use a Dental Vacuum Former?A Guide to Clinical Applications A dental vacuum former is best used for fabricating single-arch appliances like blea
Should You Prescribe a Flexible Partial Denture?
Should You Prescribe a Flexible Partial Denture?A Clinical Case Selection Guide Flexible partial dentures are metal-free removable prostheses ideal for patients