
Dr. Prerna Sahrawat
Contributing Dental Clinician
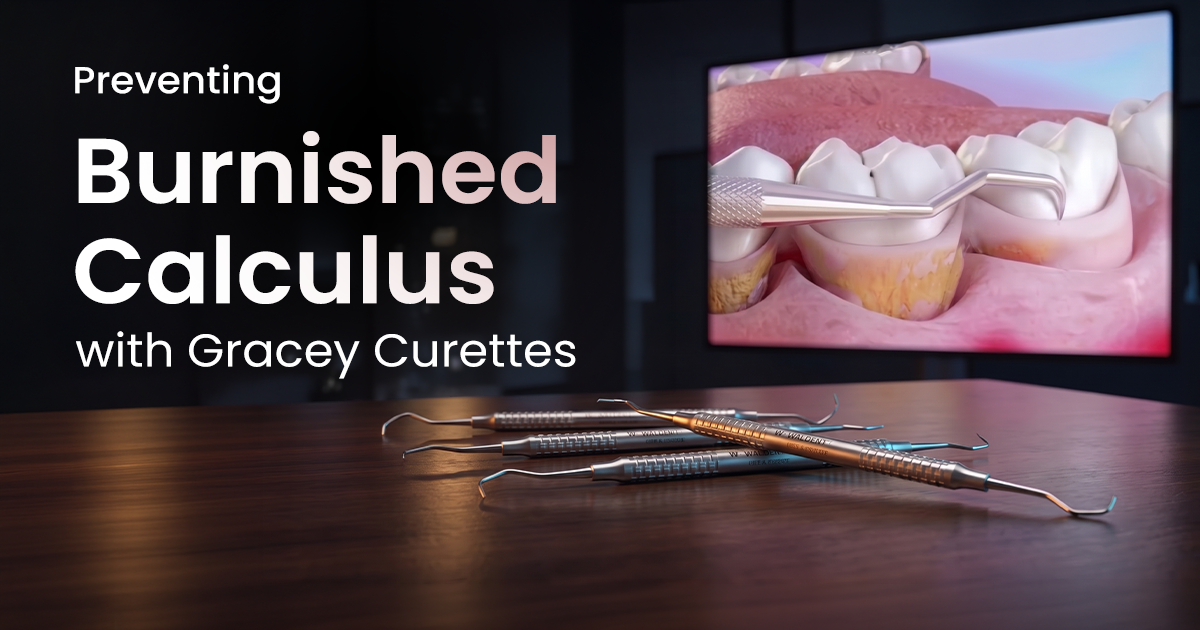
Preventing Burnished Calculus with Gracey Curettes
A Subgingival Scaling Protocol
Burnished calculus is a residual deposit smoothed by an incorrectly used curette, a primary cause of non-responsive periodontitis. Definitive subgingival scaling requires mastering the use of Gracey periodontal curettes to fracture, not shave, deposits for a biologically compatible root surface.
Table of Contents
Correct Gracey Curette Selection: A Clinical Necessity
Selecting the wrong Gracey curette for a specific tooth surface is a common error that directly leads to incomplete debridement and iatrogenic damage. Area-specific curettes are designed with unique shank angles and blade offsets to ensure the cutting edge adapts precisely to complex root morphology, something a universal curette cannot achieve in deep pockets.
Using a curette not designed for the specific surface—for instance, a Gracey 1/2 on a molar distal—prevents the blade from achieving the critical 60-70° working angulation. This forces the operator to either gouge the root or burnish the calculus. For pockets deeper than 5 mm, standard Gracey curettes may be too short; 'After Five' designs feature a 3 mm longer terminal shank, while 'Mini Five' versions also have a shorter blade for improved access in narrow, deep defects.
- Anteriors (All Surfaces): Gracey 1/2, 3/4, 5/6. Their simple shanks are ideal for straight tooth surfaces.
- Premolars & Molars (Mesial/Buccal/Lingual): Gracey 7/8, 9/10, 11/12. These have more complex contra-angles for posterior access.
- Molars (Distal): Gracey 13/14, 15/16. Their pronounced contra-angle allows access to the most difficult-to-reach distal line angles.
- Furcations: Specialized micro-mini blades or Nabers probes are often required for definitive debridement in these areas.
Curette Selection for Challenging Pockets
What Is the Correct Angulation to Avoid Burnishing?
To prevent burnishing, the face of the Gracey curette blade must be adapted to the root surface at a working angle between 60 and 70 degrees. This specific angulation ensures the cutting edge engages and fractures the calculus deposit cleanly from the root surface. Burnishing occurs when the angle is too closed (less than 45°), causing the blade to slide over and smooth the deposit.
The most common clinical error is failing to keep the terminal shank parallel to the tooth surface being scaled. For a Gracey curette, whose blade is offset at 70°, achieving a parallel terminal shank automatically establishes the correct working angulation. An angulation greater than 80° will gouge and remove excessive cementum, while an angle below 60° will inevitably burnish the calculus, leaving a smooth but contaminated surface that perpetuates periodontal inflammation.
- Insertion Angle: Insert the blade subgingivally at a closed angle (0-40°) to minimize gingival trauma.
- Activation Angle: Open the blade to 60-70° just before initiating the working stroke.
- Visual Cue: The terminal shank must be parallel to the long axis of the root surface you are instrumenting.
- Pressure: Apply firm, lateral pressure away from the tissue and towards the root surface during the pull stroke.
BLADE ANGULATION AND ITS CLINICAL RESULT
The blade face slides over the deposit, smoothing it into a thin, burnished layer.
The cutting edge engages and fractures the calculus deposit cleanly from the root surface.
The cutting edge digs into the root, causing unnecessary gouging and removal of cementum.
Establish a Stable Fulcrum for Controlled Power
A stable fulcrum is a firm finger rest on a solid tooth surface, serving as the pivot point for the scaling stroke. The most common error is using a mobile fulcrum—resting on soft tissue or an unstable opposing tooth—which results in a loss of power, poor blade adaptation, and a high risk of slipping and injuring the patient or operator.
The fulcrum should be established on an incisal or occlusal surface in the same arch and as close to the working area as possible. This creates a solid lever system, allowing the working stroke to be generated by a unified rock of the hand, wrist, and forearm, not by flexing the fingers. This 'fulcrum-driven' motion is essential for applying controlled, consistent lateral pressure needed to remove tenacious calculus without clinician fatigue. Using proper periodontal instruments is only half the battle; technique is paramount.
- Location: Same arch, 1-4 teeth away from the tooth being scaled.
- Pressure: Maintain firm, positive pressure on the fulcrum tooth throughout the stroke.
- Finger: The ring finger is the standard fulcrum finger for the modified pen grasp.
- Advanced Fulcrums: Extraoral or opposite-arch fulcrums may be necessary for deep posterior access, but require significant practice to master.
The 'Digital Motion Activation' Tip
For fine scaling, think of the working stroke as a slight rotation of your forearm, not a pull with your fingers. Your fingers in the grasp should remain rigid. This small, controlled rock from a stable fulcrum delivers precise power exactly where it is needed at the cutting edge.
Tactile Confirmation of a Calculus-Free Surface
Complete calculus removal is confirmed tactilely when a sharp explorer glides smoothly and quietly over the root surface without any catches or bumps. Visual confirmation is impossible in a subgingival environment, making tactile sensitivity the definitive measure of success. A common clinical mistake is relying on bleeding cessation alone, which is not a reliable indicator of a clean root.
The instrument of choice is a lightweight, highly sensitive explorer, such as an ODU 11/12. Use a very light, modified pen grasp and an exploratory stroke, which is a feather-light 'walking' or 'pecking' motion covering every square millimeter of the subgingival root. Differentiating textures is key: a clean root feels 'glassy smooth,' residual calculus feels like a 'ledge' or 'speed bump,' and burnished calculus presents as a subtly 'gritty' or 'velvety' texture that is often missed by inexperienced hands. If you are unsure, use other dental instruments to re-engage the area.
- Instrument: Use a sharp ODU 11/12 explorer, not the scaling curette itself.
- Grasp: A very light, relaxed grasp enhances transmission of vibrations.
- Stroke: Use short, overlapping vertical or oblique strokes, covering the entire subgingival area.
- Auditory Feedback: A clean surface is often silent, while calculus or roughness may produce a scraping sound.
The Pitfall of a Dull Explorer
Using a dull or heavy explorer is a critical error. A worn tip will not catch on small calculus ledges or detect the subtle texture of burnished deposits, providing a false negative and leading to failed periodontal therapy. Regularly check and replace your explorers.
Frequently Asked Questions
Burnished calculus is a subgingival calculus deposit that has been smoothed over and flattened, rather than fractured and removed, by a dull or improperly angled curette. This creates a thin, tenacious veneer of calculus that is difficult to detect tactilely and continues to harbor pathogenic bacteria, preventing periodontal healing.
The primary difference is in blade design and application. Gracey periodontal curettes are area-specific, with a blade that is offset at 70° to the terminal shank and has only one cutting edge per end. Universal curettes have a blade set at 90° to the shank with two parallel cutting edges, allowing them to be used on most tooth surfaces but with less ideal adaptation in deep pockets.
Slipping is most commonly caused by one of two errors: a dull cutting edge or incorrect angulation. A dull blade lacks the sharpness to 'bite' into the deposit and will slide over it, burnishing it. Alternatively, an angulation less than 45° will cause even a sharp blade to slip. First, ensure your curette is sharp; then, focus on establishing a parallel terminal shank to achieve the correct 60-70° working angle.
Gracey curettes should be sharpened lightly after each use or as soon as they feel even slightly dull. A good chairside test is to check if the blade 'grabs' a plastic sharpening test stick; if it slides, it needs sharpening. Working with a dull instrument for even a few strokes is inefficient, burnishes calculus, and requires more force, leading to operator fatigue and patient discomfort.
For deep pockets on mandibular molars, a combination of 'After Five' or 'Mini Five' Gracey curettes is ideal. Use an 11/12 for mesial surfaces and a 13/14 for distal surfaces. The extended shank provides access to the pocket base (>5 mm), while the mini blade version is superior for adapting to narrow root anatomy, furcations, and line angles without distending the tissue.
Written by
Dr. Prerna Sahrawat
Contributing Dental Clinician
Dr. Prerna Sahrawat is a dentist with over 4 years of experience in clinical dentistry and dental content writing. She is passionate about simplifying complex dental concepts into practical, evidence-based content that helps dentists make informed clinical and purchasing decisions while staying updated with the latest advancements in dentistry.
Keep reading
Browse all →
Indications for Periodontal Dressing Placement
Indications for Periodontal Dressing PlacementA Clinical Case Selection Guide A periodontal dressing material is a protective pack placed over a surgical site t
Indications for Periodontal Fiber Splinting
Indications for Periodontal Fiber SplintingA Clinical Case Selection Guide Periodontal splinting is indicated for stabilizing teeth with increasing mobility (Mi
Socket Preservation Grafting: A Case-Based Clinical Analysis
Socket Preservation Grafting: A Case-Based Clinical AnalysisSelecting Materials for Ridge Integrity Socket preservation — also called alveolar ridge preservatio
