Dr.Bhavishya
Dental Content Contributor
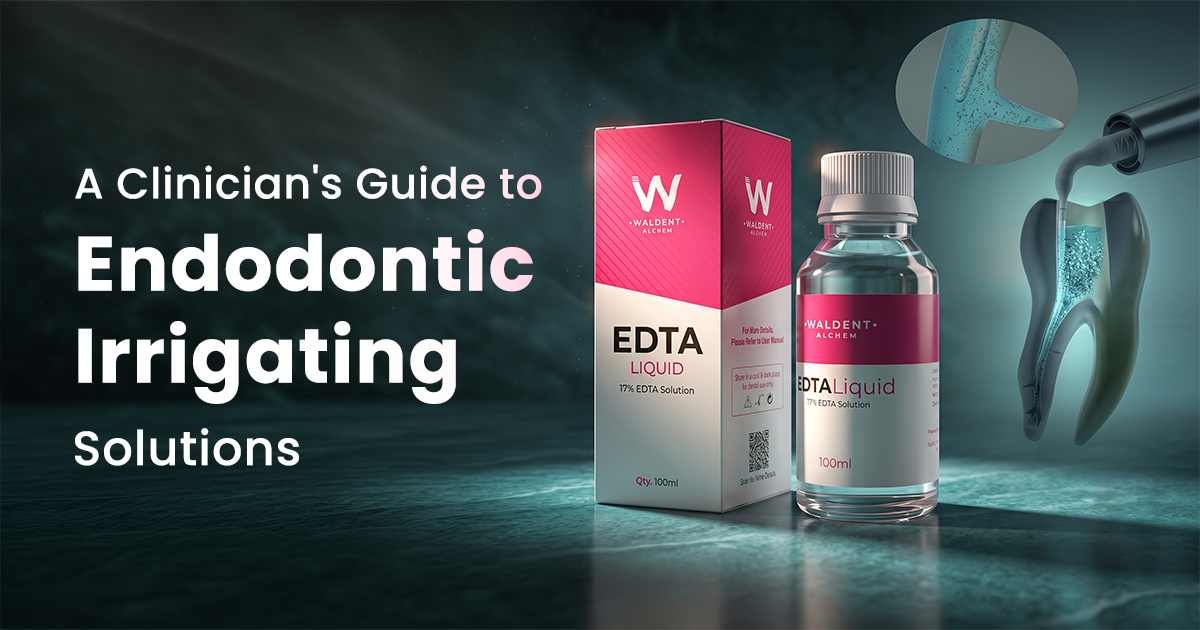
A Clinician's Guide to Endodontic Irrigating Solutions
Optimizing Canal Disinfection
Selecting the right endodontic irrigating solution involves a specific sequence of sodium hypochlorite for broad-spectrum antimicrobial action and tissue dissolution, followed by EDTA for inorganic smear layer removal. This evidence-based approach is critical for achieving thorough chemomechanical debridement and ensuring long-term treatment success.
Table of Contents
Sodium Hypochlorite's Role in RCT
Sodium hypochlorite (NaOCl) is the primary endodontic irrigant due to its potent antimicrobial properties and its unique ability to dissolve necrotic pulp tissue and organic debris. This dual-action capability makes it indispensable for cleaning the complex anatomy of the root canal system, which cannot be debrided by mechanical instrumentation alone.
Clinically, concentrations range from 2.5% to 5.25%. Warming NaOCl to approximately 60°C significantly enhances its tissue-dissolving efficacy without causing damage to periapical tissues. Frequent and copious irrigation, replenishing the solution within the canal after each instrument, is key. Using at least 2-5 mL of irrigant per canal ensures that fresh, active solution is always working within the system. Explore our full range of endodontic products to find the right solutions for your practice.
- Tissue Dissolution: NaOCl is the only common irrigant that effectively dissolves organic pulp remnants and the organic components of the smear layer.
- Antimicrobial Action: Its high pH (around 11-12) and release of hypochlorous acid provide a broad-spectrum antimicrobial effect against common endodontic pathogens.
- Lubrication: It acts as a lubricant for files, reducing the risk of instrument separation and aiding in the removal of dentinal chips.
- Concentration Matters: While higher concentrations (5.25%) are more effective, they also have higher cytotoxicity. A 3% solution is a common, effective compromise.
Preventing NaOCl Accidents
Always use a side-vented irrigation needle and ensure it is placed loosely within the canal, at least 2-3 mm short of the working length. Never wedge the needle. This prevents apical extrusion and severe chemical injury to the periapical tissues.
Using EDTA for Smear Layer Removal
Ethylenediaminetetraacetic acid (EDTA) should be used after canal shaping with NaOCl is complete, specifically to remove the inorganic component of the smear layer. The smear layer is a film of organic and inorganic debris that covers the canal walls after instrumentation, blocking dentinal tubules and preventing sealer penetration.
EDTA is a chelating agent that binds to calcium ions in the dentin, effectively demineralizing and removing the inorganic part of this layer. A 1-minute application of 17% liquid EDTA is sufficient for this purpose. Prolonged exposure beyond 2-3 minutes can cause excessive dentin erosion, weakening the root structure. Proper smear layer removal is critical for achieving a superior seal with modern root canal sealers.
- Mechanism: EDTA chelates (binds) calcium ions, demineralizing the peritubular and intertubular dentin.
- Standard Protocol: Use 17% liquid EDTA for 60 seconds as a final rinse before the last NaOCl wash.
- Formulation: Liquid EDTA is generally preferred over gel formulations for final irrigation due to better flow and canal penetration.
- Clinical Goal: Exposing the dentinal tubules allows for better adaptation of sealers and penetration of disinfecting agents.
Liquid EDTA
- Superior flow and penetration into canal intricacies.
- Easy to deliver and flush from the canal system.
- Less effective as an instrument lubricant.
EDTA Gel
- Excellent lubricant, holding debris in suspension.
- Useful during initial negotiation of calcified canals.
- More difficult to completely remove from the canal.
Is Chlorhexidine a Necessary Final Irrigant?
Chlorhexidine (CHX) is not a mandatory final irrigant but serves as a valuable adjunct in specific clinical situations, such as persistent infections, retreatment cases, or suspected Enterococcus faecalis presence. Its primary advantages are its broad-spectrum antimicrobial activity and its substantivity, allowing it to bind to dentin and exert a prolonged antibacterial effect.
The standard concentration for endodontic use is 2% CHX. However, it cannot dissolve tissue and, most critically, forms a toxic, orange-brown precipitate (para-chloroaniline) when mixed with NaOCl. This precipitate can stain dentin and may interfere with the apical seal. If CHX is used, the canal must be thoroughly flushed with saline or sterile water after NaOCl irrigation and before introducing the CHX.
- Key Indication: Cases with persistent exudate or retreatment scenarios where E. faecalis is a likely pathogen.
- Substantivity: Binds to dentin for up to 12 weeks, providing a long-lasting antimicrobial effect.
- No Tissue Dissolution: CHX is not a substitute for NaOCl as it lacks proteolytic activity.
- Interaction Risk: The formation of para-chloroaniline (PCA) precipitate with NaOCl is a major clinical concern.
Critical NaOCl-CHX Interaction
NEVER allow direct contact between NaOCl and CHX. Always flush the canal system thoroughly with 5-10 mL of sterile water or saline after NaOCl use and before introducing CHX to prevent the formation of the toxic PCA precipitate.
Correct Irrigation Sequence for NaOCl and EDTA
The correct irrigation sequence begins with using NaOCl as the primary irrigant throughout the entire instrumentation phase. After shaping is complete, the canal is rinsed with 1-3 mL of 17% EDTA for 1 minute to remove the smear layer, followed by a final flush with NaOCl to remove the loosened debris and ensure final disinfection.
This sequence ensures that organic tissue is dissolved first, allowing subsequent irrigants to reach the canal walls. Using EDTA before final NaOCl removes the smear layer, opening the dentinal tubules so the final NaOCl rinse can disinfect more effectively. This protocol optimizes the canal for obturation, preparing it for a dense fill with gutta percha points. The entire process is facilitated by modern endomotors and efficient rotary files that create well-defined shapes for irrigant penetration.
- Step 1 (During Shaping): Irrigate copiously with 3%–5.25% NaOCl after every instrument.
- Step 2 (Smear Layer Removal): After final shaping, irrigate with 17% EDTA for 60 seconds.
- Step 3 (Final Rinse): Flush with NaOCl again to remove remaining debris and for final disinfection. Some protocols suggest a final saline rinse to remove NaOCl remnants.
- Optional Step 4 (Adjunct): If using CHX, rinse with saline after Step 3, then use 2% CHX.
Step 1: Instrumentation & NaOCl
Use NaOCl (3% to 5.25%) as the sole irrigant throughout mechanical preparation. Replenish with at least 2 mL after each file.
Step 2: Smear Layer Removal with EDTA
After shaping is complete, use 1-3 mL of 17% EDTA. Agitate in the canal for 60 seconds to chelate the inorganic debris.
Step 3: Final Disinfection with NaOCl
Perform a final rinse with NaOCl to remove the suspended smear layer and for terminal disinfection of the exposed dentinal tubules.
Frequently Asked Questions
The ideal concentration of sodium hypochlorite is a balance between efficacy and safety, typically between 3% and 5.25%. While 5.25% NaOCl offers the fastest tissue dissolution and antimicrobial action, it also carries a higher risk of cytotoxicity if extruded. A 3% solution is a widely used and effective compromise for routine cases, providing adequate disinfection with a better safety profile.
Leaving irrigants in the canal for excessive periods can be detrimental. Prolonged exposure to NaOCl can degrade the collagen matrix of dentin, weakening the root structure. Leaving 17% EDTA in the canal for more than 2-3 minutes can cause excessive demineralization and dentinal erosion, which can compromise the integrity of the tooth and the quality of the final seal.
For retreatment cases, a combination of irrigants is typically most effective. NaOCl remains the primary irrigant for its ability to dissolve organic remnants and disinfect. Chloroform or other solvents are used to dissolve gutta-percha. A final rinse with 2% chlorhexidine is often recommended due to its high efficacy against E. faecalis, a common pathogen in failed root canals.
Ultrasonic activation significantly improves irrigation effectiveness through acoustic streaming and cavitation. This high-frequency vibration of an instrument (like an Irrisafe file) inside the irrigant-filled canal creates powerful fluid dynamics that dislodge debris from fins, isthmuses, and lateral canals. It enhances the chemical action of the irrigant, leading to a much cleaner canal system than passive needle irrigation alone.
No, saline should not be used as the sole endodontic irrigating solution. While it is a biocompatible flushing agent, it has no antimicrobial properties and cannot dissolve necrotic pulp tissue. Its only role is mechanical flushing of loose debris. Effective endodontic treatment requires a chemical irrigant like NaOCl to disinfect the canal and dissolve organic tissue for a successful outcome.
Written by
Dr.Bhavishya
Dental Content Contributor
A regular Dentalkart Blogs contributor, Dr.Bhavishya writes on the materials, instruments, and protocols that quietly shape outcomes inside every Indian dental practice.
Keep reading
Browse all →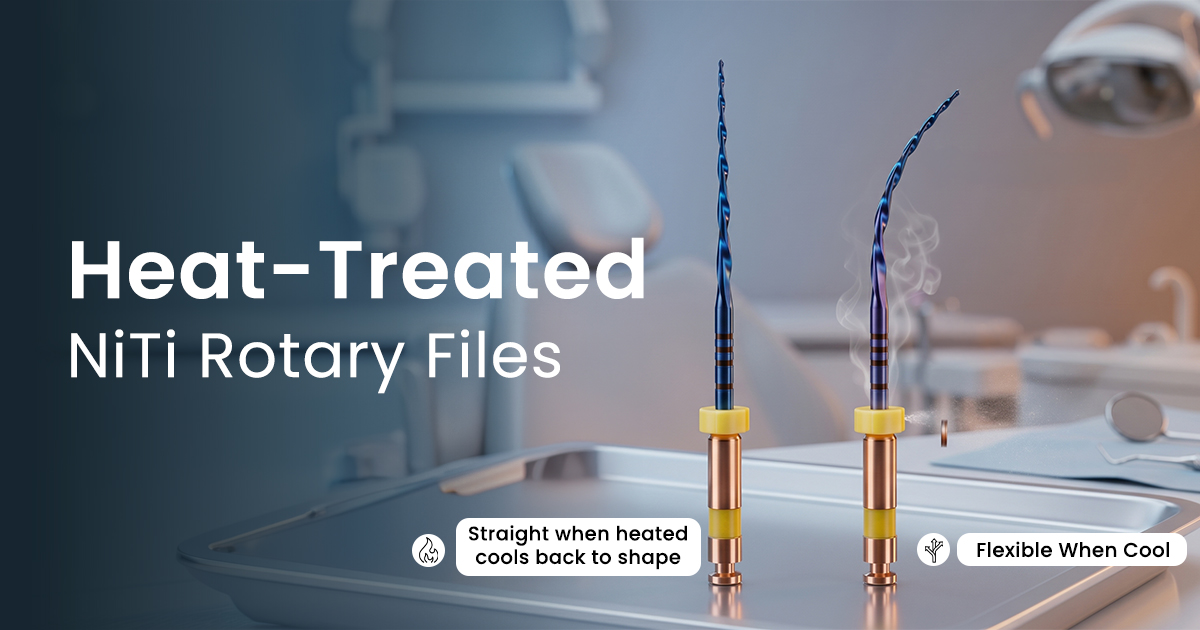
Heat-Treated NiTi Rotary Files — A Modern Alloy and Phase Guide
Heat-Treated NiTi Rotary FilesA Modern Alloy and Phase Guide Heat-treated NiTi files are endodontic rotary instruments thermomechanically processed to enhance f
MTA vs. Bioceramic Repair Materials — A Clinical Selection Guide
MTA vs. Bioceramic Repair MaterialsA Clinical Selection Guide Modern endodontics requires more than simple obturation. The choice between traditional MTA and ne
Choosing Your Root Canal Sealer — A Modern Material Guide
Choosing Your Root Canal SealerA Modern Material Guide The long-term success of root canal treatment hinges on the final obturation material. This guide explore