
Dr. Bhavishya Arora
Chief Dental Editor
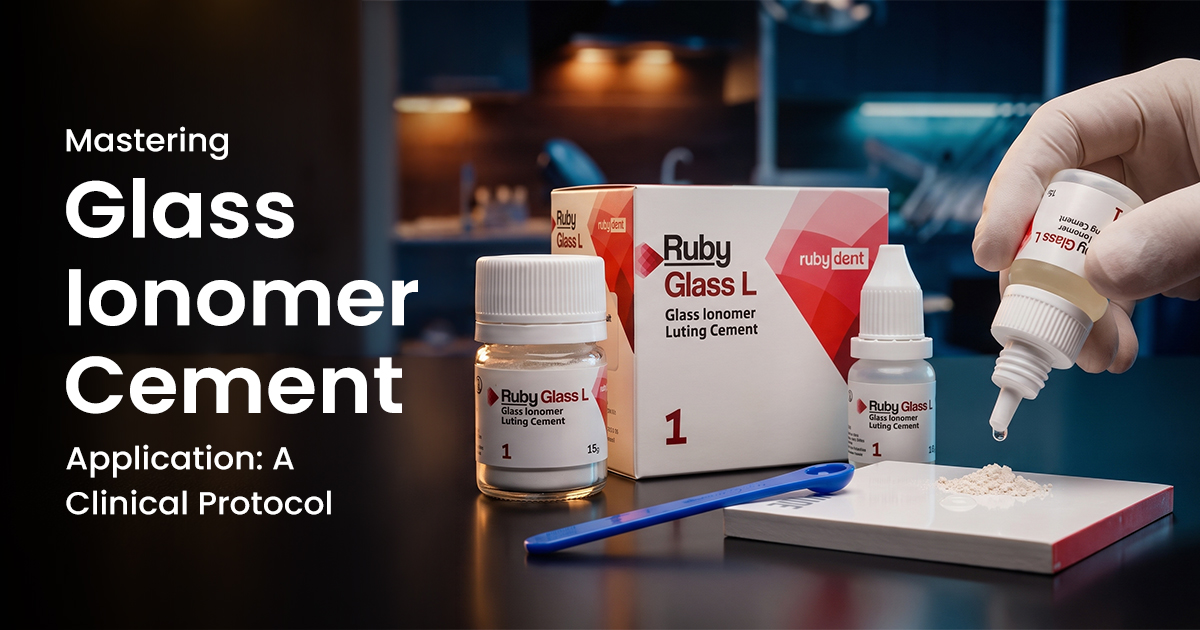
Mastering Glass Ionomer Cement Application: A Clinical Protocol
A Step-by-Step Clinical Guide
Mastering glass ionomer cement application requires precise tooth conditioning, accurate mixing, and moisture-controlled placement to achieve a durable chemical bond. This protocol is critical for leveraging GIC's fluoride release and biocompatibility, ensuring long-lasting clinical success.
Table of Contents
Choosing GIC: Luting vs. Restoration
Selecting the correct Glass Ionomer Cement (GIC) type depends on its clinical application, primarily by its powder-to-liquid ratio and physical properties. The main types of glass ionomer cement (GIC) are Type I, used as a GIC luting cement, and Type 2 GIC, used for restorations.
Formulation is key. Restorative Type II GICs have a higher powder-to-liquid ratio, yielding greater compressive strength (approx. 150 MPa) and wear resistance for occlusal forces. Luting Type I GICs mix to a lower viscosity, ensuring a low film thickness (~25 µm), crucial for complete crown and bridge seating without altering vertical dimension. For higher bond strength with ceramic or composite restorations, consider resin cements.
GIC is one of several restorative options — see our guide to dental cement types for how it compares to resin and zinc-based cements.
- Type I (Luting): Lower powder, creamy consistency, low film thickness (<25 µm), lower compressive strength. Ideal for cementing metal/PFM crowns.
- Type II (Restorative): Higher powder, packable/doughy consistency, higher compressive strength (>150 MPa), better wear resistance. Used for Class III, V, ART.
- Type III (Liners/Bases): Low-viscosity for cavity lining and pulp protection.
- Type IX (High-Strength Restorative): Packable, high-viscosity GIC with enhanced strength, often for pediatric/geriatric posterior restorations.
| Property | Type I (Luting) | Type II (Restorative) |
|---|---|---|
| Primary Use | Crown & Bridge Cementation | Direct Restorations (Class V, III) |
| Consistency | Creamy, low viscosity | Packable, high viscosity best |
| Film Thickness | ~25 µm | Not applicable |
| Compressive Strength | ~90-140 MPa | >150 MPa |
| P:L Ratio | Lower | Higher |
Correct Protocol for Tooth Conditioning
Correct tooth conditioning for GIC involves cleaning the surface and applying a mild polyacrylic acid conditioner for 10-15 seconds. This step is crucial for achieving a true chemical bond.
Unlike composite etching, GIC conditioning is gentler. 10-20% polyacrylic acid removes the smear layer, exposing calcium ions in dentin/enamel without demineralizing peritubular dentin or opening tubules. This creates a chemically active surface for the GIC's polyalkenoic acid to chelate, forming an ion-exchange bond. After rinsing, gently dry to a moist, glossy appearance—never desiccate, which denatures collagen and prevents ion transport.
- Step 1: Cleaning: Use non-fluoridated pumice slurry to remove plaque, pellicle, or temporary cement from the preparation.
- Step 2: Conditioning: Apply 10-20% polyacrylic acid to bonding surfaces for 10-15 seconds with a micro-brush.
- Step 3: Rinsing: Rinse conditioner thoroughly with water spray for 10 seconds.
- Step 4: Drying: Gently air-dry with an oil-free syringe; do not desiccate. Surface should remain slightly moist and glossy for chemical reaction.
1. Clean Surface
Use pumice slurry to debride the preparation, ensuring all debris is removed for intimate contact.
2. Condition for 10-15s
Apply 10-20% polyacrylic acid to remove smear layer. Do not exceed 20 seconds to avoid over-conditioning.
3. Rinse Thoroughly
Rinse conditioner off with water spray for at least 10 seconds to neutralize acid.
4. Gently Dry
Lightly air-dry until moist and glossy, not chalky-white. Over-drying compromises bond.
Achieving the Ideal GIC Mix
Achieve the ideal glass ionomer cement mix by strictly following the manufacturer's powder-to-liquid ratio, mixing on a cool glass slab within 45 seconds. Consistency indicates final physical properties and handling.
GIC's acid-base setting reaction is highly sensitive to temperature and mixing time. A cool glass slab (approx. 23°C) slows the reaction, extending working time. Incorporate powder into liquid in 2-3 large increments, not small amounts, using a stiff spatula. Rapid, bold strokes wet all particles without trapping air. A luting mix should be creamy, forming a 1-2 cm string when lifted; a restorative mix, a stiff, non-sticky, packable dough.
- Ratio is Key: Always use provided scoop and dropper. Fluff powder before dispensing for consistent density.
- Cool Surface: Use a cooled, dry glass slab. Do not use paper pads, which absorb liquid.
- Quick Incorporation: Mix rapidly, incorporating all powder within 30-45 seconds to maximize working time.
- Visual Cue: The mix must be glossy, indicating free polyacrylic acid for bonding. A dull or matte surface means setting reaction has progressed too far.
Extending Working Time
For more working time in hot climates, refrigerate GIC liquid and glass slab before mixing. Never refrigerate powder; it can cause condensation and degradation.
GIC Placement and Finishing Best Practices
A well-adapted GIC filling should be contoured before final set, since a GIC restoration finished too early risks surface crazing. Final finishing and polishing must be delayed at least 24 hours for full chemical maturation.
GIC undergoes a two-stage setting reaction. Initial rapid set occurs within 5-7 minutes; slower hydrogel formation and ion exchange continue for 24+ hours. Water contamination during the first 10 minutes dissolves matrix-forming ions, causing a weak, chalky surface. Air exposure causes dehydration and surface crazing. Thus, immediately apply a protective coating (varnish, unfilled resin, or petroleum jelly) after placement.
- Work Quickly: Place, adapt, and form anatomy while cement is glossy. Loss of gloss indicates end of working time.
- Isolate and Protect: Use a matrix band for interproximal restorations. Immediately after gross excess removal, coat with a protective agent.
- Initial Trim: After initial set (~7 min), carefully remove large excesses with a sharp hand instrument. Avoid rotary instruments at this stage.
- Final Polish: Schedule final contouring and polishing for a subsequent appointment (after 24 hours) using fine-grit finishing burs, discs, or silicone points under water coolant.
Avoid Premature Finishing
Finishing a GIC restoration with rotary instruments before 24 hours creates microfractures and disrupts the maturing matrix, severely compromising strength, wear resistance, and long-term fluoride release.
Frequently Asked Questions
The sandwich technique places glass ionomer cement as a base or liner in a cavity, topped with composite resin as the final occlusal/esthetic layer. This leverages GIC's fluoride release, chemical adhesion to dentin, and pulpal biocompatibility, while composite provides superior strength, wear resistance, and esthetics. It's effective for deep posterior restorations.
The main difference between conventional GIC and resin-modified glass ionomer (RMGIC) is the addition of a resin component (e.g., HEMA) and photoinitiator.This makes RMGICs dual-cured (acid-base and light polymerization), providing immediate command set, higher early strength, and better moisture resistance. However, resin can slightly reduce fluoride release.
A chalky, fractured GIC restoration is almost always due to improper moisture control during initial setting. Water/saliva contamination within the first 10 minutes washes out matrix-forming ions, leading to a weak, porous structure. Excessive air-drying causes dehydration and surface crazing. An incorrect powder-to-liquid ratio can also cause a weak mix.
Type III glass ionomer cements are specifically formulated as fissure sealants and liners. Their lower viscosity and flowable consistency allow effective penetration into occlusal pits and fissures. Primary advantages are chemical bond to enamel and long-term fluoride release, providing ongoing caries protection in susceptible areas.
GIC restoration longevity depends heavily on location and occlusal load. In low-stress Class V (cervical) lesions, a well-placed GIC can last 5+ years. For load-bearing posterior (Class I or II) restorations, especially with high-viscosity Type IX GICs, a 2-3 year lifespan is more typical. Longevity is maximized by meticulous application, proper moisture control, and good patient oral hygiene.
Written by
Dr. Bhavishya Arora
BDS, MDSChief Dental Editor
A contributing clinician at Dentalkart Blogs, Dr. Bhavishya is a compassionate, detail-driven dentist known for thoughtful patient care, clear communication, and a calm chair-side manner that puts patients at ease. Beyond the clinic, she leads product content and category initiatives at Dentalkart India's largest dental marketplace where she bridges clinical understanding with commercial insight to help dentists make better-informed product choices.
Keep reading
Browse all →
Which Luting Cement for Zirconia Crowns?
Which Luting Cement for Zirconia Crowns?A Clinical Decision Guide The ideal luting cement for zirconia crowns is typically a self-adhesive resin cement, prized
Mastering Direct Chairside Denture Relining: A Clinical
Mastering Direct Chairside Denture Relining: A Clinical ProtocolImprove Fit, Function, and Comfort Direct chairside relining readapts a denture's intaglio surfa

Digital Dental Shade Matching for Predictable Aesthetic
Digital Dental Shade Matching for Predictable Aesthetic RestorationsPrecision Beyond the Eye A dental spectrophotometer is a device that objectively measures to