
Dr.Yashasvi
Dental Content Contributor
Mastering Pediatric Crown Placement
A Step-by-Step Protocol
Pre-formed metal crowns are a cornerstone of pediatric restorative dentistry, offering durability for compromised primary molars. Mastering the placement technique is crucial for clinical success, ensuring longevity and preventing premature tooth loss.
Table of Contents
Indications & Pre-operative Assessment
KEY INDICATIONS FOR PEDIATRIC MOLAR CROWNS
For primary molars with multi-surface decay that compromises tooth integrity.
To protect a tooth that has undergone a pulpotomy or pulpectomy.
Covers teeth affected by amelogenesis or dentinogenesis imperfecta.
Restores form and function to primary molars that have fractured.
Tooth Preparation Clinical Steps
Tooth Preparation Sequence
Ensure profound anesthesia and place a rubber dam for isolation.
Reduce the occlusal surface by 1.5 to 2.0 mm.
Use a thin tapered diamond bur to break interproximal contacts.
Reduce these surfaces just enough to allow the crown to seat.
Bevel all sharp line angles to facilitate a smooth path of insertion.
Excavate any remaining caries and place a suitable base if needed.
Crown Selection and Adaptation
CROWN ADAPTATION WORKFLOW
Use a dental caliper to measure mesiodistal width and select the size.
Check for a passive fit, correct length, and occlusal clearance.
Use crimping pliers to adapt the cervical 1 mm of the margin.
Use contouring pliers for shape and polish any rough areas.
Achieving the 'Snap' Fit
To achieve the characteristic 'snap' fit, use crimping pliers (like the Gordon 137) to gently roll the cervical 1mm of the crown margin inward. This ensures excellent mechanical retention and a tight marginal seal.
Luting, Seating, and Finishing
Step 1: Isolate and Dry
Thoroughly clean and dry the prepared tooth and the internal surface of the crown. Maintain isolation with cotton rolls or a rubber dam.
Step 2: Load and Seat
Mix luting cement to the correct consistency, line the crown about 2/3 full, and seat it with firm finger pressure.
Step 3: Clean and Check
Remove excess cement with a scaler and floss after the initial set. Verify the occlusion and marginal integrity before final dismissal.
Moisture Contamination
Saliva or blood contamination during cementation is a primary cause of failure. It compromises the luting agent's bond strength, leading to premature dislodgement of the restoration.
Frequently Asked Questions
A well-placed pediatric metal crown is designed to last until the primary tooth exfoliates naturally. This can range from 3 to 10 years, depending on the age of the child at the time of placement. Its longevity is highly dependent on proper tooth preparation, a good marginal seal, and the child's oral hygiene habits. Regular dental check-ups are essential to monitor the restoration.
While primarily designed for primary molars, they can serve as a long-term interim restoration for young permanent molars in specific situations. This includes cases of severe decay in a newly erupted molar (MIH), developmental defects, or when a definitive cast restoration is not yet feasible. The fit is less precise than a custom lab-fabricated crown, but it can protect the tooth for several years.
The most common reason for failure is loss of retention, which accounts for over 70% of failures. This is typically caused by inadequate tooth preparation, such as insufficient reduction or under-tapered walls. Other causes include cement failure due to moisture contamination during seating or secondary caries developing at an open margin. Proper technique is paramount to prevent these issues.
Gingival bleeding can compromise visibility and cementation. It is best managed by applying a hemostatic agent with a micro-applicator for 30-60 seconds before rinsing thoroughly. Ensure the rubber dam is properly placed to provide isolation and retraction. If bleeding is from the interproximal papilla after preparation, a small piece of retraction cord can be gently packed before trying on the crown.
Advise parents that the child's bite may feel different for a few days, which is normal. The surrounding gum tissue might be slightly irritated for 2-3 days. A soft diet is recommended for the first 24 hours. Instruct them to avoid sticky or hard candies that could dislodge the restoration and to ensure the child continues with regular brushing and flossing around the crown.
Written by
Dr.Yashasvi
Dental Content Contributor
Dr. Yashasvi Sharma is a contributing Dental professional at Dentalkart Blogs, where she distills chair-side clinical experience into evidence-based, practice-ready guides for Indian dentists. Her work bridges the gap between academic dentistry and everyday practice, translating global research into actionable insights tailored to the realities of Indian clinical settings.
Keep reading
Browse all →
Latex vs Nitrile Dental Gloves: A Clinical Comparison
Latex vs Nitrile Dental Gloves: A Clinical ComparisonYour Clinical Selection Guide The choice between latex and nitrile dental examination gloves balances latex


Evidence-Based Guide to Peri-Implantitis Debridement
Evidence-Based Guide to Peri-Implantitis Debridement InstrumentsPreserving Implants, Protecting Patients Selecting the right implant debridement instruments inv

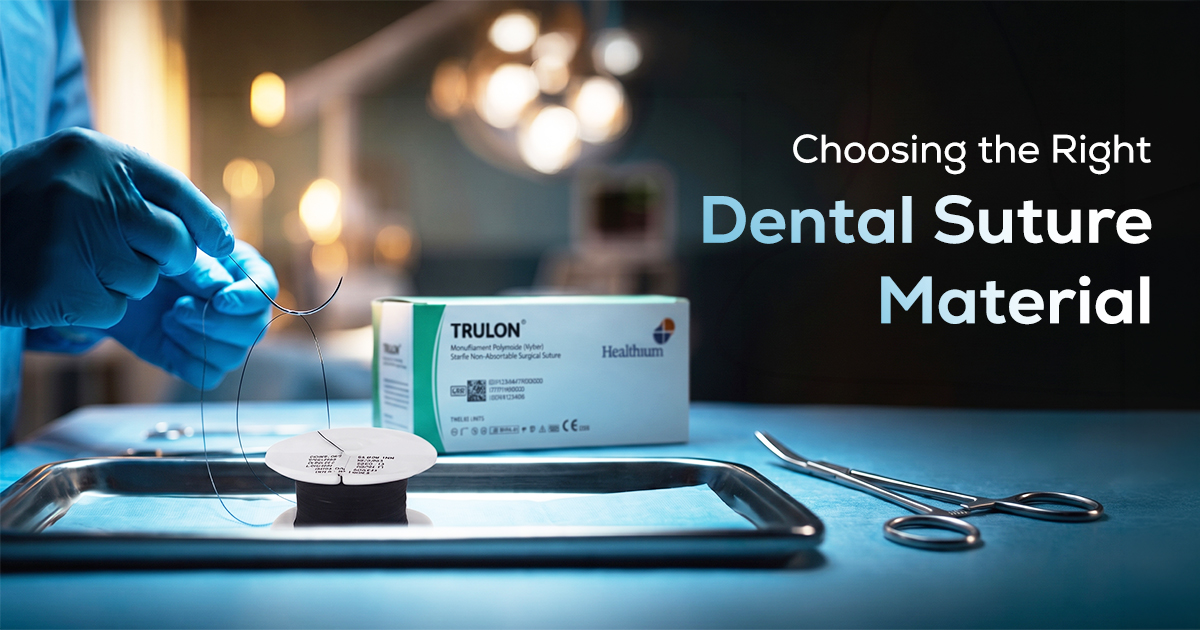
Choosing the Right Dental Suture Material: A Guide
Choosing the Right Dental Suture Material: A GuideOptimal Healing, Better Outcomes Choosing the correct dental suture material involves balancing tissue type, h
