
Dr. Prerna Sahrawat
Contributing Dental Clinician
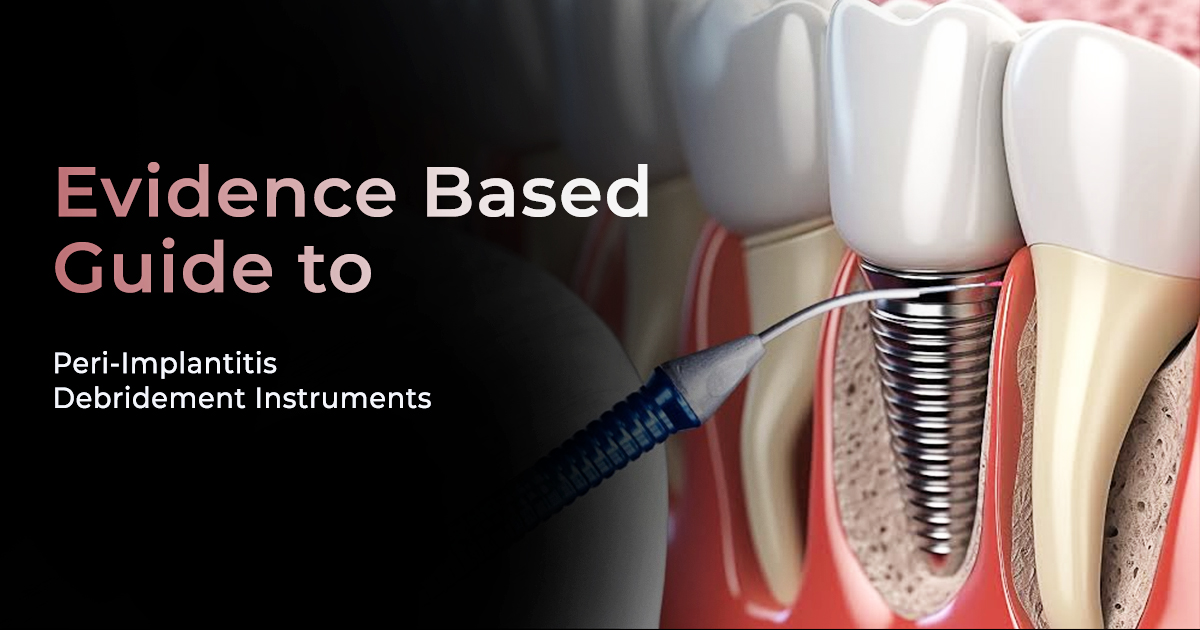
Evidence-Based Guide to Peri-Implantitis Debridement Instruments
Preserving Implants, Protecting Patients
Selecting the right implant debridement instruments involves choosing materials that effectively remove biofilm without altering the implant's sensitive titanium surface. This choice is critical for peri-implantitis treatment and for halting peri-implant mucositis before it progresses, ensuring the long-term viability of dental implant restorations.
Table of Contents
Why Steel Curettes Damage Dental Implants
Standard stainless steel curettes are strictly contraindicated for implants because their hardness scratches the softer titanium or titanium alloy surface, creating microscopic niches for bacterial colonization. This irreversible damage compromises the implant's surface integrity, which is fundamental to its long-term success.
The Rockwell hardness of stainless steel is significantly higher than that of commercially pure titanium (Grade 4) or Ti-6Al-4V alloy. This disparity means that any contact from a steel instrument will gouge the implant, altering its precisely engineered surface topography. This roughening not only impairs biocompatibility and the stability of the protective titanium oxide layer but also makes future plaque and calculus removal substantially more difficult, accelerating disease progression.
- Surface Roughening: Scratches increase the surface area by up to 40%, making biofilm adhesion easier and subsequent cleaning more challenging.
- Galvanic Corrosion: Contact between dissimilar metals (steel and titanium) in saliva creates a galvanic cell, which can lead to ion release and surface corrosion over time.
- Metallic Contamination: Steel instruments can leave behind trace metallic residues on the implant, potentially triggering an adverse host inflammatory response.
- Biocompatibility Loss: Altering the titanium oxide layer compromises the implant's passive, corrosion-resistant state essential for soft and hard tissue health.
Permanent Surface Damage
Using steel scalers on an implant surface is not a reversible error. The resulting micro-scratches permanently increase the risk of biofilm retention and can compromise the long-term prognosis of the implant.
Material Options for Implant Scalers and Curettes
The primary material options for implant-safe scalers and curettes are titanium, PEEK (polyetheretherketone), carbon fiber, and plastic/resin. Each is selected for having a lower hardness value than the implant's titanium surface, preventing iatrogenic damage during debridement.
Titanium-coated or solid titanium instruments are considered the gold standard as they are perfectly biocompatible and eliminate any risk of galvanic reaction. For practitioners seeking durable, autoclavable alternatives, PEEK and carbon fiber offer excellent rigidity for removing moderate deposits from various implant products. Plastic instruments, while cost-effective, wear quickly and are best reserved for light biofilm removal.
- Titanium: Most biocompatible option. Ideal for debriding both the implant surface and abutments without causing damage or leaving residue.
- PEEK: A high-performance, autoclavable polymer that is firm enough for effective scaling but gentle on implant surfaces, offering excellent durability.
- Carbon Fiber/Graphite: Strong and rigid, effective for tenacious deposits. Can be brittle and may leave marks if used with excessive force.
- Plastic/Resin: Most flexible option, best for light, easily accessible biofilm. They are often disposable and wear down quickly, requiring frequent replacement.
| Material | Hardness vs. Titanium | Primary Use Case | Autoclavable? |
|---|---|---|---|
| Titanium | Identical (Safe) | All deposit types best | Yes |
| PEEK | Softer | Light to moderate deposits | Yes |
| Carbon Fiber | Softer | Tenacious, supragingival deposits | Yes |
| Plastic/Resin | Significantly Softer | Light biofilm only | Varies (Often disposable) |
Ultrasonic vs. Manual Implant Debridement
Ultrasonic implant tips, typically made of PEEK or another soft polymer, offer efficient biofilm disruption through cavitation and acoustic microstreaming with less operator fatigue. In contrast, manual implant debridement instruments provide superior tactile feedback for the precise removal of discrete calculus deposits.
The key to safe ultrasonic use is employing a specially designed, non-metallic implant tip at a low power setting—typically below 25% of the unit's maximum—to prevent heat generation and surface damage. The constant lavage from the coolant is a major advantage, effectively flushing away debrided material, plaque, and endotoxins from the peri-implant sulcus, which is a significant benefit over manual scaling alone.
- Efficiency: Ultrasonics are generally faster and more effective at debriding large surface areas covered in biofilm.
- Technique Sensitivity: Requires a light, non-scraping touch, allowing the tip to 'float' over the surface. Excessive pressure can still cause damage even with a PEEK tip.
- Access: Slimmer ultrasonic tips can often access deep pockets and complex implant superstructures more easily than bulky manual curettes.
- Tactile Sense: Manual instruments offer unmatched tactile sensation, which is crucial for detecting residual calculus and evaluating surface smoothness post-debridement.
Ultrasonic Debridement (PEEK Tip)
- Highly efficient for biofilm removal
- Lavage flushes away debris and toxins
- Reduced operator fatigue
- Diminished tactile feedback
Manual Debridement
- Superior tactile sensation for calculus detection
- Excellent control and precision
- More time-consuming and labor-intensive
- Can be less effective on widespread, soft biofilm
Air Polishing for Peri-Implant Decontamination
Chairside air polisher units — commonly sold as prophy jet systems, including the Woodpecker range — deliver airflow dental cleaning around the implant surface. Air polishing with low-abrasive powders, primarily glycine or erythritol, is a highly effective method for removing biofilm from implant surfaces, abutments, and prosthetics with minimal risk of surface alteration. It is considered a cornerstone of modern peri-implant maintenance protocols.
Unlike traditional sodium bicarbonate powders, which are highly abrasive and contraindicated for implants, glycine powders have a small particle size of approximately 25 µm and are water-soluble. This allows for safe and comfortable supra- and subgingival use. The method efficiently decontaminates the complex geometries of implant threads and microstructures without scratching, preserving the implant's original surface. This is a crucial step before regenerative procedures that may involve bone grafts and membranes.
- Powder Choice: Only use low-abrasive powders like glycine or erythritol. Sodium bicarbonate will permanently damage the titanium surface.
- Subgingival Use: Specialized subgingival nozzles are required to deliver the powder slurry safely into peri-implant pockets, typically up to 5 mm deep.
- Efficiency: Rapidly and completely removes biofilm from the entire implant-abutment-prosthesis complex, including hard-to-reach areas.
- Soft Tissue Safety: Glycine and erythritol powders are exceptionally gentle on surrounding soft tissues, causing less trauma than instrumentation.
When to Use Air Polishing vs. Manual Instruments
Frequently Asked Questions
The main goal of peri-implant debridement is to completely remove bacterial biofilm and calculus from the implant surface, abutment, and prosthesis without altering the implant's biocompatible titanium surface. Effective decontamination arrests the progression of peri-mucositis and peri-implantitis, thereby preserving the supporting bone and ensuring the implant's long-term health and function.
The key difference is the material. Regular scalers are made of stainless steel, which is harder than titanium and will scratch and damage implant surfaces. Implant scalers are made from softer, implant-compatible materials like titanium, PEEK, carbon fiber, or resin, ensuring they can remove deposits without harming the critical implant surface.
Peri-implant maintenance intervals should be customized to the patient's risk profile, but a typical recall is every 3 to 6 months. Patients with a history of periodontitis, poor oral hygiene, or signs of peri-mucositis may require more frequent 3-month intervals. The goal is to intercept disease before significant bone loss occurs around the implant.
Titanium or PEEK curettes are the best manual implant debridement instruments for carefully removing residual cement around an implant abutment. Their material composition ensures they will not scratch the abutment or implant collar during this delicate procedure. Ultrasonic tips are generally not recommended for large, solid pieces of cement due to lack of tactile control.
It depends entirely on the manufacturer's specifications. Some high-quality plastic or resin scalers are designed to be autoclavable for a limited number of cycles, typically 20-30 times. However, many are intended for single use only and will warp or degrade under the heat and pressure of a standard 134°C autoclave cycle. Always check the product instructions to prevent damage.
Written by
Dr. Prerna Sahrawat
Contributing Dental Clinician
Dr. Prerna Sahrawat is a dentist with over 4 years of experience in clinical dentistry and dental content writing. She is passionate about simplifying complex dental concepts into practical, evidence-based content that helps dentists make informed clinical and purchasing decisions while staying updated with the latest advancements in dentistry.
Keep reading
Browse all →
When to Use Absorbable Gelatin Sponges?
When to Use Absorbable Gelatin Sponges?Clinical Hemostasis Case Selection An absorbable dental hemostatic sponge is a sterile, porcine-derived gelatin foam used
Correcting Common Pit & Fissure Sealant Application Errors
Correcting Common Pit & Fissure Sealant Application ErrorsAn Evidence-Based Guide Successful pit and fissure sealant application is technique-sensitive, and

Dental RVG Sensor Quality Assurance Protocol
Dental RVG Sensor Quality Assurance ProtocolA Clinical Calibration Guide A dental RVG (radiovisiography) sensor quality assurance protocol is a set of routine t