

Dr. Prerna Sahrawat
Contributing Dental Clinician
Perfecting Putty-Wash Dental Impressions
A Step-by-Step Protocol
Precise marginal fit is crucial for successful fixed prosthodontics. This reliable and cost-effective two-step technique remains a gold standard for practitioners, ensuring accurate and consistent results for crown and bridge work.
Table of Contents
Selecting Materials and Trays
- Choose a high-viscosity VPS putty for the primary impression.
- Select a low-viscosity light-body wash for capturing fine details.
- Use a rigid, non-flexible metal or plastic stock impression tray.
- Ensure the tray provides 3-5 mm of uniform space around teeth.
- Apply a thin, even layer of tray adhesive before loading.
- Keep mixing spatulas and pads clean and ready for use.
Essential Armamentarium Checklist
High-viscosity material for the initial bulk impression.
Low-viscosity material to capture subgingival margins and details.
Metal or stiff plastic tray to prevent distortion during setting.
Ensures the material remains bonded securely to the tray.
The Primary Putty Impression
- Mix the putty base and catalyst until the colour is uniform.
- Avoid wearing latex gloves as they can inhibit the setting reaction.
- Load the tray evenly, ensuring sufficient material covers all areas.
- Seat the tray passively in the mouth without excessive pressure.
- Create space for the wash by using a spacer or trimming.
- Ensure the putty is fully set before removing it from the mouth.
Applying the Secondary Wash
- Ensure the prepared teeth and putty surface are completely dry.
- Syringe the light-body wash directly onto the prepared teeth first.
- Start syringing at the distal-most aspect of the preparation.
- Simultaneously, apply a thin layer of wash into the putty impression.
- Reseat the tray with firm, steady pressure and hold it motionless.
- Wait for the full setting time recommended by the manufacturer.
Step 1: Dry Field
Isolate and dry the preparation area thoroughly using an air syringe and cotton rolls.
Step 2: Syringe Wash
Apply light-body wash around the preparation, starting at the gingival margin.
Step 3: Load & Reseat
Load the putty tray with wash and reseat it within 30 seconds of starting the mix.
Gingival Retraction Tip
For clear subgingival margins, use a double-cord retraction technique. Place a smaller cord (size 00) first, followed by a larger cord (size 0 or 1) for 5-7 minutes before applying the wash.
Troubleshooting Common Impression Errors
- Voids or bubbles are often caused by moisture or trapped air.
- Drags indicate movement of the tray before the material has set.
- Delamination happens when the wash separates from the putty base.
- Inaccurate margins can result from inadequate gingival retraction.
- A chalky or unset putty surface suggests contamination from latex.
- Distortion occurs if the tray is removed before complete setting.
Frequently Asked Questions
Incomplete setting is most often caused by contamination. Latex gloves contain sulfur, which inhibits the polymerization of PVS materials. Always use nitrile or vinyl gloves when handling putty. Additionally, some eugenol-based retraction cords or temporary cements can interfere with the set, so ensure the field is meticulously cleaned for at least 60 seconds before taking the final impression.
Yes, the single-step (or simultaneous) technique is an alternative where putty and wash are placed at the same time. However, the two-step technique generally provides better hydraulic pressure, pushing the light-body wash more effectively into the sulcus. This often results in more accurate marginal detail, with studies showing it can capture details as fine as 20 micrometers.
The ideal wash space is approximately 1-2 mm uniformly around the prepared teeth. This can be achieved by placing a polyethylene spacer sheet over the teeth before the primary putty impression or by carefully trimming away the interproximal and occlusal surfaces of the set putty with a sharp scalpel. Too little space prevents proper flow, while too much can lead to distortion.
The primary advantage of Polyvinyl Siloxane (PVS) is its exceptional dimensional stability. It exhibits less than 0.2% dimensional change over 24 hours, allowing for delayed pouring without loss of accuracy. PVS also has a high tear strength and excellent elastic recovery, ensuring the impression can be removed from undercut areas without permanent distortion, which is critical for complex cases.
Tray show-through indicates excessive pressure during seating or an incorrectly sized tray. Always select a tray that provides at least 3-4 mm of clearance around the arch. When seating the primary putty, use gentle, passive pressure. The goal is to seat the tray, not to compress the material forcefully against the teeth. This prevents thin spots and ensures uniform thickness of at least 2 mm.
Written by
Dr. Prerna Sahrawat
Contributing Dental Clinician
Dr. Prerna Sahrawat is a dentist with over 4 years of experience in clinical dentistry and dental content writing. She is passionate about simplifying complex dental concepts into practical, evidence-based content that helps dentists make informed clinical and purchasing decisions while staying updated with the latest advancements in dentistry.
Keep reading
Browse all →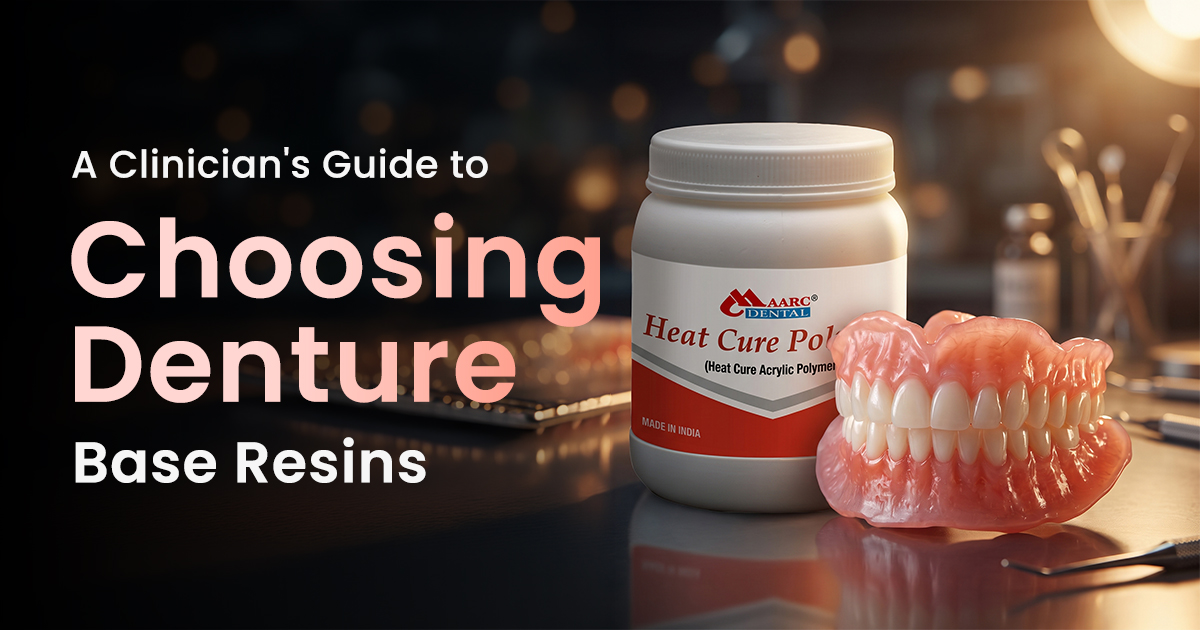
A Clinician's Guide to Choosing Denture Base Resins
A Clinician's Guide to Choosing Denture Base ResinsMaterial Selection Simplified Selecting the correct acrylic denture resin is fundamental to fabricating durab
Choosing Your Occlusal Splint Material: A Clinical Guide
Choosing Your Occlusal Splint Material: A Clinical GuideA Prosthodontist's Selection Guide Selecting the right occlusal splint materials involves choosing betwe

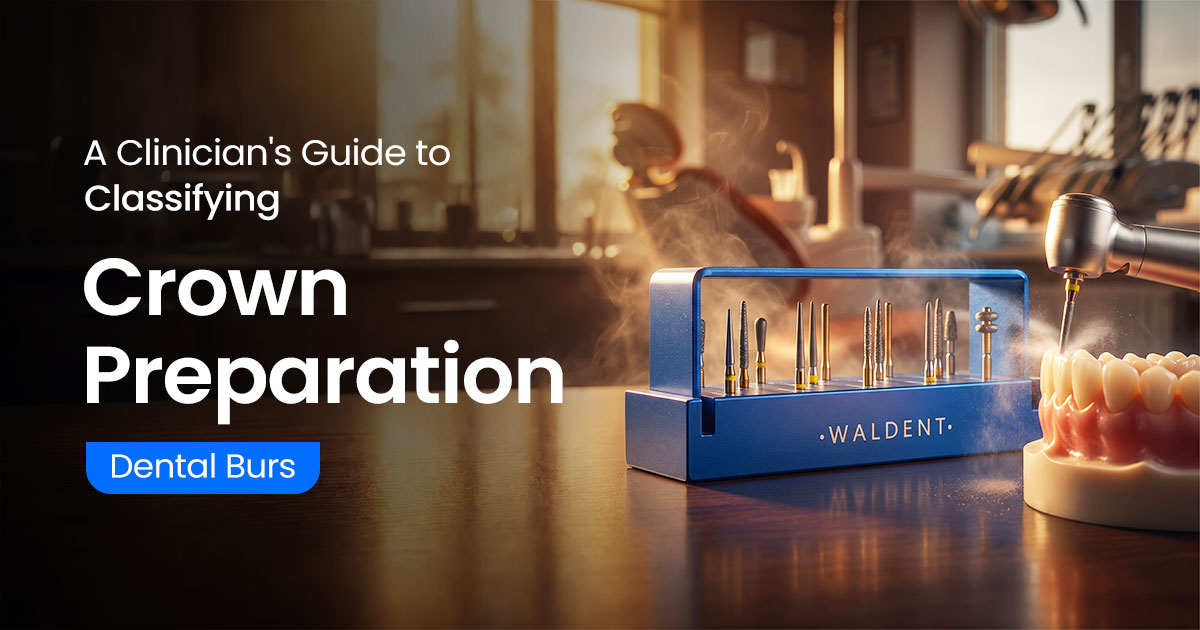
A Clinician's Guide to Classifying Crown Preparation Dental
A Clinician's Guide to Classifying Crown Preparation Dental BursMaterial, Shape, and Grit Selection Selecting correct crown preparation burs involves choosing b