
Dr.Yukti
Dental Content Contributor
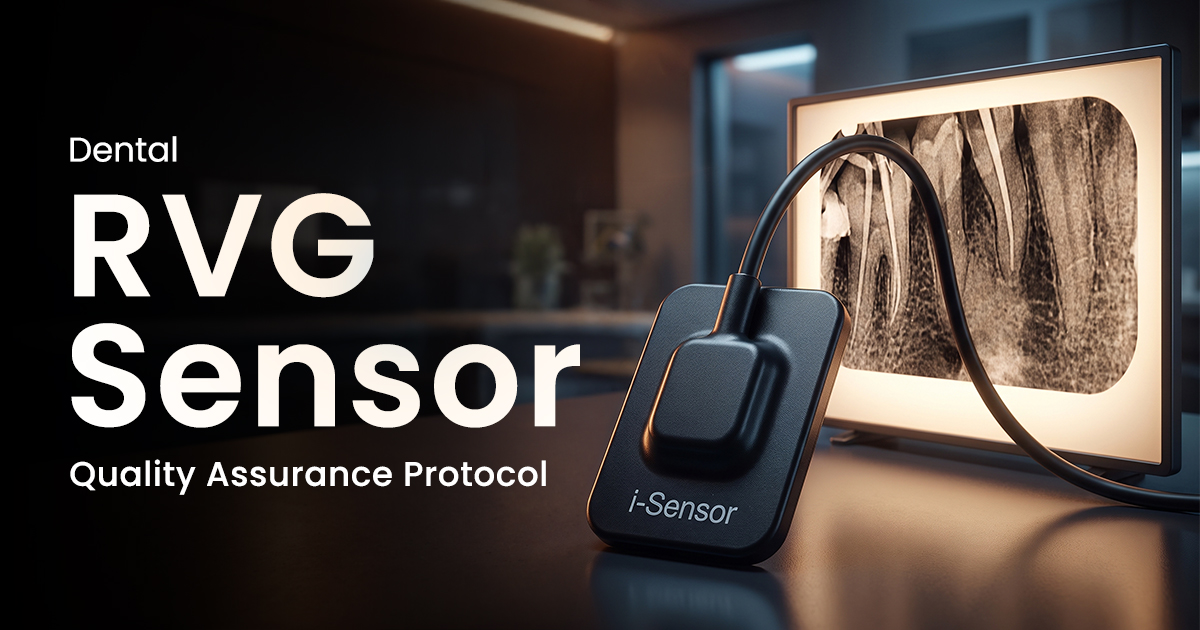
Dental RVG Sensor Quality Assurance Protocol
A Clinical Calibration Guide
A dental RVG (radiovisiography) sensor quality assurance protocol is a set of routine tests, including step-wedge analysis, performed to ensure your intraoral X-ray sensor delivers consistent diagnostic image quality. This calibration is critical because sensor degradation can lead to misdiagnosis and compromise patient safety standards.
Table of Contents
How Often Should an RVG Sensor Be Tested?
A dental RVG sensor, like any intraoral X-ray sensor, must undergo a comprehensive quality assurance test at installation and at least annually thereafter, supplemented by simpler daily or weekly reference image checks. This tiered frequency ensures both long-term performance tracking and rapid detection of sudden failures that could affect clinical diagnoses in a high-volume Indian practice.
The annual test, typically performed by a qualified medical physicist, validates the entire imaging chain, from the sensor to the monitor. Daily reference exposures, however, are a crucial chairside check for immediate issues like cable damage or dead pixels. This consistent monitoring is fundamental for maintaining the diagnostic integrity of all your dental X-ray machines and complying with AERB norms.
- At Installation: Establish a baseline performance standard for the new sensor.
- Daily/Weekly: Take a reference exposure of a standard object (like a step-wedge or an endo file in a block) to quickly spot gross deviations.
- Annually: Conduct a full calibration test suite, including checks for resolution, sensitivity, and uniformity.
- After Service: Perform a complete QA test following any repair or major software update to verify functionality.
RVG Quality Assurance Schedule
A quick visual check against a baseline image to detect sudden, major faults.
Monitor for gradual changes in sensor sensitivity and image density.
A comprehensive calibration and safety assessment of the entire radiographic system.
Full re-calibration to ensure the equipment is returned to its baseline performance.
Perform the RVG Step-Wedge Test
To perform a step-wedge test, you must expose an aluminum step-wedge phantom placed directly on the RVG sensor using standardized exposure settings and geometry. The goal is to compare the grayscale densities of the resulting image against a baseline image taken when the sensor was new.
This test directly measures the sensor's ability to consistently reproduce a range of densities. A significant change, such as a previous step 5 now appearing as dark as step 4, indicates a shift in sensor sensitivity or X-ray machine output. For valid results, use a positioning jig to ensure the source-to-sensor distance is identical for every test, typically around 30 cm. A quality step-wedge is one of the most vital X-ray accessories for any clinic's QA program.
- Standardize Geometry: Use a jig or holder to fix the source-to-sensor and object-to-sensor distance.
- Fix Exposure Settings: Use the exact same kVp, mA, and exposure time for every test throughout the sensor's life.
- Establish a Baseline: The first test image is your gold standard. Save it in a dedicated folder labeled 'QA Baseline'.
- Compare Densities: Visually compare subsequent test images to the baseline. The density of a chosen step should not vary by more than one step.
Step 1: Position
Place the aluminum step-wedge directly over the active area of the RVG sensor. Use a positioning device to ensure repeatable alignment.
Step 2: Expose
Use a standardized clinical setting (e.g., 70 kVp, 7 mA, 0.12 seconds) that provides a good range of visible steps on the wedge.
Step 3: Archive Baseline
Acquire the image and save it with a clear filename, such as 'Sensor1_Baseline_24-Jan-2026'. This is your reference standard.
Step 4: Compare
During routine checks, acquire a new image using the identical setup. Compare its step densities side-by-side with the baseline image.
Clinical Signs of RVG Sensor Degradation
The primary clinical signs of RVG sensor degradation are an increase in image noise (a grainy appearance), the appearance of dead pixels, non-uniform brightness, and a noticeable loss of contrast resolution. These artifacts are not merely aesthetic; they directly interfere with diagnostic tasks.
Increased electronic noise, for example, can obscure the fine trabecular bone pattern or mimic the radiolucency of an early periapical lesion. Dead pixels, which appear as persistent white or black spots, can hide a file tip or be mistaken for a foreign body. A failing sensor cable can also introduce line artifacts or cause intermittent image loss, which can be frustrating during a critical endodontic procedure. Recognizing these signs early is key to preventing misdiagnosis.
- Increased Noise: A 'salt-and-pepper' or grainy texture that reduces image clarity, especially in low-density areas.
- Dead Pixels: Fixed white, black, or colored dots that appear in the same location on every radiograph.
- Image Burn-in/Ghosting: A faint outline of a previous, high-contrast exposure remains visible on subsequent images.
- Line Artifacts: Sharp, straight vertical or horizontal lines, often indicating damage to the sensor's internal electronics or cable.
- Reduced Contrast: Difficulty in differentiating between structures with similar densities, such as enamel and dentin.
Diagnostic Impact of Degradation
Ignoring signs like increased noise can lead to missing incipient caries or misinterpreting periapical radiolucencies. A degraded dental RVG sensor doesn't just produce poor images; it produces diagnostic uncertainty and clinical risk.
Essential Documentation for Radiography QA
Essential documentation for radiography quality assurance is a dedicated logbook or digital record that tracks all tests, results, and corrective actions for each piece of radiographic equipment. This record is a legal requirement in India under AERB regulations and a cornerstone of good clinical practice.
A comprehensive log provides a clear history of equipment performance, allowing you to track gradual degradation of a dental RVG sensor and proactively plan for its replacement. It should contain an inventory of all your radiographic equipment with serial numbers, the baseline images for comparison, dates of all tests, the name of the operator, and detailed notes on any service or repairs performed. This organized approach demonstrates due diligence and simplifies troubleshooting.
- Equipment Inventory: List each X-ray unit and sensor with its model, serial number, and date of installation.
- QA Test Log: For each test, record the date, test type (e.g., step-wedge), operator initials, and a pass/fail result.
- Baseline Image Archive: Maintain a secure, clearly-labeled digital folder containing the original reference images for each sensor.
- Maintenance & Service Reports: File all professional service reports, calibration certificates, and repair invoices.
- Corrective Action Notes: If a test fails, document the problem and the steps taken to resolve it (e.g., 'Notified service technician').
The Logbook
Maintain a chronological record of all QA activities, including dates, results, and operator initials.
The Baseline Archive
Store the initial, perfect reference images from each sensor in a dedicated, backed-up digital folder for comparison.
Service History
Keep all professional calibration certificates and maintenance reports together with your logbook.
Frequently Asked Questions
A step-wedge is a quality assurance tool, typically made of aluminum, fabricated with steps of increasing thickness. When a radiograph is taken of it, each step produces a different level of gray on the image. It is used to test the consistency and performance of an X-ray machine and sensor by verifying that the same exposure settings consistently produce the same grayscale densities over time.
Sudden changes in image density (too dark or too light) are often caused by operator error, such as selecting the wrong exposure time. However, if settings are correct, it could indicate a problem with the X-ray tube head's output or a significant change in sensor sensitivity. The first step is to verify all exposure parameters; if they are correct, run a step-wedge test to isolate whether the fault is with the generator or the sensor.
Sensor calibration is a comprehensive annual process, usually done by a physicist, that measures and adjusts the entire imaging system to meet a precise standard. A daily reference test is a simple, quick check performed by clinic staff. It doesn't adjust anything but instead compares the day's image to a baseline to ensure no major, sudden failures have occurred, acting as a pass/fail screening test.
Yes, dropping a dental RVG sensor can cause immediate and catastrophic failure. The internal CMOS or CCD chip and its microscopic wiring are extremely fragile. Impact can crack the scintillator layer, damage the electronics, or sever the delicate connection to the cable, resulting in dead pixels, line artifacts, or a completely non-functional sensor. Always handle sensors with extreme care.
The most essential X-ray accessories for a quality assurance program are an aluminum step-wedge and a positioning jig or holder. The step-wedge allows you to objectively measure density and contrast, while the positioning jig ensures that the geometry (source-to-sensor distance and beam angle) is perfectly repeatable for every test, eliminating variables that could skew your results.
Written by
Dr.Yukti
Dental Content Contributor
Dr. Yukti Jain is a BDS-qualified dental professional and Product Specialist at Dentalkart with expertise in dental materials, equipment, and clinical innovations. Passionate about evidence-based dentistry, she creates insightful, research-driven content that simplifies complex topics and empowers dental professionals to make informed clinical and purchasing decisions.
Keep reading
Browse all →
When to Use Absorbable Gelatin Sponges?
When to Use Absorbable Gelatin Sponges?Clinical Hemostasis Case Selection An absorbable dental hemostatic sponge is a sterile, porcine-derived gelatin foam used

Correcting Common Pit & Fissure Sealant Application Errors
Correcting Common Pit & Fissure Sealant Application ErrorsAn Evidence-Based Guide Successful pit and fissure sealant application is technique-sensitive, and

Latex vs Nitrile Dental Gloves: A Clinical Comparison
Latex vs Nitrile Dental Gloves: A Clinical ComparisonYour Clinical Selection Guide The choice between latex and nitrile dental examination gloves balances latex